Skip to content

Bar Gauge

Advertising
Advertising
?
Creation quality: 5.0/5 (1 vote)
Evaluation of members on the printability, utility, level of detail, etc.

  • 1.8k views
  • 3 likes
  • 46 downloads

License
3D design format
STL Folder details Close
  • M5_Bar_Gauge_Aduster_V1.9.stl
  • M5_Bar_Gauge_Body_V3.3.stl
  • M5_Bar_Gauge_Pad_V3.3.stl
  • M6_Bar_Gauge_Aduster_V1.3.stl
  • M6_Bar_Gauge_Body_V3.2.stl
  • M6_Bar_Gauge_Pad_V3.3.stl

Learn more about the formats

Publication date 2022-01-02 at 00:04
?
Published to Thingiverse on: 2020-07-21 at 11:47
Design number 597801

3D printer file info

3D model description

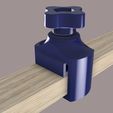
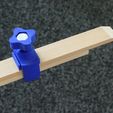
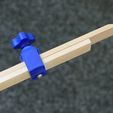
Bar gauges are useful especially when checking the diagonals of a cabinet assembly. There are various commercial products available from the Veritas Bar Gauge heads to complete bar gauges.

This is my interpretation and can be made to cover any length, within reason!

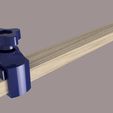
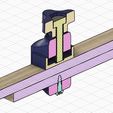
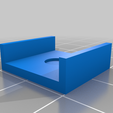
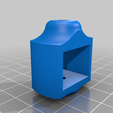
The design consists of two head assemblies make up of a body, pad, bolt, adjuster knob and screw. You ill also need two lengths of 19mm (3/4") x 5/6mm (1/4") wooden batons. I have 2 sets one 500mm and one 1000mm long.

The body has a printed screw thread that will require to be cleaned out. If you have now got a tap then you can make one good enough out of a spare bolt see https://www.instructables.com/id/Make-a-tap-from-a-bolt/

There are two versions included, one with an M5 thread and the second with an M6 thread. Both work just as well, the threads on the M6 version are slightly easier to clean up.

Required

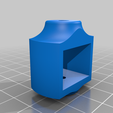
2 off Bodies (M5 or M6)

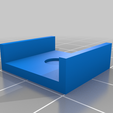
2 off Pads

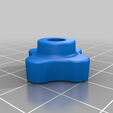
2 off Adjuster Knobs

2 off M5 x 20mm or M6 x 25mm Hex Headed bolts, with full threads

2 off 3mm x 10mm

2 off 19mm (3/4") x 5/6mm (1/4") wooden batons with tapered ends. Taper should be 20-30 deg

Printing

To assemble see pictures, don't fix the adjusters too close to the ends, otherwise at the shorter lengths the heads won't fit into the corner of your project.

If anyone would like an imperial version please let me know the size of the thread required and I will release a body with the correct thread and an adjuster with the head size

3D printing settings

-

Advertising


Page translated by automatic translation. See the original version.
Issue with this design? Report a problem.

Would you like to support Cults?

You like Cults and you want to help us continue the adventure independently? Please note that we are a small team of 3 people, therefore it is very simple to support us to maintain the activity and create future developments. Here are 4 solutions accessible to all:

  • ADVERTISING: Disable your banner blocker (AdBlock, …) and click on our banner ads.

  • AFFILIATION: Make your purchases online by clicking on our affiliate links here Amazon.

  • DONATE: If you want, you can make a donation via Ko-Fi πŸ’œ.

  • WORD OF MOUTH: Invite your friends to come, discover the platform and the magnificent 3D files shared by the community!


Sharing and downloading on Cults3D guarantees that designs remain in makers community hands! And not in the hands of the 3D printing or software giants who own the competing platforms and exploit the designs for their own commercial interests.

Cults3D is an independent, self-financed site that is not accountable to any investor or brand. Almost all of the site's revenues are paid back to the platform's makers. The content published on the site serves only the interests of its authors and not those of 3D printer brands who also wish to control the 3D modeling market.

100% secure payment by credit card, PayPal, Apple Pay, Google Pay, etc.
View all payment options.