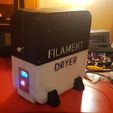
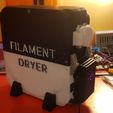
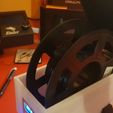
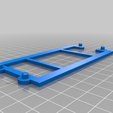
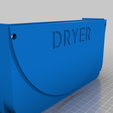
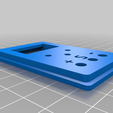
Secador de Filamento Electronico.
Version imprimible de un secador de filamento para impresora 3D.
Modelo optimizado para imprimir en impresora tamaño standar con cama de 220x220, como Ender3.
Es necesario Arduino NANO y conocimientos basicos de electronica.
¿Como funciona?
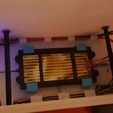
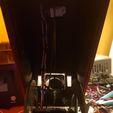
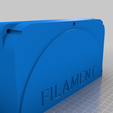
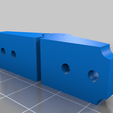
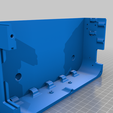
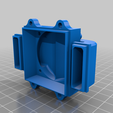
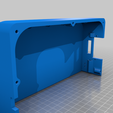
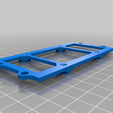
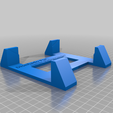
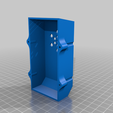
El secador consta de varias partes que se unen entre si mediante tornillos, ademas de una parte electronica programada en Arduino.
Es recomendable utilizar cables de 1 a 1.3mm maximo de diametro. La electronica es muy simple y cada cable o componente esta marcado con letras y posiciones.
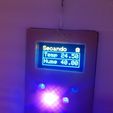
Si se mantiene pulsado el boton +, o el boton -, durante un segundo, se entra en el menu de temperatura, donde se puede configurar la temperatura maxima a alcanzar.
Pulsando repetidas veces sobre + o -, selecionamos la temperatura y pulsando el boton S (Almacenar o Stored), se graba la temperatura de control en la memoria, para el proximo arranque.
El elemento calefactable y el ventilador se encienden si la humedad no esta por debajo del 12%, en el momento que se excede la temperatura maxima grabada en la memoria el elemento calefactable se apaga, no el ventilador.
En el momento que se alcanza un valor de humedad del 12% o inferior, el ventilador y el elemento calefactable se detienen y se muestra, en pantalla, el mensaje de "Secado OK, o DRY OK", y el filamento esta listo para imprimir.
La potencia del elemento calefactable es baja, entorno 14W, por lo que el tiempo de secado del filamento puede ser entorno las 4 horas. Es recomendable tapar los agujeros exteriores con silicona caliente de los tornillos para mantener la temperatura y humedad correcta del interior.
Codigo arduino en Español y Ingles, archivos Gerber y Fritzing, diagramas electronicos, componentes necesarios y mas:
https://github.com/Pony3D/PrintableFilamentDryer
¿Donde fabricar las placas PCB?:
Por ejemplo; https://jlcpcb.com/
ESTE ES UN PROYECTO OPEN SOURCE, POR LO QUE CUALQUIER ELEMENTO ELECTRONICO O DE PROGRAMACION PUEDE SER MODIFICADO Y MEJORADO, EN REALIDAD, ESPERO QUE LO MEJOREIS ;)
NOTA: Las fotografias del modelo expuesta representan un prototipo sobre el que se hicieron las ultimas mejoras, puede ser distinto del modelo final.
///////////////////////////////// ENGLISH TRANSLATION //////////////////////////////////////
Electronic Filament Dryer.
Printable version of a filament dryer for 3D printer.
Model optimized for printing on a standard size printer with a 220x220 bed, such as Ender3.
Arduino NANO and basic knowledge of electronics are necessary.
How does it work?
The dryer consists of several parts that are joined together by screws, in addition to an electronic part programmed in Arduino.
It is recommended to use cables with a maximum diameter of 1 to 1.3mm. The electronics is very simple and each wire or component is marked with letters and positions.
If you hold down the + button, or the - button, for one second, you enter the temperature menu, where you can set the maximum temperature to be reached.
Pressing repeatedly on + or -, we select the temperature and pressing the S button (Store or Stored), the control temperature is recorded in the memory, for the next start.
The heating element and the fan turn on if the humidity is not below 12%, when the maximum temperature recorded in the memory is exceeded, the heating element turns off, not the fan.
As soon as a humidity value of 12% or less is reached, the fan and the heating element stop and the message "Drying OK, or DRY OK" is displayed on the screen, and the filament is ready to print. .
The power of the heating element is low, around 14W, so the drying time of the filament can be around 4 hours. It is recommended to cover the outer holes with hot silicone of the screws to maintain the correct temperature and humidity inside.
Arduino code in Spanish and English, Gerber and Fritzing files, electronic diagrams, necessary components and more:
https://github.com/Pony3D/PrintableFilamentDryer
Where to make PCB boards ?:
For example; https://jlcpcb.com/
THIS IS AN OPEN SOURCE PROJECT, SO ANY ELECTRONIC OR PROGRAMMING ELEMENTS CAN BE MODIFIED AND IMPROVED, IN REALITY, I HOPE YOU WILL IMPROVE IT;)
NOTE: The photographs of the exposed model represent a prototype on which the last improvements were made, it may be different from the final model.

/https://fbi.cults3d.com/uploaders/17281500/illustration-file/4871921e-b7a0-49b6-ad63-e339533081cf/20210101_223838.jpg)
