Skip to content

FT5 Double X Slide Carriage

Advertising
Advertising
?
Creation quality: 5.0/5 (1 vote)
Evaluation of members on the printability, utility, level of detail, etc.

  • 832 views
  • 1 like
  • 5 downloads

License
3D design format
STL Folder details Close
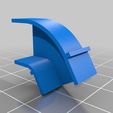
  • FT5_Slide_Chute_A_1.stl
  • FT5_Slide_Chute_B_1.stl
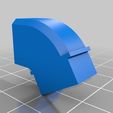
  • FT5_Slide_Cover_1.stl
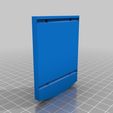
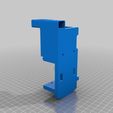
  • FT5_Slide_Main_Body_1.stl

Learn more about the formats

Publication date 2021-05-03 at 23:05
?
Published to Thingiverse on: 2018-01-25 at 18:22
Design number 418047

3D printer file info

3D model description

I've had a stock Folgertech FT5 R1 for about a year now and have hundreds of hours of good successful prints with it. Many have modified theirs and that's part of the fun of printing, modifying and improving the machine. Of course many mods have perceived improvements of print quality, many are just wish-list, and some are actual worthwhile improvements.
The only thing that has bugged me about the physical part of the machine is the single linear rail on the X axis, the rail that supports the extruder. Linear bearings are very good in limiting "play" in many directions, but due to the nature of the bearings there is inherent play in a "rocking" moment - in the case of the FT5, this translates into play fore and aft at the nozzle end.
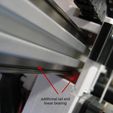
My answer to solve this and remove all unsupported movement is to add an additional linear bearing and rail assembly under the existing gantry extrusion. The rail is readily available from Amazon in a 350mm length and the cost is low. (https://www.amazon.com/gp/product/B071JWJT9J/ref=oh_aui_detailpage_o06_s00?ie=UTF8&psc=1)
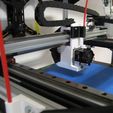
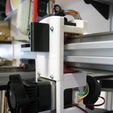
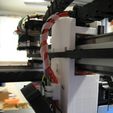
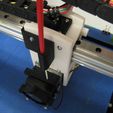
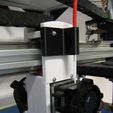
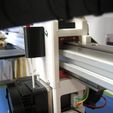
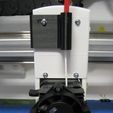
The attached files and pictures show how I accomplished this. Essentially an elongated version of the melamine FT5 carriage, with some improvements in rigidity and print cooling. Of course we lose 15mm or so in Z capability, a small price.
If you only have one printer you'll have to print this first of course. The assembly procedure is to leave the existing rail in place, mount the new carriage to the top, then tighten, shim, adjust the bottom rail bearing until free movement is achieved. Patience will be rewarded with rock solid, smooth moving carriage that will be free of play and increased resolution tightness layer by layer.

3D printing settings

-

Advertising


Issue with this design? Report a problem.

Would you like to support Cults?

You like Cults and you want to help us continue the adventure independently? Please note that we are a small team of 3 people, therefore it is very simple to support us to maintain the activity and create future developments. Here are 4 solutions accessible to all:

  • ADVERTISING: Disable your banner blocker (AdBlock, …) and click on our banner ads.

  • AFFILIATION: Make your purchases online by clicking on our affiliate links here Amazon.

  • DONATE: If you want, you can make a donation via Ko-Fi πŸ’œ.

  • WORD OF MOUTH: Invite your friends to come, discover the platform and the magnificent 3D files shared by the community!


Sharing and downloading on Cults3D guarantees that designs remain in makers community hands! And not in the hands of the 3D printing or software giants who own the competing platforms and exploit the designs for their own commercial interests.

Cults3D is an independent, self-financed site that is not accountable to any investor or brand. Almost all of the site's revenues are paid back to the platform's makers. The content published on the site serves only the interests of its authors and not those of 3D printer brands who also wish to control the 3D modeling market.

100% secure payment by credit card, PayPal, Apple Pay, Google Pay, etc.
View all payment options.