3D model description
Prelude
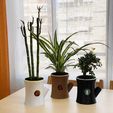
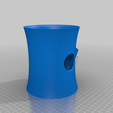
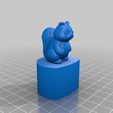
Back then I printed this super-cool self-watering planter (https://www.thingiverse.com/thing:903411), but after a bit of usage, it was bothering me not being able to see with a glance the water level and if I needed to refill it. So I started searching for ideas on the Internet on how to add some kind of water level indicator, and I found this super-cool design from Qualy Designs of a log stump with a squirrel being the buoy that shows you if there is still enough water (details, credits, and link to their webpage at the bottom custom section).
I remixed some stuff in the past, or added small details or changes to other designs, but never tried to do a full design from scratch... So I decided to give it a try, and create by myself my first full-designed thing in Tinkercad, inspired by this cool and original planter pot by Qualy.
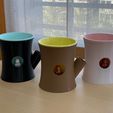
And here is the result. Hope you enjoy it as much as I enjoyed designing and prototyping it :)
The Planter
I wanted everything to be 3D printable, so with this idea in mind, I remixed the original design with some tricks that works better on 3D printers.
Some details:
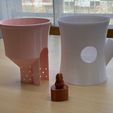
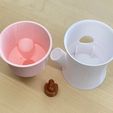
The wicking system: instead of using wicks made of absorbent material such as pieces of rope or strips of cloth, I have chosen a wicking pot that puts the potting mixture directly in contact with the water in the reservoir below. Like in the self-watering pot from Parallel Goods.
All the overhangs are intentionally less than 45º, so it's easier to print them with a 0.4 or 0.6 nozzle. I used a 0.6 nozzle with 0.2 layer height, to print faster, but still have nice overall quality. You can probably use a higher layer height to print faster and still have good results.
The walls are quite thick, so it's easier to achieve a water-tight reservoir. I would suggest printing them solid, configuring your slicer with a ticker wall width, instead of with infill of any pattern. Continuous round lines will make it easier to achieve water-tight.
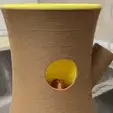
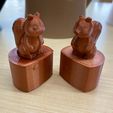
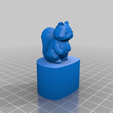
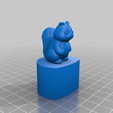
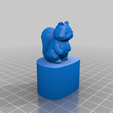
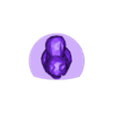
The buoy/water-level indicator (the squirrel) is a remix from this squirrel (https://www.thingiverse.com/thing:11705) and there is also a version with its remixed low-poly (https://www.thingiverse.com/thing:910750) version. I originally used the regular squirrel, but I think the low poly one matches better the general low-detail style of the planter. The buoyancy was tested on Sunlu PLA, with 2 perimeters, and super-low Triangles infill (just to be able to print the top flat surface easily), so depending on your setup or material it might slightly change the density or weight, and thus slightly changing the height the squirrel achieves when full of water, but it's not a super-precise system, so... it doesn't really matter.
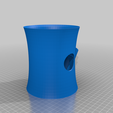
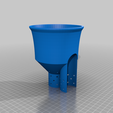
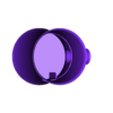
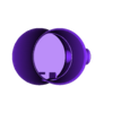
The pot needs support to be able to print the round top of the "cave" of the squirrel. Maybe some printers with some wide nozzles could achieve decent results on these overhangs, but I did not try it myself. If your slicer tries to add supports for the small holes at the bottom part (the wicking system), they are not needed, try to erase them with any custom tool your slicer has.
The reservoir only needs supports on the circular hole of the squirrel "cave". Again, maybe some printers could achieve decent results without supports, but I did not try it. If your slicer tries to add supports on the hole in which you pour the water, it's not needed, you can remove them.
The squirrel buoy prints fine without supports, especially the low poly one, as in the original thing.
There are two versions of the buoy system. One with a staff/pole that serves as a guide for the buoy, and another one without it. Originally I designed it with the staff/pole, but I found it was quite fragile and got similar results without it... It's just a little more jiggling... So feel free to choose the ones you prefer, but obviously, if you print the reservoir with the staff/pole, you will need the buoy with the hole at the bottom to fit it.

/https://fbi.cults3d.com/uploaders/16927431/illustration-file/19dc255a-273c-4162-b89d-0945fda53cf9/test.jpg)

