Skip to content

Static Grass Applicator

Advertising
Advertising
?
Creation quality: 5.0/5 (1 vote)
Evaluation of members on the printability, utility, level of detail, etc.

  • 1.9k views
  • 4 likes
  • 23 downloads

License
3D design format
STL Folder details Close
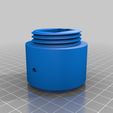
  • Grass_Applicator_Bottom.stl
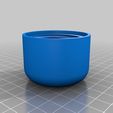
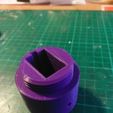
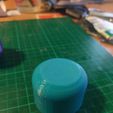
  • Grass_Applicator_Cap.stl
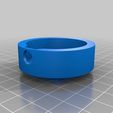
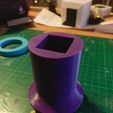
  • Grass_Applicator_Middle.stl
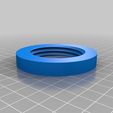
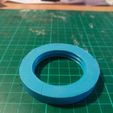
  • Grass_Applicator_Nut.stl
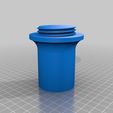
  • Grass_Applicator_Top.stl

Learn more about the formats

Publication date 2021-05-16 at 23:12
?
Published to Thingiverse on: 2018-10-05 at 15:12
Design number 428808

3D printer file info

3D model description

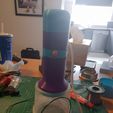
I wanted a grass applicator to complete a diorama. I didn’t want to pay top dollar at the local shop, and the cheap ones seem to zap people (That is what happened to my mate).

Tools
• Soldering Iron
• Heat gun
• Wire cutter
• Wire strippers
• Hot glue gun.

Consumables
• Negative Ion Generator (What I used http://oatleyelectronics.com/product_info.php?products_id=915)
• Metal alligator clip
• Heat-shrink tubing (I used 5mm diameter)
• Epoxy glue.
• Sieve wire mesh.
• Plastic container (What I used https://www.kmart.com.au/product/3-pack-500ml-round-containers/158301)
• 9-volt battery.
• 9-volt battery connector.
• 500mm of wire for the grounding wire.
• Push button switch (What I used https://www.jaycar.com.au/black-miniature-pushbutton-spst-momentary-action-125v-1a-rating/p/SP0711)
• Hot glue gun sticks
• Solder

Rough Guide
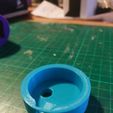
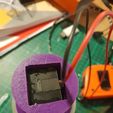
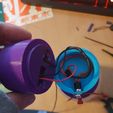
1. Slide the Negative Ion Generator into Grass Applicator Bottom. Make sure the negative and positive wires are sticking out the top and the -EHT output wire is sticking through the bottom hole. The generator should fit nice and tight.
2. Add a dab of epoxy glue along one edge of the Negative Ion Generator and Grass Applicator Bottom.
3. Add a bead of hot glue around the Negative Ion Generator -EHT output wire and the Grass Applicator Bottom to block the hole.
4. Fit the push button switch to the Grass Applicator Middle.
5. Feed the Negative Ion Generator positive and negative wires through the Grass Applicator Middle hole.
6. Epoxy glue the Grass Applicator Middle and Grass Applicator Bottom together.
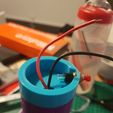
7. Cut to length, apply heat shrink and solder the Negative Ion Generator positive wire to the switch.
8. Cut to length, apply heat shrink and solder the 9-volt positive battery terminal to switch.
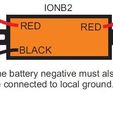
9. Cut to length, apply heat shrink and solder the Negative Ion Generator negative wire, 9-volt negative battery terminal and the grounding wire together.
10. Shrink all heat shrink if you haven’t already.
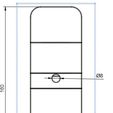
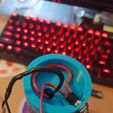
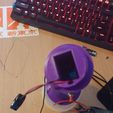
11. Feed the ground wire through the round hole on the bottom of the Grass Applicator Top then out the back.
12. Feed the 9Volt battery out through the rectangular hole on the bottom of the Grass Applicator Top.
13. Epoxy glue the Grass Applicator Top and Grass Applicator Bottom together.
14. Apply packing material to the Grass Applicator Cap to help hold in the battery.
15. Cut a 60mm hole into the centre of the Plastic container.
16. Remove the lid from the plastic container.
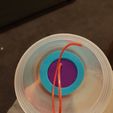
17. Screw the Grass Applicator into the plastic container.
18. Screw the Grass Applicator Nut onto the Grass Applicator.
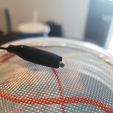
19. Cut a hole in the plastic container lid and hot glue the wire mesh to the lid.
20. Connect the Negative Ion Generator -EHT output wire to the sieve wire mesh.

3D printing settings

-

Tags

Advertising


Issue with this design? Report a problem.

Would you like to support Cults?

You like Cults and you want to help us continue the adventure independently? Please note that we are a small team of 3 people, therefore it is very simple to support us to maintain the activity and create future developments. Here are 4 solutions accessible to all:

  • ADVERTISING: Disable your banner blocker (AdBlock, …) and click on our banner ads.

  • AFFILIATION: Make your purchases online by clicking on our affiliate links here Amazon.

  • DONATE: If you want, you can make a donation via Ko-Fi 💜.

  • WORD OF MOUTH: Invite your friends to come, discover the platform and the magnificent 3D files shared by the community!


Sharing and downloading on Cults3D guarantees that designs remain in makers community hands! And not in the hands of the 3D printing or software giants who own the competing platforms and exploit the designs for their own commercial interests.

Cults3D is an independent, self-financed site that is not accountable to any investor or brand. Almost all of the site's revenues are paid back to the platform's makers. The content published on the site serves only the interests of its authors and not those of 3D printer brands who also wish to control the 3D modeling market.

100% secure payment by credit card, PayPal, Apple Pay, Google Pay, etc.
View all payment options.