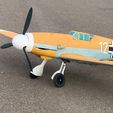
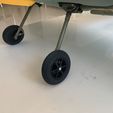
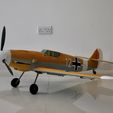
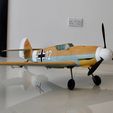
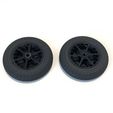
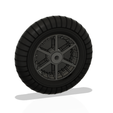
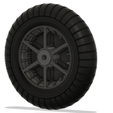
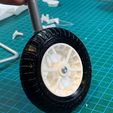
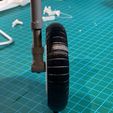
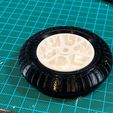
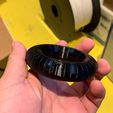
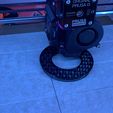
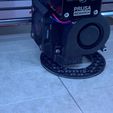
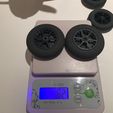
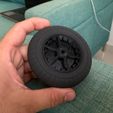
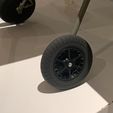
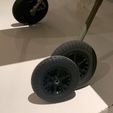
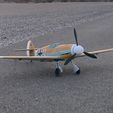
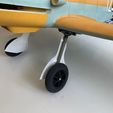
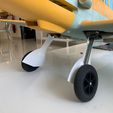
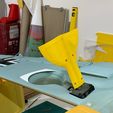
My tyre and wheel design for 3Dlabprint design 60" wingspan 1/6.6 scale Bf109 F model.
The design looks more scale than the provided wheel. So those who want their model to look better can download my design while supporting my work.
The wheel is designed as one piece, the tyre is snug fit onto the wheel. On my plane, I have not even glued them together but a little bit of cyano won't hurt.
The wheel has a 6mm hole at the centre with tapered edges on both sides narrowing down to 4mm diameter. Depending on the axle diameter these holes can be drilled, or better reamed to appropriate diameters.
I painted my wheel gloss black and the tyre with rubber black. A bit of weathering would make it look even better.
Post maiden flight edit (22 May 2021)
It might be a bit better to print the tyres with less infill than I suggest, even 0% can work.
As you can see in the flight videos below, the landings are pretty bouncy. I believe that it is mostly because my oleo springs are too stiff, which I will replace and try later on, but printing the tyres a bit softer might also help. I do not have any TPU left at the moment so I can not try it out. I will update when I do try the springs or tyres. If you print and try it, I would love to hear your experience and opinion.
Maiden flight video:
https://youtu.be/h3Rm9DNxVwg
Second flight video:
https://youtu.be/IuXxIPZiKzg
Update 6/6/2021
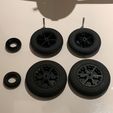
Added two more different diameter wheel and tyre sets of 85 and 90 mm. These wheels and tyres have the same width as the initial small set (80mm OD) and the same axle holes.
90 mm is the largest that would fit in the wheel wells, but depending on your strut length and retract mounting they may hit the walls and cause problems. Therefore I also added an 85 mm outer diameter set if 90 is too big for your model.
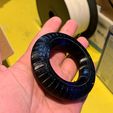
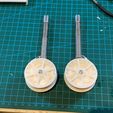
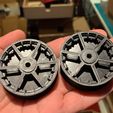
I printed my 90 mm wheels with PETG and turned on the "ironing" feature, which made a huge difference in looks (I added a photo showing the wheel printed with the ironing feature versus the normal printed one.
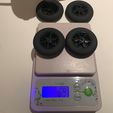
I also used Colorfabb varioshoreTPU filament for the new tyres, which is much better and lighter than regular TPU.
I used 230-degrees hot-end temperature and 70% flow for the varioshoreTPU. Used 2 perimeters with 10% gyroid infill.
10/06/2021 Edit
Added new wheels to be used with bearings.
Files with 4x8x3 bearing name modifier have slots for 4x8x3mm metric ball bearings.
Files with 4x9x4 bearing name modifier have slots for 4x9x4mm metric ball bearings.
All of the new wheels have integrated supports at the backside of the wheel for the bearing slot to be printed properly. This tube-like support easily snaps off after printing.
I also added two bushing for these sizes if one prefers to print their own bushings instead of ball bearings.
One can also use a 4mm inner diameter tube for bushing easily. Just drill out the centre of the normal wheel to the outer diameter of the tube you have and insert the tube.
Please let me know if you would like to have a modification for a specific size of bearing or bushing and I'll add that to the design.
20/10/2021 Edit
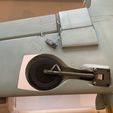
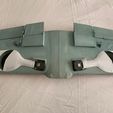
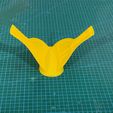
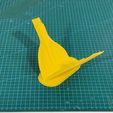
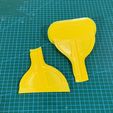
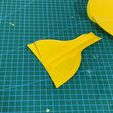
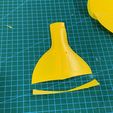
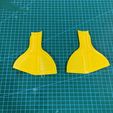
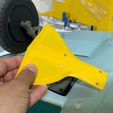
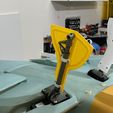
Added Landing gear doors and wheel well outboard shrouds.
https://www.instagram.com/p/CQTE_2oj4eR/?utm_source=ig_web_copy_link
Due to the quite irregular shape of the model's wing at this section, the doors are also vague in shape and not as good looking as I wanted to be, yet still, in my opinion, much better than the no-door option.
I have added two types of doors, one is just plain skin with mounting holes and the other is with a scale(ish) stiffener structure. The plain doors seem and feel very flimsy, however, I tested them in 6 flights with high-speed flying with the LG both down and retracted. They performed perfectly fine. You may see some clips posted on my Instagram account:
https://www.instagram.com/p/CUWp337vRI3/?utm_source=ig_web_copy_link
The wheel doors and shroud are all attached to a support and base structure for proper printing. The doors with stiffeners have to be printed slanted for obvious reasons. After printing, first score and break away the parts from the horizontal base, then carefully score and break the doors from their lower supports.
I printed them all with 0.15mm layer height and 3 perimeters with 10% infill.
The strut spacer part can be printed in flex material.
Please note that the clamp parts are different for upper and lower locations and they are not interchangeable.
The wheel bay shroud part also comes with a base but you would need to mirror and print for the other side. This part would need some sanding to fit in place, and probably some gap-filling might be needed. But the result is well worth the effort in my opinion.
You will need m2 countersunk bolts and nuts for mounting the doors onto the struts. It is a good idea to re-drill the holes with a 2mm drill bit. The doors are designed for 12mm diameter struts, if your strut is thinner you would need to use strut spacer parts.
Similarly, the door offset is designed for the suggested retracts and the wedge I have included in these files. If you do not have a wedge or use a different one, your strut might have a different offset and again you might need to use strut spacers to adjust the door to fit flush to the wing bottom skin.
As a last note, if you have a strut with oleo scissors, and want to use the door with stiffeners, you may need to sand down some areas for the oleo scissors to fit, otherwise, the door will not close properly.

/https://fbi.cults3d.com/uploaders/13914830/illustration-file/4b0583a4-2a01-465f-a711-c1446f2557c1/IMG_8481.jpg)
