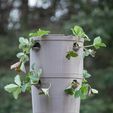
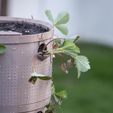
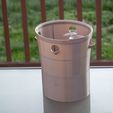
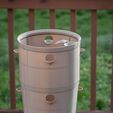
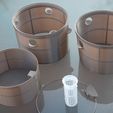
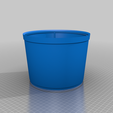
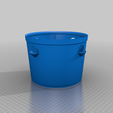
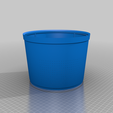
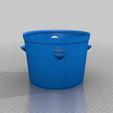
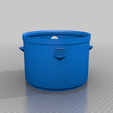
This is a new version of my Mosquito-Proof Self Watering Planter design (https://www.thingiverse.com/thing:3633682). I made the original pot because I wanted the benefits of a self-watering pot without having to worry that the standing water would let it become a mosquito hatchery.
Features:
- New: Multiple options available - print a traditional pot or a strawberry-planter style pot. Both versions are available with and without air-pruning holes
- New: Print an extension piece to make the pot taller. Add another level of strawberries, or plant something that requires deeper soil. The extension is available in plain pot style or strawberry planter style with and without air-pruning holes
- Air pruning holes help promote stronger root systems. Read about air pruning here.
- 6 Cup Self Watering Reservoir. Read about self-watering pots here.
- Built in drain keeps reservoir from overfilling and drowning roots
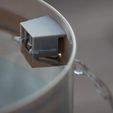
- Automatic float valve opens drain to let excess water out and closes drain so mosquitos can't get in
- Easily remove plant pot from the reservoir to check water level or clean the reservoir
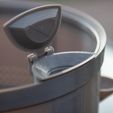
Built in tube makes it easy to fill the reservoir
- New: Easy flip hinged cap keep mosquitos out of the fill tube
- Diameter is about 8"
- Planting depth is about 6" but can be expanded with extensions
- New: Sloped walls and a brim make this version more aesthetically pleasing
- New: Multiple design changes to make this much sturdier than the original
- No supports needed! The clip includes a built in support. The funnel and extension have removable tabs for extra build plate adhesion
Here is a test version of the float valve in action: https://www.youtube.com/watch?v=WejVWrQq6l4
#Files
Print all parts at 0.2mm layer height with standard settings unless otherwise noted. I recommend PETG for this. PLA can melt and warp on hot days.
###Reservoir
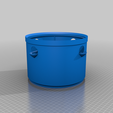
This holds the water, so it works better if it's watertight. For watertight prints, make sure your extrusion multiplier is calibrated for the particular filament you're using and print slow. I've included a 3MF file with the settings that worked for me. After printing, fill it with water and sit it on a paper towel for a while to see if there are any leaks. If it leaks, you may find tips in the community about glues that can be used to coat the inside, but it's been a very reliable for me.
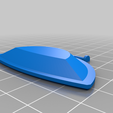
###Valve Float
This floating block is what opens and closes the drain. It needs to be watertight and light. I suggest printing slow with 0.2mm layer height, 0.6mm extrusion width, 1 perimeter, and 0% infill. I included a 3MF file with the settings that worked for me.
After printing, insert it into the cage in the reservoir. When placed correctly it will completely cover the drain opening.
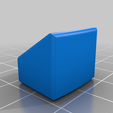
###Valve Clip
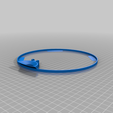
Slide this clip keeps onto the reservoir cage to keep the float in place. This piece has a small support built in. Remove it after printing
###Wick Cup
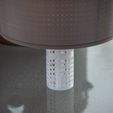
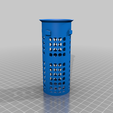
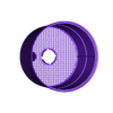
Fill this with soil. This will stick down into the reservoir and wick water up to the rest of the soil in the pot
###Pot
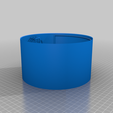
Pick one of the 4 options. The plain pot is for growing plants from the top. The strawberry pot has holes for growing plants from the sides. The “no holes” versions do not have air pruning holes.
Insert the filled wick cup into the bottom of the pot and twist it to lock it in place. Next, add soil to the pot. If you are using the strawberry pot, stop when the soil is just below the planting holes. Add your plants, then finish adding soil
###Extension
This extension is optional. Print as many as you want to make your pot as tall as you like, but be warned - I do not know how much soil can be added before this pot can't handle the weight. I've included 2 options - with strawberry holes and air pruning holes, with strawberry holes without air pruning holes. Let me know in the comments if you'd like me to add versions without strawberry holes.
Place the extension on top of the pot (or on top of another extension). Make sure the fill tubes line up. Glue them together for a permanent setup or leave them loose. Once roots fill the pot, the pieces should stay together pretty well without glue . . . I think.
###Funnel
Line this up with the fill tune and place it on top of the pot or on top of the uppermost extension. It widens the fill tube to make it easier to add water.
###Funnel Cap
Snap this into the funnel . . . you'll know where when you see it.

/https://fbi.cults3d.com/uploaders/14125057/illustration-file/1471fa9e-ef59-4fc9-a025-5a35e4b53d41/2021-04-10_63457.jpg)
