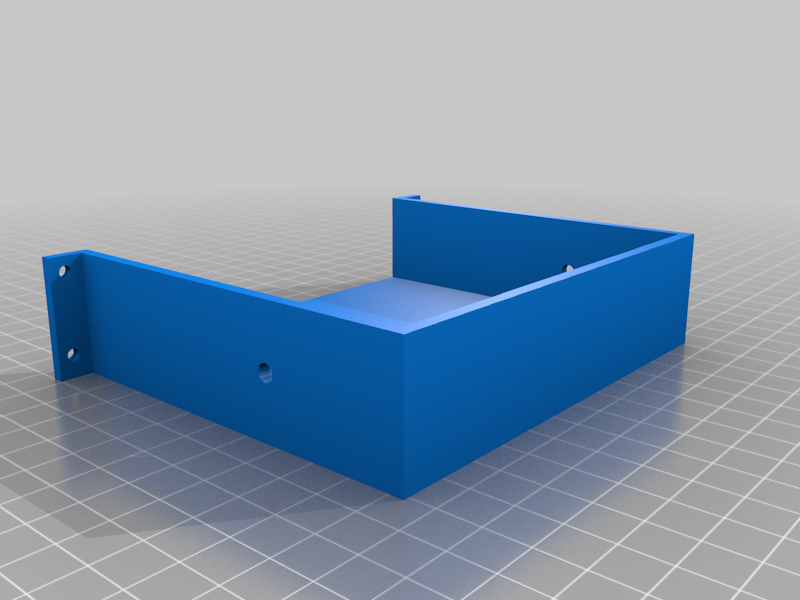
This is an external electronics case that houses 2 buck converters, a 5V relay, a raspberry pi, the printer power supply, and any Ender 3 main board or drop-in replacement board such as the BTT SKR Mini E3's.
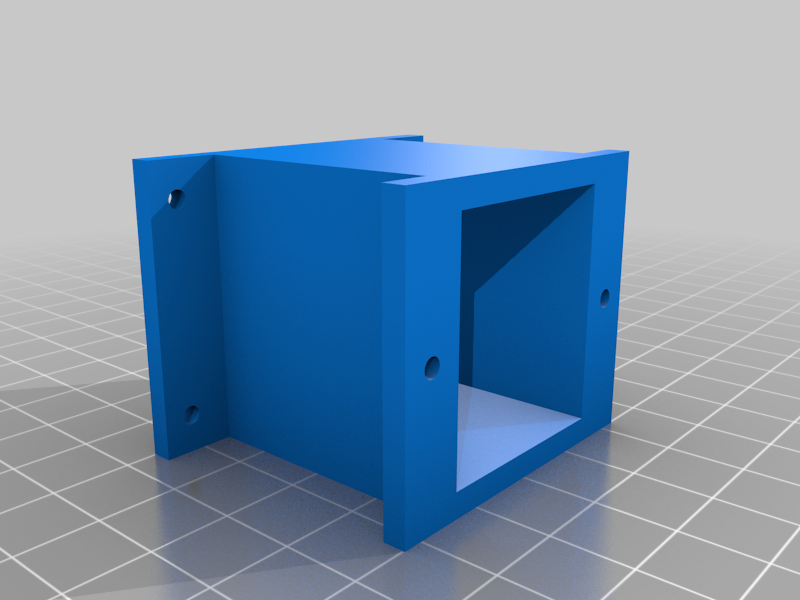
*Power supply mounting solution only tested with a Meanwell power supply that comes with Ender 3 pro and Ender 3 v2. Regular Ender 3 and other PSU's may work also but I have not tested or been able to find drawings of them.
This was designed for mounting on the outside of a 3D printer enclosure, so the electronics do not overheat inside the enclosure. There are no mounting holes for this electronics case because many people have different types of enclosures. You can set it on top or you can drill holes through the bottom and screw it to the side of your enclosure like I did.
Print everything with 100% infill. Use supports for the main case body (no support interface layers or sheath is necessary and supports will be easier to remove without. Its up to you).
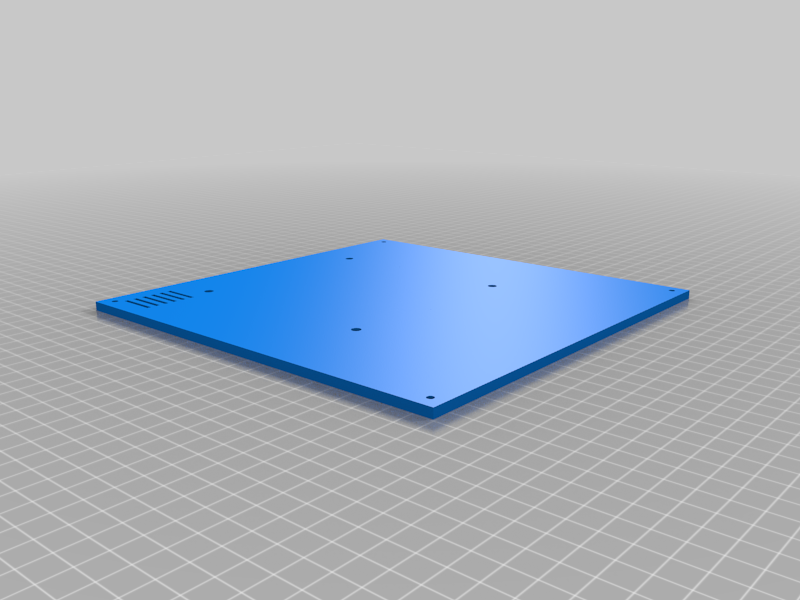
The only exception to 100% infill is the case lid. The case lid is one file but has two bodies in it. When you import this in PrusaSlicer, click "split to objects" at the top (unsure of the Cura equivalent). This will show two different parts and allow you to use different settings for each. For the circular part, you want to use infill only (0 skin layers) because this is the part where the fan will blow air through. Play with infill percentage, infill extrusion width, and different types of infill until you have a cool looking fan grill.
This design is meant to be used with the following hardware:
Many M3 screws (get the kits with various lengths on ebay or aliexpress)
Four M4x10mm screws (for power supply mounting holes)
Heat-set threaded inserts (M3):
https://www.ebay.com/itm/Qty-50-M3-3mm-M3-0-5-Brass-Threaded-Metal-Heat-Set-Screw-Inserts-for-3D-Printing/292174792941?ssPageName=STRK%3AMEBIDX%3AIT&_trksid=p2057872.m2749.l2649
120mm fan; Slim case fan preferred but regular will work (Noctua has both in silent versions):
https://www.ebay.com/itm/ID-COOLING-12015-Slim-15mm-Thickness-53-6CFM-120mm-PWM-Controlled-Fan/182539117773
https://www.ebay.com/itm/Noctua-NF-A12x15-PWM-Premium-Quiet-Slim-Fan-4-Pin-120x15mm-Brown/154317893840?hash=item23ee1030d0:g:CW8AAOSwXvRgCcl4
Fan grill for bottom side of case fan, so wires dont get caught (or print something): https://www.ebay.com/itm/222782606283
*this is only necessary if fan is blowing out of case rather than in.
Right angle micro usb cable, 20cm+/8in+ length (regular, straight, cable wont work. its a tight fit in there. This is the cable that connects the raspberry pi to the main board. Only the micro usb end of the cable needs to be right angle. other end can be straight):
https://www.ebay.com/itm/USB-2-0-A-Male-to-Left-Right-90-degree-Angle-Micro-Usb-Cable-For-Phone-Samsung/391947891974?ssPageName=STRK%3AMEBIDX%3AIT&var=660910125324&_trksid=p2057872.m2749.l2649
You will need cable extensions. Here is a great kit: https://printermods.com/collections/cables-extensions/products/ender-3-wiring-extension-harness
*the following items are what the mounting holes are designed for. Other brands/types are often the same size and hole spacing but I can not guarantee it.
5V relay to function as on/off switch:
https://www.amazon.com/gp/product/B00LW15A4W/ref=ppx_yo_dt_b_search_asin_title?ie=UTF8&psc=1
Buck converters: https://www.amazon.com/gp/product/B07JZ2GQJF/ref=ppx_yo_dt_b_search_asin_title?ie=UTF8&psc=1
All of the smaller holes (2.5mm) in the design are for M3 screws. You do not need to tap them. Just drive the screws in.
The 4 larger holes on the very top of the main case body are for heat-set inserts;
the 4 larger holes on the face of the main case body, where the PSU holder mates with it, are for heat-set inserts;
and the 4 larger holes on the lid that the fan mounts to are for heat-set inserts. The fan is meant to be mounted on the bottom of the lid (inside the case).
All other large holes are pass-through holes for screws or a tool.
Remember that the power supply takes four M4 screws that pass through the holes in the print and screw into the power supply.
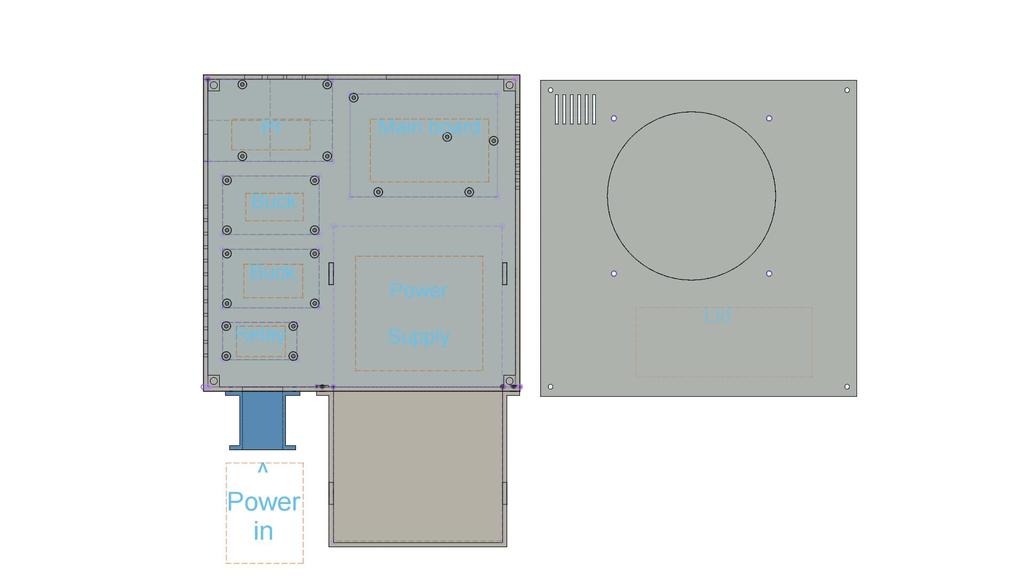
The case plug file is for the existing power-in receptacle that comes installed in your printer. I did not include a mounting solution for the on/off switch because this setup is intended to be used with octoprint and the "PSU Control" plugin to power on and off your printer via the 5v relay and the raspberry pi (Youtube "PSU Control Plugin").
One buck converter is so you can power the raspberry pi directly from the power supply, and also trigger the 5v relay (set buck converter to 5V).
The other buck converter is so you can use 12v fans like the popular Noctua silent fans (set buck converter to 12V).
Final assembly is shown in the jpg. The lid should be put on with the little air slots over the Pi.
:format(webp)/https://fbi.cults3d.com/uploaders/18429635/illustration-file/4a447764-9d00-44fe-913d-4005d55382f1/electronics_case.png)

/https://preview3d-images.cults3d.com/30jn0x84gpy270ipjw99q59r3ijc)
/https://preview3d-images.cults3d.com/do7pjp85lvioa0rxs5o0ci9wo4od)
/https://preview3d-images.cults3d.com/hphd6betylxujt5qtsfbf9obpary)
/https://preview3d-images.cults3d.com/j2f2s1vgo4kpol944dqiu0rwxwrc)


