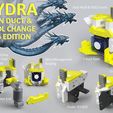
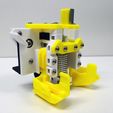
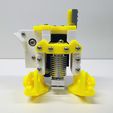
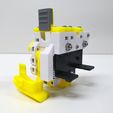
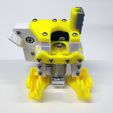
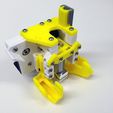
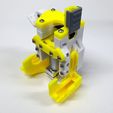
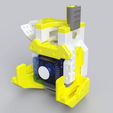
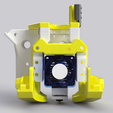
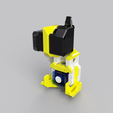
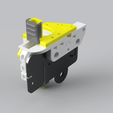
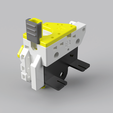
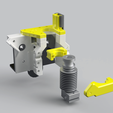
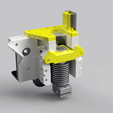
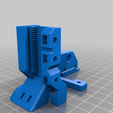
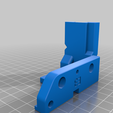
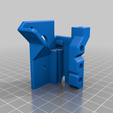
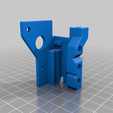
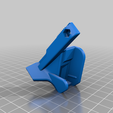
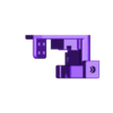
3D model description
I have classed this has WIP because although I have tested the assembly in a mock up to prove the parts work. I have not yet installed on any of my printers has they are too busy printing Face Shields at the moment. I have also included a step file for those that want to tweak the design.
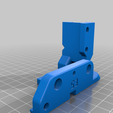
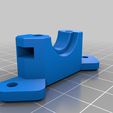
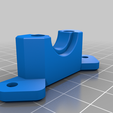
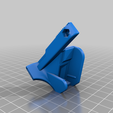
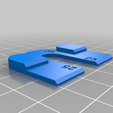
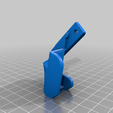
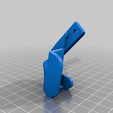
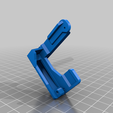
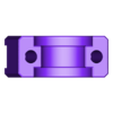
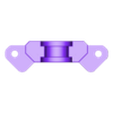
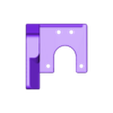
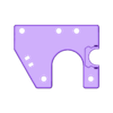
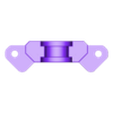
This is a remix of my Hydra Fan Duct to allow the mounting of a V6 Hot End. Please note this thing is the Duct Bases for the Ender 3\CR10 & Ender 5 combined with the V6 Heat Sink Clamp, BL Touch Brackets & Tool Heads. The various ducts can be found at the original thing at the following link: Due to the V6 Heat sink having to move 5.5 mm forward to clear the stock mounting plate\thread inserts the previous Hydra Duct Bases and Tool Heads are not compatible. The original Hydra Ducts will fit this remix.
https://www.thingiverse.com/thing:4062242
General
1.I have retained the M3 socket based connectivity to provide continuity with the original thing.
2.The V6 nozzle is 5.5 mm forward than the stock nozzle, this is due to the heat sink clearing the stock mounting bracket and not the duct base design.
3.I am not sure how the pointless oversized connector that comes with the thermistor cable of the E3D V6 original version will work in context to the wire management routes, I still need to try this. I may use a long lead and another thermistor if this is an issue. There is quite a lot of space just above the heat sink to the left so I do not envisage this being a big problem.
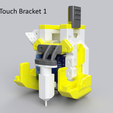
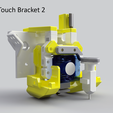
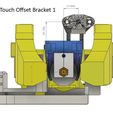
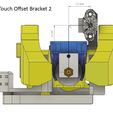
4.The BL Touch brackets are based on the one I have but may not be the correct height for all. They may need further personal modification to suit. Perhaps a slotted version for adjustment.
Hardware
In addition to the items listed in the original Hydra Installation Guides BOM you will need in addition 2 x 20mm long M3 Hex Bolts and M3 Nylocs to fix the 2 parts of the Heat Sink clamp together. You will also require an additional 2 x 12 mm long M3 Hex bolts and Nylocs to fasten the V6 Clamp to the Duct Base. If using the BL Touch brackets a further 2 M3 x 8 mm - 10 mm long Nylocs will be required.
Printing
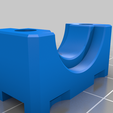
As per the original the parts do not need any support. I have however included some sacrificial layers within the horizontally printed nut sockets to aid bridging. These will need the hole cleaning prior to assembly ( refer to original thing installation guides). The second BL Touch mount may require a raft to provide stability when printing vertically.
My general print settings were 0.2 layer height, 3 perimeters @ 30% infill.
Printed with SunLu Yellow PETG & BQ White PETG on a Hypercube Evo & Ender 3 Pro.
Update 02\04\20
Revised awkward detail for better printing on the Duct Rear Base for Both the Ender 3 & 5. Replaces Version V6B with V6C
Update 10\04\20
Uploaded a series of parts with M3 Brass thermal inserts rather than Nylocs ( parts with allserts @ the end of the file name). I have included 2 versions of the front clamp (front clamp 3) has the nyloc version is still the more robust due to the location of the nuts. This is still WIP I have prototyped the parts successfully but not yet installed. Inserts used below:
https://www.amazon.co.uk/gp/product/B07PMZCP23/ref=ppx_yo_dt_b_asin_title_o01_s00?ie=UTF8&psc=1
Useful Links to Derivatives:
- joinatividad` V2 Remix https://www.thingiverse.com/thing:4652005

/https://fbi.cults3d.com/uploaders/18471635/illustration-file/1ef42039-eb21-46a7-8c95-cd28365d834d/Hydra_V6_Title_Image1.jpg)
