Update:28\05\21
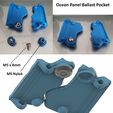
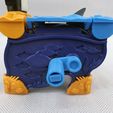
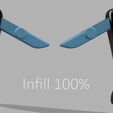
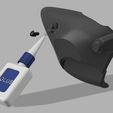
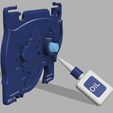
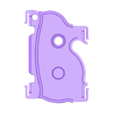
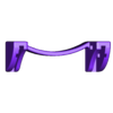
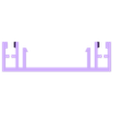
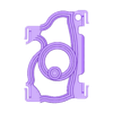
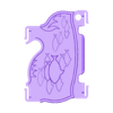
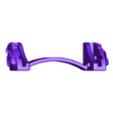
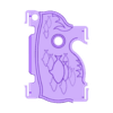
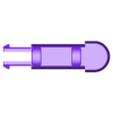
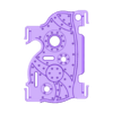
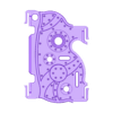
Uploaded RH & LH Ocean Panels with a Ballast Pocket and Lid. This is to help act as a counter weight if there are any issues with primarily the RH panel not closing. I used a M5 Nylok Nut as a weight. This fitted without any rattle and helped a lot regards the panel closing (I did not personally have any issues prior to that but, but this should help). To add further weight there is a 5.5 knock out hole in the lid which will allow for a M5 x 8mm bolt to be bolted through to the nut. The lid is an interference fit but a couple of spots of superglue will add to the longevity of the fix. Any series of washers or combination with a M5 or M4 nut may suffice and help the RH Ocean Panel to close.
I have always wanted to design some automata. This is my first outing with this genre.
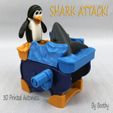
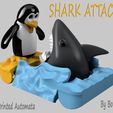
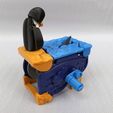
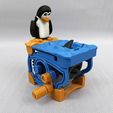
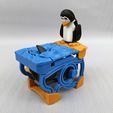
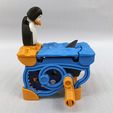
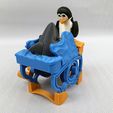
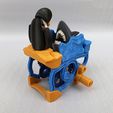
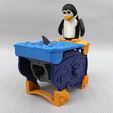
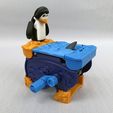
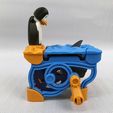
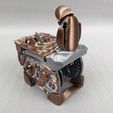
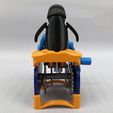
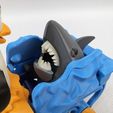
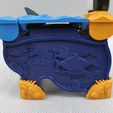
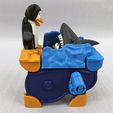
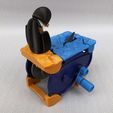
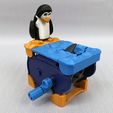
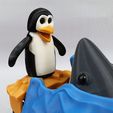
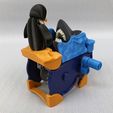
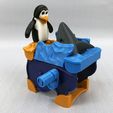
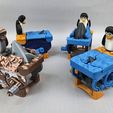
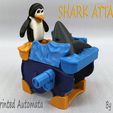
Shark Attack! 3D Printed Automata. A mild-mannered Penguin spies an object in the ocean only for a ferocious shark to lunge out of the depths looking for a meal & snapping its great white teeth!
This has been quite an extensive design engineering challenge to achieve a reliable working design with what is effectively lightweight plastic parts and relatively easy to assemble. There are quite a few components yet they are generally very small and very quick to print.
I did set out at the start of this challenge to produce something that worked and was enjoyable to produce and print. I, therefore, have prioritised towards the adventure rather than value engineering this product. That may well be a future project. I hope you enjoy the experience.
Video1: https://www.youtube.com/watch?v=n3Qxyl6_mQU
Video2: https://www.youtube.com/watch?v=NiBBfYmLVpY&t=22s
Assembly Guide Video: https://www.youtube.com/watch?v=feVB9FN1AXE
Installation Notes:
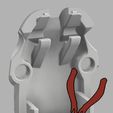
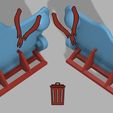
1.All parts are printable without supports. The majority of parts are printed vertically to optimise the FDM layer strength in the clip details and maximise surface print quality. Where necessary I have included some integral stability feet which will require removal with side cutters after printing. This saves using a raft and hopefully will improve print quality off the build plate.
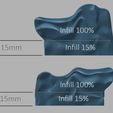
2.To allow the articulated parts to work most effectively I would suggest a 100% infill. The denser the part the more effective they will work as a counterweight. The non-moving parts I have printed at 25 - 30 % infill.
3.I have included a parts list with infill percentages in the download.
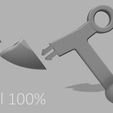
4.Very small parts like the Shark`s Eyes I would suggest gluing for both safety and longevity of the product.
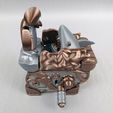
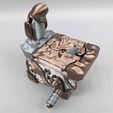
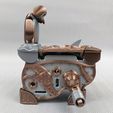
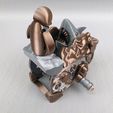
5.Nautilus Punk: If using a dual colour pause process to print side panels the colour change should be set to 3.1 mm.
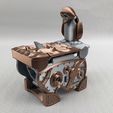
6.Nautilus Punk-Please note: If using a dual colour printing process as per the uploaded images the repeatability of the clip design might be affected by the dual colour print application. It will still work but the small retention details may part over time.
Filaments Used:
1.Penguin Orange parts: Light Brown PLA by AMZ3D
2.Side Panels: Cobalt Blue by Filamentum PLA
3.White Parts: Amazon Basics Pearl White PLA
4.Black Parts: Amazon Basics Black PLA
5.Shark Body: Amazon Basics Dark Grey PLA
6.Light Blue Parts: Amazon Basics Blue PLA
7.Mechanism: Amazon Basics Silver PLA
Nautilus Punk:
Bronze Colour: Dark Rose Gold Silk PLA by Kehuashina
Silver Colour: Silver Silk PLA by ERYONE
Concentric:
1.Side Panels: Cobalt Blue PLA by Filamentum
2.Orange Feet: Light Brown PLA by AMZ3D
Deep Blue Sea:
1.Side Panels: Cobalt Blue by Filamentum PLA
2.Orange Feet: Light Brown PLA by AMZ3D
The parts can also be fully unassembled (I have provided clip release slots in most parts to aid this)so if you enjoy this product you can use the optional Theme Panel Packs to further enhance\extend the experience.
Best Boothy

/https://fbi.cults3d.com/uploaders/18471635/illustration-file/b09c0640-f2b4-4172-99ea-ed733638296b/Shark-Attack-Title-6.jpg)
