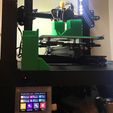
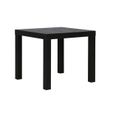
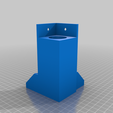
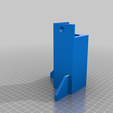
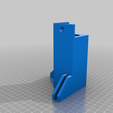
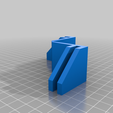
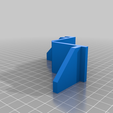
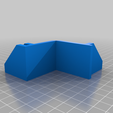
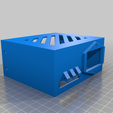
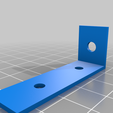
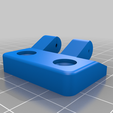
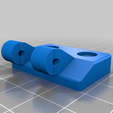
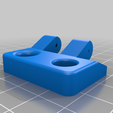
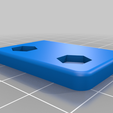
First off this is a collection of files from respectable creators on Thingiverse all in one convenient place to help build a cheap Walmart Mainstays Parsons end table enclosure:
ORIGINAL FILE SOURCES:
Bottom Risers source:
https://www.thingiverse.com/thing:2527450
mainstays riser by ILLGotti is licensed under the Creative Commons - Attribution license.
http://creativecommons.org/licenses/by/3.0/
Top Risers source:
https://www.thingiverse.com/thing:2798973
Mainstays Top wall and door supports by theomne is licensed under the Creative Commons - Attribution license.
http://creativecommons.org/licenses/by/3.0/
Hinges, Handles, Powersupply holder/bracket source:
IKEA Lack Enclosure Creality Ender 3 Compilation by Woody1978 on Thingiverse: https://www.thingiverse.com/thing:3083358
Motherboard Case source:
https://www.thingiverse.com/thing:3522495 Ender 3 enclosure for stock & SKR Mini E3 boards by Usuariu
Screen Case (remixed with mounting holes) source:
BTT TFT35-E3 V3.0 - Free Standing Case by pointybeard on Thingiverse: https://www.thingiverse.com/thing:4514252
Filament guide: Something I made awhile back on Fusion360 :)
INTRODUCTION:
This is to facilitate ease of access and simplicity to others that do not have access to the IKEA store or want to pay more for shipping two IKEA Lack tables to make an enclosure. These files will help you assemble a working enclosure using two Walmart end tables branded Mainstays Parsons. Many of us have at least a Walmart nearby in the United States even in remote areas across the states. The tables are fairly inexpensive and can usually be purchased for $14.98 or sometimes on sale for $9.98 each.
PRINTING:
Bottom/Top Risers:
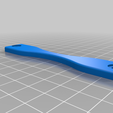
To speed up the process print all the risers in .32 layer height, 50mm/sec speed, at 10% infill (plenty strong) no supports needed, add a brim if your printer has layer adhesion issues or for added security.
Hinges & Handle parts:
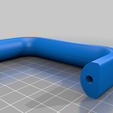
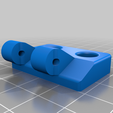
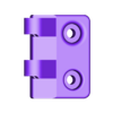
Hinges and the handles for the enclosure can be printed in .2 layer height, 50mm/sec speed, at 30% infill. The only confusing part of the files is there will be two options to print either a pan head style hole hinge or countersunk hinge though it would make since that a left and right hinge of either the pan head or countersunk hinge go together however in CURA before printing I noticed this is not true. It seems like a left pan head hinge interlocks with a left countersunk hinge and vise versa for the right. Experiment here before printing x8 needed hinges.
Screen Case:
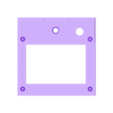
The original Ender 3 screen will fit in the lower left front under the table flush with just enough ribbon cable coming from the back left of the motherboard which is where I recommend you mount the motherboard. Mounting the motherboard back there will save you a headache in extending the factory wiring harness. I used rubber grommets for the hole in the back left of printer to run all the wires through down underneath. Essentially you can reuse your original motherboard case as well just remember to leave at least 1/2" gap above the case lid for the fan to pull in air other wise flush mounting the case to the bottom side of the table will render the cooling fan useless and burn up your board!!! You can use the two diagonal holes to mount the case to the back left leg, fairly simple idea and it worked on my Walmart enclosure build.
(optional) Motherboard case
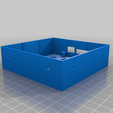
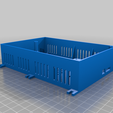
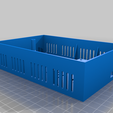
The motherboard case which is optional if you decide to not reuse your original Ender 3 case mounted underneath should be printed at .2 layer height, 40mm/sec speed, at 100% infill, with supports, (print tiny walls option selected). I have yet to print this case and after looking at the file it looks like you would simply mount the case upside down with motherboard cooling fan at the bottom with the lid. You can either use the slots to attach a few screws through into the bottom side of the base table or simply use the red double sided foam tape that is super sticky and strong (will usually say 15lb rating).
UPDATE 26May2021: Added a remix case with mounting tabs!
Filament hole guide:
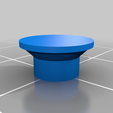
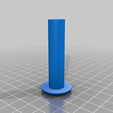
.2 layer height, 40-50mm/sec speed, 100% infill, use a brim. Drill a half inch hole through the top of your enclosure in a location that fits your needs to where your printer would take filament from, mine is center as I am direct feed now. I recommend a few inches from the left edge in line of your extruder if using the factory Bowden setup. The guide tube should stick out about a half inch past the bottom side of the top table when all the way through. Glue it down if you want, though I did not have to as mine fits fairly tight no issues.
Power supply holder and bracket:
.2 layer height, 50mm/sec speed, 100% infill. You want this part strong as it is the most important electronic component of your setup and you do not want it to fail and cause a short or worse a fire!!!
ADDITIONAL MATERIALS/PARTS:
Walls:
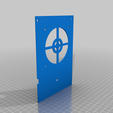
The walls can be made either from 1/8" plexiglass, 1/8" MDF, 1/8" plywood, or even Dollar Tree Foam board is inexpensive and cheap and it fits perfectly in the slots for the walls, keeps the price down substantially, and it is foam so it will be a perfect insulator at moderate temperatures inside. I plan to use the foam board for 3 of walls and use plexiglass for the doors.
Hardware:
3/4" long wood screws should do just fine as the table tops and legs are hollow and does not require much depth of the screw to bite into the material. You will also need a magnetic cabinet latch block to mount at the top and bottom in the middle where the two doors will meet.
THIS IS A WORK IN PROGRESS AND SHOULD WORK, ALMOST 100% CERTAIN AS I AM 90% COMPLETE IN BUILDING MINE

/https://fbi.cults3d.com/uploaders/14399500/illustration-file/a65fee22-4735-443e-9011-094f6cfd075d/enclosureworkinprogress_2.jpg)
