Skip to content

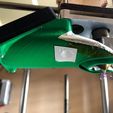
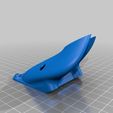
Fan Duct for Ultimaker UMO+ (Modified "Tapir")

Advertising
Advertising
?
Creation quality: 5.0/5 (1 vote)
Evaluation of members on the printability, utility, level of detail, etc.

  • 789 views
  • 5 downloads

License
3D design format
STL Folder details Close
  • Tapir_Fan_Shroud_v1c_for_UMO%2B.stl

Learn more about the formats

3D model size X 59.6 Γ— Y 79.3 Γ— Z 50.8 mm
Publication date 2021-05-30 at 23:03
?
Published to Thingiverse on: 2019-03-24 at 18:13
Design number 440136

3D printer file info

3D model description

I wanted a better fan duct than the standard sheet metal duct that came with my Ultimaker Original Plus (UMO+). Since it has a single fan, cooling airflow was blocked on the right side of whatever I was printing, and overhangs and bridging of PLA were not as good as on the other side.

The Ultimaker 2 and later models address this issue by installing two smaller fans, directing air from both sides for more even cooling. I could have adapted two fans and and dual fan ducts, but I wanted to try improving performance with the single fan I already had. Also I was worried that I might blow out my electronics if I used the wrong fans that drew too much power, since this was an issue for some people. And I felt the cost of two UM2 OEM fans was too much for my simple experiment as well.

This led me to try the "Tapir" fan shroud on Youmagine (https://www.youmagine.com/designs/tapir-shroud-for-ultimaker) by nhfoley. Unfortunately that fan duct was designed for an earlier version Ultimaker than mine (the regular UMO, not the UMO+) and the printhead design is different, preventing it from attaching without modification.

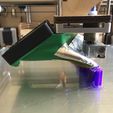
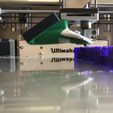
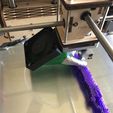
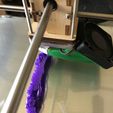
This thing is a modified version of nhfoley's great design. Instead of clamping onto long screws, two shorter screws attach the duct to the printhead aluminum frame from underneath. M3 x 10 mm long screws are what I used. I attached the fan to the duct with two of the original plastite fan mounting screws.

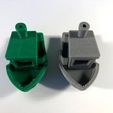
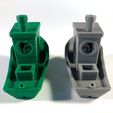
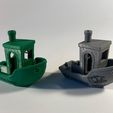
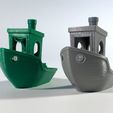
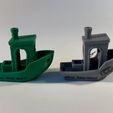
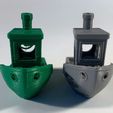
The result is much better overhangs and bridging on all sides of the print. See the before and after photos of the "benchy" print in PLA. The green benchy is with the OEM fan duct and the gray one is with this fan duct. Bridges at the top of the cabin windows and other areas are noticeable improved.

I recommend using a high-temp PLA for this fan duct--the type that is dishwasher safe--just to ensure that it won't warp or sag over time. I added some Kapton tape and aluminum foil tape to protect it from the heater block, but I'm not sure if that's necessary. I've used mine for over a year on many prints with no problems. You should cover the screw holes with some foil tape so that no air leaks out, although that may not be absolutely necessary.

This is a much simpler and cheaper upgrade than going the dual fan route. It has worked so well for me that I haven't bothered with a dual fan even though I eventually bought all the parts to do that.

3D printing settings

-

Advertising


Issue with this design? Report a problem.

Would you like to support Cults?

You like Cults and you want to help us continue the adventure independently? Please note that we are a small team of 3 people, therefore it is very simple to support us to maintain the activity and create future developments. Here are 4 solutions accessible to all:

  • ADVERTISING: Disable your banner blocker (AdBlock, …) and click on our banner ads.

  • AFFILIATION: Make your purchases online by clicking on our affiliate links here Amazon.

  • DONATE: If you want, you can make a donation via Ko-Fi πŸ’œ.

  • WORD OF MOUTH: Invite your friends to come, discover the platform and the magnificent 3D files shared by the community!


Sharing and downloading on Cults3D guarantees that designs remain in makers community hands! And not in the hands of the 3D printing or software giants who own the competing platforms and exploit the designs for their own commercial interests.

Cults3D is an independent, self-financed site that is not accountable to any investor or brand. Almost all of the site's revenues are paid back to the platform's makers. The content published on the site serves only the interests of its authors and not those of 3D printer brands who also wish to control the 3D modeling market.

100% secure payment by credit card, PayPal, Apple Pay, Google Pay, etc.
View all payment options.