Skip to content

Phelps3D Filament Spool Holder

Advertising
Advertising
?
Creation quality: 0.0/5 (0 votes)
Evaluation of members on the printability, utility, level of detail, etc.

  • 886 views
  • 1 like

License
3D design format
STL Folder details Close
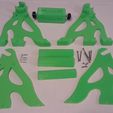
  • Phelps3DSpoolHolder-BackBrace (repaired).stl
  • Phelps3DSpoolHolder-FrontBrace (repaired).stl
  • Phelps3DSpoolHolder-InnerLeg_x2 (repaired).stl
  • Phelps3DSpoolHolder-MiddleBrace (repaired).stl
  • Phelps3DSpoolHolder-OutterLegLeft (repaired).stl
  • Phelps3DSpoolHolder-OutterLegRight (repaired).stl
  • Phelps3DSpoolHolder-SpoolBlock (repaired).stl
  • SpoolHolder8mmVersion-SpoolBlock (repaired).stl

Learn more about the formats

Publication date 2021-06-28 at 20:16
Design number 460849

3D printer file info

3D model description

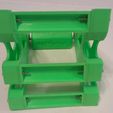
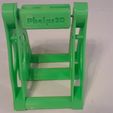
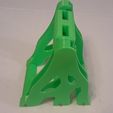
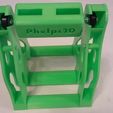
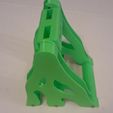
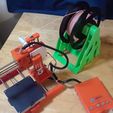
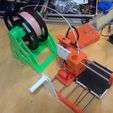
This design was made to accompany a small 3D printer that came with a spool holder way too weak to be used with 1kg spools. Normally I am all about function over form, but who says you can't have both?

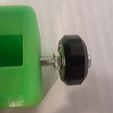
I initially recycled a couple of used v-slot wheel from my Creality Ender 3 after I replaced all of its wheels. Thus there is a 5mm hole in the original, but I also decided to make a version that has a hole for an 8mm rod in case you find it easier to source some 608ZZ style bearings (most common in 3D printing and roller skates).

I used:
2 v-slot wheels
4 M5 Nuts
2 M5x30mm bolts
4 1/2 inch wood screws
6 M3x50mm screws
6 M3 Nuts

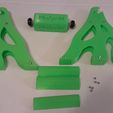
I would line up the inside parts with their corresponding outside legs and then push the 3mm screws into the bottom to help line things up before I screwed the 1/2 inch screws into the two top holes. The three bottom braces are actually designed so they are each different so it should not be difficult to figure out where they go. I ended up screwing them into one side and then using the spool block slid into the notches to assist when placing the other leg on. I then rotated the entire thing so I could reach the inside bottom braces to put the nuts on. Once all parts are correctly aligned and tightened up you should be able to just rotate it to stand it up. If parts are not correctly aligned the holder may wobble on the desk. Loosen and adjust things to get it flat.

3D printing settings

I printed all the parts at 0.2 mm layer height with 25% infill. I printed the leg parts and spool block without supports I did use a small amount of supports on the braces just in the middle of the arches.

Advertising


Issue with this design? Report a problem.

Would you like to support Cults?

You like Cults and you want to help us continue the adventure independently? Please note that we are a small team of 3 people, therefore it is very simple to support us to maintain the activity and create future developments. Here are 4 solutions accessible to all:

  • ADVERTISING: Disable your banner blocker (AdBlock, …) and click on our banner ads.

  • AFFILIATION: Make your purchases online by clicking on our affiliate links here Amazon.

  • DONATE: If you want, you can make a donation via Ko-Fi πŸ’œ.

  • WORD OF MOUTH: Invite your friends to come, discover the platform and the magnificent 3D files shared by the community!


Sharing and downloading on Cults3D guarantees that designs remain in makers community hands! And not in the hands of the 3D printing or software giants who own the competing platforms and exploit the designs for their own commercial interests.

Cults3D is an independent, self-financed site that is not accountable to any investor or brand. Almost all of the site's revenues are paid back to the platform's makers. The content published on the site serves only the interests of its authors and not those of 3D printer brands who also wish to control the 3D modeling market.

100% secure payment by credit card, PayPal, Apple Pay, Google Pay, etc.
View all payment options.