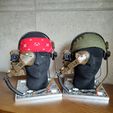
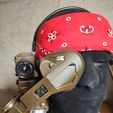
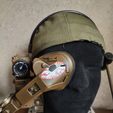
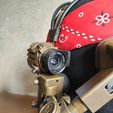
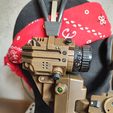
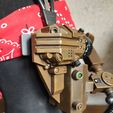
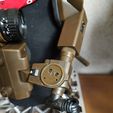
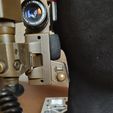
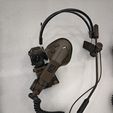
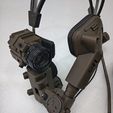
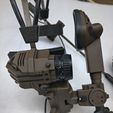
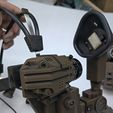
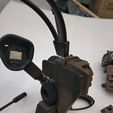
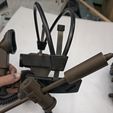
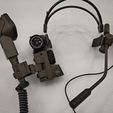
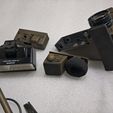
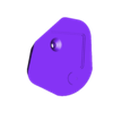
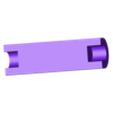
IR viewfinder headband for M56 smartgun camera.
IMPORTANT, original parts are required:
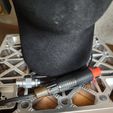
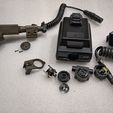
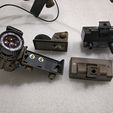
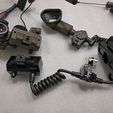
T28 macro flash
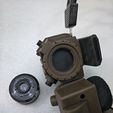
Megatron G1 scope part
Pentax 110 auto 18mm
blue ring vivitar 2500 flash
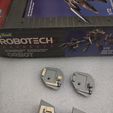
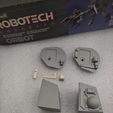
Optional : Revel Robotech ORBOT 1/72, or variable VF-1D Valkyrie 1/72
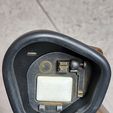
The ORBOT parts are on the inside of the visor and the bottom piece where it supports the face, you can mount the original parts on the plain parts or mount the complete parts made with printer.
Plastruct LF-312
Plastruct LMRR-15
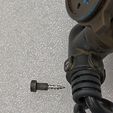
The connectors used are : Lemo 2c and Neutrix XLR LNE FCX
The rubber used in the viewfinder:https://www.recambiosaranda.es/bp043-78x57mm-burlete-negro-pvc-sin-adhesivo-interior_p4275908.htm
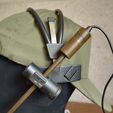
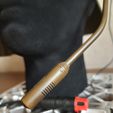
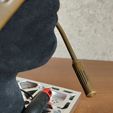
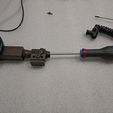
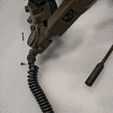
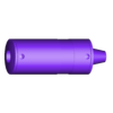
The mic tube is made of 6mm aluminum.
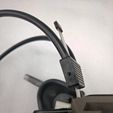
To make the headband I used an inexpensive headset:
https://es.aliexpress.com/item/1005001704771406.html?spm=a2g0o.productlist.0.0.6f773dd2ea0QA5&algo_pvid=7a908a0d-0526-4eca-aec8-5bcc4fe532cb&algo_exp_id=7a908a0d-0526-4eca-aec8-5bcc4fe532cb-0&pdp_ext_f=%7B%22sku_id%22%3A%2212000017225708908%22%7D&pdp_npi=2%40dis%21EUR%2127.09%2113.81%21%21%21%21%21%400b0a01f816696338369877243eff79%2112000017225708908%21sea&curPageLogUid=vUPaLCDgBAde
the headband part of these headphones is worn out, they have been cut to size, they have an internal plate lined with black rubber, you have to make a groove at the ends to attach them to the printed parts with screws of the headphones themselves.
The adjustment plate has been used a windshield wiper, is 7x0,8x90mm
The parts can be mounted by screws, the holes are for reference, you can drill to the size of the screws you use. on the back of the headband are threaded holes to M3 to insert allen screws and lock the position of the headband.
There are two visors with H and without H
The pentax lens can be mounted by turning 90º.
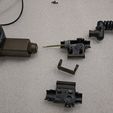
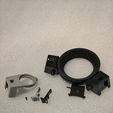
On the vivitar 2500 flash you have to remove the glued aluminum cover to have access to the screws to be able to remove the blue disk.
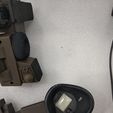
From the T28 flash you use the part of the flash that is screwed to the camera from the inside, the part that supports the face is screwed on the transparent plastic of the flash.
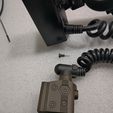
The other part of the articulation and where the blue disk is housed is taken from the battery connector of the flash T28, you have to remove an aluminum cover glued to access the screws to remove it.
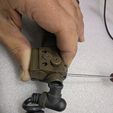
To mount the viewfinder on the Megatron part, first insert the stop and the screw, mount the part that closes the side opening, put the other part of the Megratron part and screw the viewfinder. Then, using a little leverage, insert the T-shaped part of the cable sideways and then turn it so that it is fully inserted into place.
Then you can screw the two parts of the Megatron and the blue disk with part of the T28 flash joint.
The larger parts I have printed with 1.6mm wall and 35% infill to lighten. As the headband is unbalanced I recommend to always wear a cap or scarf on your head, it improves the support a lot.
09/20/21 I have updated the inside of the visor, the piece that supports the face (with original Robotech ORBOT parts) and the mic and rear piece of the mic.
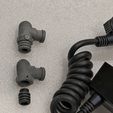
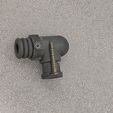
28/3/22 The Flash T28 is the most expensive part, it has two flashes but only one arm (it is on the power supply), so I have made that arm so you can use both flashes, you can print the two pieces or use one of the levers with its screw that are in the ring.
I have also included the pieces of the right and left cross headband with the M3 threads already made.
11/15/22 I have updated the parts "camera" and "inside viewfinder".
The "camera" part can now be printed without the plastuct LF-312, and I have updated the measurements of the ball , plastruct LF-312 and the other black cylinder.
Inside the viewfinder I have updated the measurements of plastruct LMRR-15 and the disk.

/https://fbi.cults3d.com/uploaders/17554324/illustration-file/2517645d-2999-42d2-ac45-ebd76ffb1d6c/IMG_20221206_130707657_HDR.jpg)
