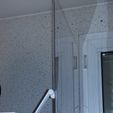
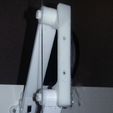
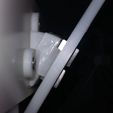
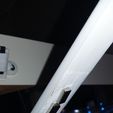
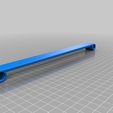
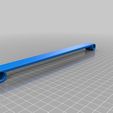
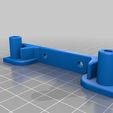
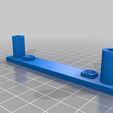
This remix solves the weaknesses of the source.
I have now used this design for 3 years +, opened and closed door about >400 times (carefully). Still holds good. Magnets still strong.
Front door for the IKEA Lack enclosure 490mm
My version of the connectors is for a height of 490mm. (Lack's legs raised). But also works down to 440mm.
If your version has shorter (total) legs length, all you have to do it reduce the height of the front plexi sheet. See example at the end.
The length of the arms (connectors) is adapted for this IKEA LACK Enclosure design : https://www.thingiverse.com/thing:2212749
using the option Upper_Legs_Long_490mm.stl
See my make https://www.thingiverse.com/make:384455 in order to know what to print.
Looks like I can remove my original prusa mk2s when the door is open. No need to dismantle the door.
Parts
Walls and front Door using
4 synthetic glass sheets 2.5mm, 4 x 444 x 490 : can cut that from one 1m2 sheet.
or 3 x 444 x 490 for walls + 444 x 488 for front door for a little more margin and confort.
It is important to use sheets having 2.5mm thickness for the door, no more because of the weight, no less because of the solidity.
Using 2x(4x2) = 16 neodyme magnets : 10 x 5 x 3 mm
Get 20 of these in case you need more strength. This ref or equivalent
https://www.ebay.com/itm/282888360765
3D printing instructions
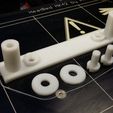
can print everything in PLA if you are confident you have a quite strong PLA, screws printed vertical.
See picture print_orientation_table_mount.jpg
Best is PLA for the connectors and PET for the mount parts.
Screws and threads behave well in PET (low friction).
2x_connector_325mm_v1.stl was a specific request for a 650mm enclosure that you can ignore.
Assembly
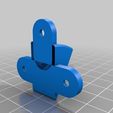
Please notice that the connector_with_hole part is slightly asymmetrical. By about 1-2mm, which might help. Try the orientation that best fits for the alignment of the mags to the triangle.
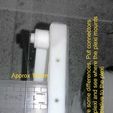
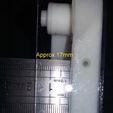
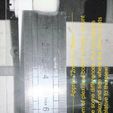
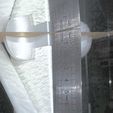
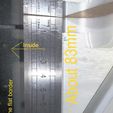
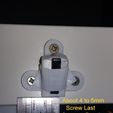
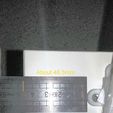
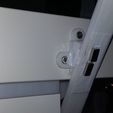
Positioning : look at the pictures they have the measurements in metric system.
Screw first : top of Table Mount parts should be screwed to the legs at 83mm from the roof.
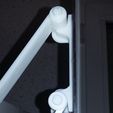
assemble the connectors and the plexi mounts using the screws and washers, just by hand. If necessary, make them play until they rotate fine.
finding the right place for the triangles (don't need the plexi)
left
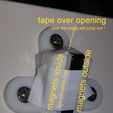
put 2 mags in a triangle (same polarity orientation) + maintain top magnet with some strong tape (else it will jump out !)
add 2 more mags on front of triangle, maintain with some strong tape.
hold with your hand the triangle at very approx final position
push up the left assembly to the top
throw 2 magnets in it, they will orient correctly, close with some tape.
add 2 more magnets again on the tape.
now, find the position for the triangle that maximizes stability, mark with stylus
right, do the same.
once you are confident with all position, screw and stick.
The thing to stick last (and last operation) is to stick the plexi mounts to the plexi. Do it flat on a table. When fully cured, mount the door keeping it STRAIGHT (hold at top center), very carefully.
chipboard wood (aka shitwood) screws to use :
diam 3mm x L20 for the triangles (3 per Triangle, total 6)
diam 4mm x L30 for the mounts (2 per Table Mount, total 4)
https://www.thingiverse.com/thing:36465 for the front door handle
video of door action
https://youtu.be/pxghWBwZGv4
https://youtu.be/WngNIq5Koo4
###Compatibility with the Prusa i3 MK3 ikea Enclosure.
I think that this design is not compatible with the Prusa i3 MK3 ikea Enclosure as is.
Even if you remove the 4 Hinges of MK3 enclosure.
The only problem is that when open, my top connectors touch the upper corners standoffs because of their added plastic thickness of 5mm inward.
The MK3 enclosure by prusa recommends sheets of 440mm horizontal. Just use a 440x440 sheet for the front door.
3DPrint orange at your convenience.
The only change in my pictures is the distance from bottom of plexi to bottom of plexi_mount. Instead of 72-73 mm it would be approx 72-490+440 = 22mm. But the best is to just look where it goes naturally when in bottom position, then stick.
###For shorter legs
If your version has shorter (total) legs length, all you have to do it reduce the height of the front plexi sheet.
For example, if your legs are 440mm, then the plexi sheet for the door should be 444 x 440 or 444 x 438 for some margin of confort.

/https://fbi.cults3d.com/uploaders/19032441/illustration-file/6a206eaa-ddf2-4c35-87a1-928322388a99/20170917_230423.jpg)
