https://www.thingiverse.com/thing:4909868
Adaptador tomas/Brio https://www.thingiverse.com/thing:299039
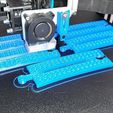
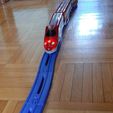
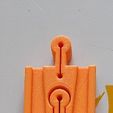
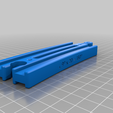
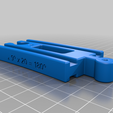
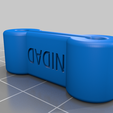
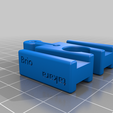
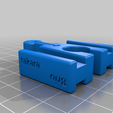
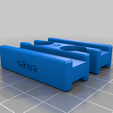
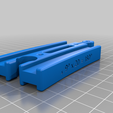
He comprado un tren y el ancho de vía no es exactamente el de las vías de madera tipo “Brio” https://www.brio.net/ , así que he modificado las que imprimía yo para adaptarlas al ancho del tren, coincide con los de https://www.takaratomy.co.jp/ , lo que no coincide es el tipo de conexión entre vías, es decir, no son compatibles, en su conexión, Brio y similares con tetones y Takara son colas de milano. CUIDADO.
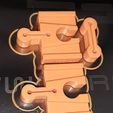
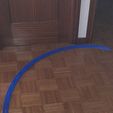
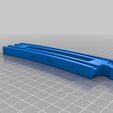
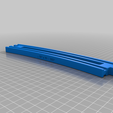
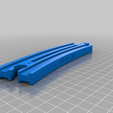
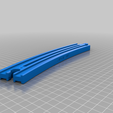
Otro aspecto, por lo que hago estas curvas amplias es que el tren es muy largo y las curvas normales no vale, el tren descarrila fácilmente. Creo que ya no hace falta hacer rectas, pues poniendo curvas de 1500mm de diámetro, una detrás de otra a contra curva, da rectas sinuosas. También hay curva de 1000mm de diámetro y, conexiones macho macho, hembra hembra y conexiones para hacer Brio Takara y Takara Brio.
Por último, los ajustes entre las vías, cuando tienen poca o muy poca holgura, resultan difíciles de montar y desmontar, para niños pequeños, por lo que he dado una holgura suficiente para que absorba esa dificultad, ademas, salvamos los problemas de calibración de la propia impresora 3D, haciendo, alguna vez, imposible de montar.
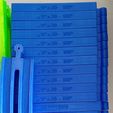
Hay diámetro de curva de 1500mm y 1000mm, así como angulo de la cuerda de la curva de 9 grados y de 18 grados, si tienes una impresora grande puedes elegir que imprimir, pero para impresoras de 200X200 de cama, solo podrás imprimir los tramos de 9 grados de cuerda de curva.
Espero os sirva para algo. Podéis pasar ideas.
Voy ha incluir las curvas normales con un ancho normal, el ancho de vía de Brio, con holgura en las conexiones.
Personalmente lo imprimo con estos parámetros:
Sin soporte
Filamento 1.75mm
Boquilla 0.4mm
Relleno 15% Giroide
Capas superior inferior 5 capas
Altura capa 0.22mm
Perímetros externos 3 y 4 paredes alternas
https://www.thingiverse.com/thing:4909868
Sockets / Brio adapter https://www.thingiverse.com/thing:299039
I have bought a train and the gauge is not exactly that of the “Brio” type wooden tracks https://www.brio.net/, so I have modified the ones that I printed to adapt them to the width of the train, it coincides with those of https://www.takaratomy.co.jp/, what does not match is the type of connection between tracks, that is, they are not compatible, in their connection, Brio and the like with lugs and Takara are dovetails. CAREFUL.
Another aspect, which is why I make these wide curves is that the train is very long and the normal curves are not worth it, the train derails easily. I think it is no longer necessary to make straights, because putting 1500mm diameter curves, one behind the other against the curve, gives sinuous straights. There are also 1000mm diameter bend and, male male, female female connections and connections to make Brio Takara and Takara Brio.
Finally, the adjustments between the tracks, when they have little or very little clearance, are difficult to assemble and disassemble, for young children, so I have given enough clearance to absorb that difficulty, in addition, we save the calibration problems of the 3D printer itself, making it, ever, impossible to assemble.
There are 1500mm and 1000mm curve diameter, as well as 9 degree and 18 degree curve chord angle, if you have a large printer you can choose what to print, but for 200X200 bed printers, you can only print the sections of 9 degrees of bend rope.
I hope it helps you for something. You can pass ideas.
I am going to include the normal curves with a normal gauge, the Brio gauge, with slack in the connections.
I personally print it with these parameters:
Unsupported
1.75mm filament
0.4mm nozzle
Filling 15% Gyroid
Layers upper lower 5 layers
Layer height 0.22mm
External perimeters 3 and 4 alternating walls

/https://fbi.cults3d.com/uploaders/13176503/illustration-file/55406584-e2ee-460f-ae5d-939ec6611e7b/20210711_175705.jpg)
