3D model description
Hi,
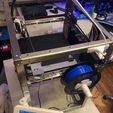
finally I found some time to start the assembly of my group beta SK-Tank.
First of all again thks to Ernest for providing such a tank!!!
Already using a SK-Go² I started my journey into high sophisticated consumer CoreXY printers. After tuning this one to almost perfection, I went through all the issues of using aluminium extrusion built's. Now I finally the next generation has arrived.
Stainless steel frame. And Yes, mechanically its all what I expected.
Even knowing that this is still group beta stuff I got my hands on, its outstanding.
As of today there are only two mechanically flaws, one, the 30mm low holes for the Z endstop can just be solved using a printed part (you not even have to drill the holes like Ernest suggested) Just use two more M3x4mm screw to attach the endstop to the bracket.
The other one, the to small belt tensioner holes can be solved with a 3mm drill an a small file. You just have to drill one hole right to longhole on the side of the pulley (just do the same on the second tensioner symmetrically), than use a small file, preferably a 2.5mm round file to extend the longhole to the drilled hole. This will allow the tensioner to be assembled without the belt rubbing to the frame. (Took me about 20 min for both).
Now the upgrades:
- Front Z-belts tension tool
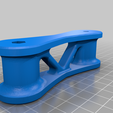
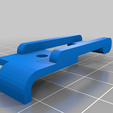
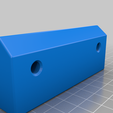
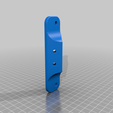
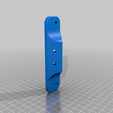
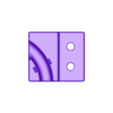
While assembling the front belted Z pulley which also sever for tension the belts, I found it hard to adjust, so I did a tool which bolts on the frame and uses two of the screws of the set to tension the belt by pressing up the pulley bracket. After you tighten the bracket screws, you disassemble the tool and use it on the other side.
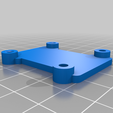
easy to print Belted-Z stepper holder
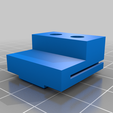
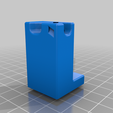
I found it hard to press the nuts into the provided belted-Z stepper holder, so I made minor changes which now allows for an easy aliment of the nuts with the holes. Its also easier to remove the support if you decide to print with support.
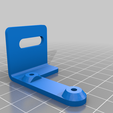
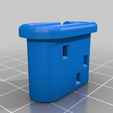
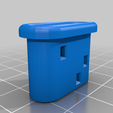
z endstop moved to the front left rail... since if you dont solve the bed drop issues, and the bed drops at the back, when homing z, the front backets will move to far up... also its required to move the endstop if you want to use the belted counterweight setup... ....just did a new version where the endstop bracket bolts to the frame and the finger is now available in two length...
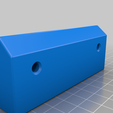
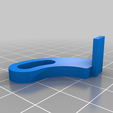
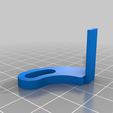
y endstop base bracket... I just hated that the custom was still twisting.. just place this one unter the original and it will stay in a perfect 90 degree angle.....
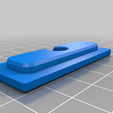
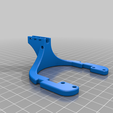
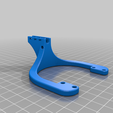
carriage_cable_and_tube_mount will allow you to take the force of the PTFE tube fitting on the extruder. it also servers als anker point for the wires at the extruder... I just modified and added a more clearance version. The basic one also acts a a bumper, stopping the carriage moving to far to the left or right.... but if you experience tolerances and the x endstop is no longer triggered you might want to use the more clearance version. This one should be printed at 100% infill to cover for the thinner part where I added the clearance
Extruder_Frame_Cable_Bracket to take the wire harness in the middle of the back upper frame. It also has a hole for a PTFE tube which can be used inside the harness to prevent it form bending.
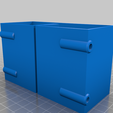
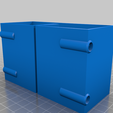
belted z counterweight I just tried to put the counter wight inside the frame and stop if from dangling. not sure using just the upper two pulleys and skip the lower bracket will work as good, but the two pulley setup will work with the kits material. I had 6000RS and the laying around but 608 should also work as wheels for the bucket (use the inserts accordingly to adopt to the M5 diameter), or just print a round disk with a hole in it.....and no worries, on the pictures you see a 6mm belt which fits into the 4 pulleys from another project. You can also just use the 10mm belt and get yourself two more pulleys.
fan duct got its own thing: https://www.thingiverse.com/thing:4879201
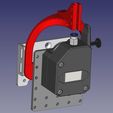
TFT_frame_bracket allows you to mount the https://www.thingiverse.com/thing:4551454
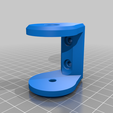
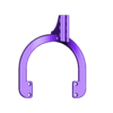
on the frame edges. The setup should allow you for a 270 degree swivel of the display if you use the special bracket...
...This will come with a BTT TFT7 case, so I also did this for the 7inch display:
https://www.thingiverse.com/thing:4883408
,but you should also be able to just screw on the 4.3 inch cover: https://www.thingiverse.com/thing:4874037 onto the swiveling arm...
you might also consider the arm_short stl from this thing, which will provide you with a shorter version which might fit better the smaller display
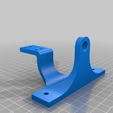
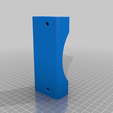
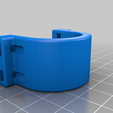
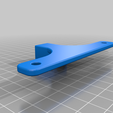
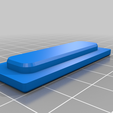
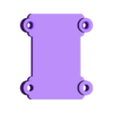
Bed_cable_clamp provides you a clamp which you can just screw on the back z bracket. put the cables into the bend and secure them with a zip tie. This will take away the tension directly to the silicone heater.
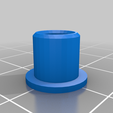
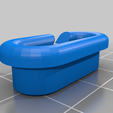
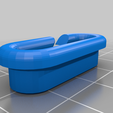
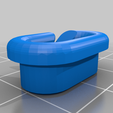
the 20, 25 and 30 files are protections for the holes in the frame and backboard. They come in hole (if you want to retrofit or use plugs which will not fit through the not holed ones and no-hole for initial build
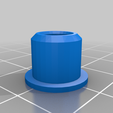
You will find most of the models also als thread insert versions, since I started to use melt in threaded inserts.
FreeCAD files are included if you want to remodel something.
You can also contact me on the SecKit Facebook group.

/https://fbi.cults3d.com/uploaders/19389538/illustration-file/cd100d0d-777f-49aa-9c06-06848b02ef68/Tank.jpg)
