Skip to content

SS Filament Runout Sensor

Advertising
Advertising
?
Creation quality: 5.0/5 (1 vote)
Evaluation of members on the printability, utility, level of detail, etc.

  • 1.6k views
  • 7 likes
  • 43 downloads

License
3D design format
STL and TXT Folder details Close
  • README.txt
  • SS_Filament_Runout_Sensor.stl

Learn more about the formats

Publication date 2021-09-04 at 23:04
?
Published to Thingiverse on: 2021-09-05 at 00:37
Design number 511469

3D printer file info

3D model description

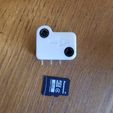
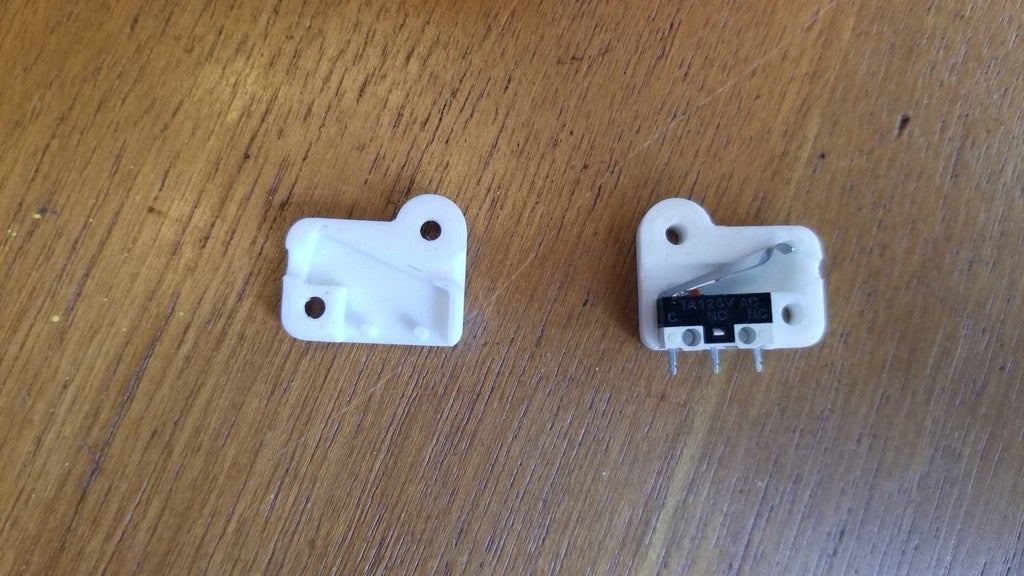
This is my Small & Simple Filament Runout Sensor (microSD card pictured for scale)

My goal was to create a general purpose filament runout sensor that was small, effective, good quality, and built around the cheap and common limit switches that I already had onhand (ordered from Aliexpress).

This filament sensor has the following "features"

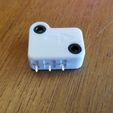
1) Uses common parts (common limit switch, two M3 cap screws)
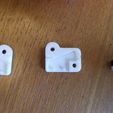
2) Screw holes pass all the way through, so you can use longer screws to affix it to something, or shorter screws (9mm overall length) for a "floating" sensor.
3) Small, fast print. Anyone should be able to print this in a half an hour or less. I made it almost as small as I was able to - I did have a smaller version, but it was only held closed on one side which seemed kind of lame.
4) Internals are shaped so that the filament has a lower chance of getting "caught" when pushing it through (tapered cone to guide the filament to the exit hole).
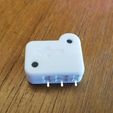
5) Handy arrow on both sides to show the direction the filament should be passing through the sensor.

I printed this on my Anycubic i3 Mega, but I plan to use it with a printer I'm building out of an old Monoprice Maker Select. It should work with most printers though, especially if you know how to configure and flash firmware:

To make this work, you may need to make changes to your firmware, depending on your printer. The switch logic will depend on which pins you wire to. If your printer is already designed to use a mechanical limit switch, be sure to wire it correctly to avoid having to invert the logic in your firmware.

Another option is to use this with Octoprint. In this case it can (optionally) be wired to the GPIO pins on your raspberry pi.

Assembly is pretty straight forward. Put the limit switch in place on top of the two posts (careful not to break them), put the other half on the other side, and screw it together. I just forced the M3 screws in to the screw holes and used them to self-tap the holes, and they hold very firmly. You can do the same, or tap it if you'd prefer. Use M3 screws with an overall length no more than 9mm for a floating limit switch, or longer ones if you want to screw it to a bracket or something - you'll have to make this part yourself.

3D printing settings

-

Advertising


Issue with this design? Report a problem.

Would you like to support Cults?

You like Cults and you want to help us continue the adventure independently? Please note that we are a small team of 3 people, therefore it is very simple to support us to maintain the activity and create future developments. Here are 4 solutions accessible to all:

  • ADVERTISING: Disable your banner blocker (AdBlock, …) and click on our banner ads.

  • AFFILIATION: Make your purchases online by clicking on our affiliate links here Amazon.

  • DONATE: If you want, you can make a donation via Ko-Fi πŸ’œ.

  • WORD OF MOUTH: Invite your friends to come, discover the platform and the magnificent 3D files shared by the community!


Sharing and downloading on Cults3D guarantees that designs remain in makers community hands! And not in the hands of the 3D printing or software giants who own the competing platforms and exploit the designs for their own commercial interests.

Cults3D is an independent, self-financed site that is not accountable to any investor or brand. Almost all of the site's revenues are paid back to the platform's makers. The content published on the site serves only the interests of its authors and not those of 3D printer brands who also wish to control the 3D modeling market.

100% secure payment by credit card, PayPal, Apple Pay, Google Pay, etc.
View all payment options.