3D model description
##RaMRaL??
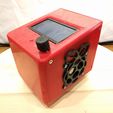
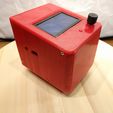
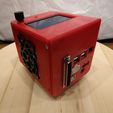
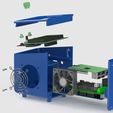
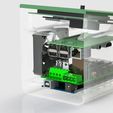
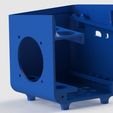
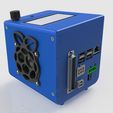
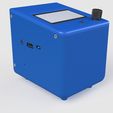
RaMRaL stands for Rasberry-Mega-Ramps-LCD and is my version of a case for the four components that will look good on any desktop. I'm still waiting for the parts but since I used some models that should be correct it should fit just fine.
A warning for RPi3 users
I got a comment that the power leds on a RPI3 have moved and might get damaged from the rear support closest to the power socket as in this image:. I'm working on a new version that fixes this but meanwhile you can use a dremel and just sand it down 3mm
Important notes
The Raspberry is supposed to be powered on the GPIO 5V pin instead of the micro usb to avoid cluttering the side with useless cables. Either take the 5v from one of the servo connections on the RAMPS or glue a 5V voltage regulator to the side of the case.
Apparently there is 2 versions of the 12864 LCD controller and the one I draw this for is the version with the rotary knob in the middle. I'm working on the other version to with the knob furthest to the right side.
##Updates
Update 1:
Added new version of the lid and the body that supports the LCD from reprapdiscounts. The difference is that this LCD only have one button and the rotary knob is to the right.
The bottom of the LCD is also lower on this version so the body file needs to be re-downloaded to according to what LCD you are using.
Update 2:
Added step files to for everyone that doesn't use SolidWorks but still want to edit them.
Update 3 - 11 Mar 2016
Got news that the lid for the reprapdiscount LCD had the holes in the wrong places so I've now updated the file RaMRaL-lid-discountLCD.STL so if you already downloaded it you need to download it again.
Update 4 - 12 Mar 2016
When I printed the box I saw a need to change some of the fasteners so now they are moved from the bakside to the left and right side instead. The new files are named with v2 at the end of the files. If you already have printed the body you can just drill new holes on the left and right side.
The body is also updated to require lot less support since the screws are moved.
Update 5 - 8 Apr 2016
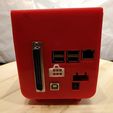
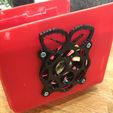
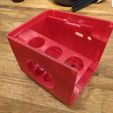
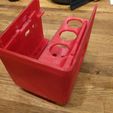
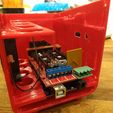
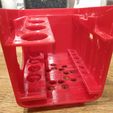
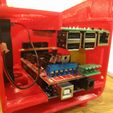
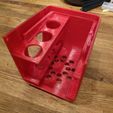
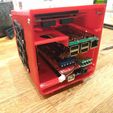
I finally got all my parts and realized that you can't trust that the measurements you find on cad models online is accurate. I had to basically redo most of the parts but now I've uploaded the final parts as you can see in the pictures.
I removed the individual sainsmart STL's since I don't have one of those screens and I can't guarantee that it will fit 100%, they are still there as a packaged file if you want to test them.
##Versions
I've uploaded several versions of the STL's and the zip contains the solidworks originals if anyone want to create some way to attach the box to the printer.
There are a couple of different versions to, some without the holes for the cables at the side and without the SD-slot. I'm never going to use it since the RPi is going to run octopi. There are also a couple of versions of the backside depending on if you want to get the D-sub 37 connector for all the smaller wires and the 6-pin connector for the heatbed or not.
##Print list
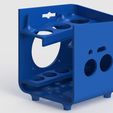
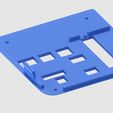
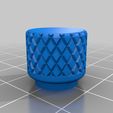
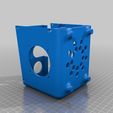
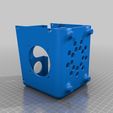
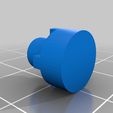
You need one each of the three parts, Body, Lid and rear for the main body, then you need 1 x knob and 2 x button to control the LCD. This is the different versions available:
###Body
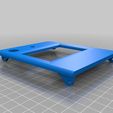
RaMRaL-body-clean.STL = No holes on the side for Cables or SD slot
RaMRaL-body-hole-noSD.STL = Holes on the side for cables but no SD slot
RaMRaL-body-SD.STL = No holes on the side but does have SD slot
RaMRaL-body-hole-SD.STL = Holes on the side for Cables and also SD slot.
RaMRaL-body-hole-noSD-discountLCD.STL = Holes on the side and no SD for type 2 LCD
RaMRaL-body-clean-discountLCD.STL = No holes and no SD for type 2 LCD
###Lid
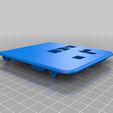
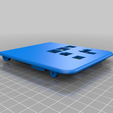
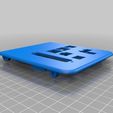
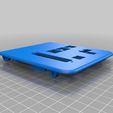
RaMRaL-lid.STL = Standard lid for sainsmart style lid with 2 buttons
RaMRaL-lid-discountLCD.STL = Lid for type 2 LCD
###Rear
RaMRaL-rear-db37-6pin.STL = To use with both DB37 and 6Pin
RaMRaL-rear-db37-no 6pin.STL = Only DB37 and no hole for 6pin connector
RaMRaL-rear-no db37-no 6pin.STL = Neither holes for DB37 nor 6pin connector
RaMRaL-rear-no db37-6pin.STL = No hole for the DB37 connector but opening for the 6-pin power connector
##Shopping list
There are som things that you need to get if you want to make the one with all the connectors at the back and I'll be listing them with links to aliexpress below.
What you need to buy:
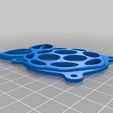
1pcs 60x60x15mm fan and fan guard
1pcs D-SUB 37 Pin Male Plug
1pcs D-SUB 37 Pin Female Jack
1pcs D-SUB Plastic Hood Cover Backshell & Screws for D-Sub 37 Pin
1pcs 6 Pin male and female electrical car connector
Some 3mm nuts and bolts
##Assembly
All parts should fit together nicely and I've designed it so that a minimal use of screws and nuts is needed. The order to assemble the three sides is to start with the top lid over the LCD that will snap into place on the front of the body. After that add the rear plate and fasten that with two screws into the lid and two more screws at the bottom, that way both the rear and the lid will be fastened securely into place.

/https://fbi.cults3d.com/uploaders/15869074/illustration-file/cb632c6d-d4f9-4045-8219-cf913816ce6f/IMG_20160408_230248.jpg)
