Skip to content

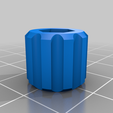
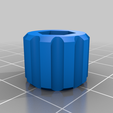
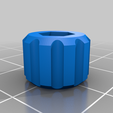
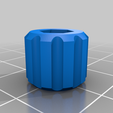
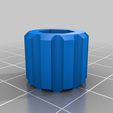
Knob for socket cap-head screws in M3, M4 and M5

Advertising
Advertising
?
Creation quality: 5.0/5 (1 vote)
Evaluation of members on the printability, utility, level of detail, etc.

  • 5.6k views
  • 6 likes
  • 309 downloads

License
3D design format
SCAD and STL Folder details Close
  • M3_nyloc_screw_knob.stl
  • M3_std_screw_knob.stl
  • M4_nyloc_screw_knob.stl
  • M4_std_screw_knob.stl
  • M5_nyloc_screw_knob.stl
  • M5_std_screw_knob.stl
  • knob_for_metric_socket_cap-head_screw.scad

Learn more about the formats

Publication date 2022-02-26 at 00:03
?
Published to Thingiverse on: 2022-02-25 at 14:23
Design number 649555

3D printer file info

3D model description

This is a remix of my M3 screw knob design that seems to be quite popular. I have tidied up the code, made it more reliable to print, and expanded it to cover M3, M4 and M5 socket cap screws.

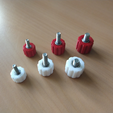
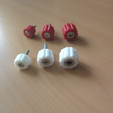
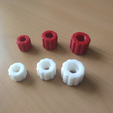
It comes in two flavours: using either a standard nut, or a nyloc nut. In the pictures, the white knobs have standard nuts, and the red have nylocs - note the slightly greater height. The standard nut is easy, and usually very secure. If you feel the need for a more reliable knob then you can use a nyloc nut - but be aware that it is a struggle to fit onto M4 and M5 (M3 is fairly easy). I recommend that the nyloc nut is wound down as far as possible using a spanner/wrench, then pushed into the hexagonal cavity and the screw wound home; the problem is that it's very difficult to hold onto the knob at this point. It will be necessary to hold the outside using a vice or pliers during this process, while trying not to damage the surface.

If you want a secure fixing without the hassle, I recommend using a standard nut and some thread-locking fluid.

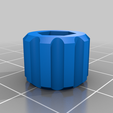
Parameters such as knob diameter, number of grooves around the outside, and so on can be easily changed in the OpenSCAD code. The chamfer.scad library can be found at https://github.com/SebiTimeWaster/Chamfers-for-OpenSCAD/blob/master/Chamfer.scad

3D printing settings

I used 0.2mm layer height, 25% infill, in PLA+. However, you can use whatever settings and materials you are most comfortable with.

Originally I tried printing with support, but found that it was very difficult to get the support material out of the lower cavity. In the end I printed without it, and found that the parts only needed a small amount of clean-up before use.

Advertising


Issue with this design? Report a problem.

Would you like to support Cults?

You like Cults and you want to help us continue the adventure independently? Please note that we are a small team of 3 people, therefore it is very simple to support us to maintain the activity and create future developments. Here are 4 solutions accessible to all:

  • ADVERTISING: Disable your banner blocker (AdBlock, …) and click on our banner ads.

  • AFFILIATION: Make your purchases online by clicking on our affiliate links here Amazon.

  • DONATE: If you want, you can make a donation via Ko-Fi πŸ’œ.

  • WORD OF MOUTH: Invite your friends to come, discover the platform and the magnificent 3D files shared by the community!


Sharing and downloading on Cults3D guarantees that designs remain in makers community hands! And not in the hands of the 3D printing or software giants who own the competing platforms and exploit the designs for their own commercial interests.

Cults3D is an independent, self-financed site that is not accountable to any investor or brand. Almost all of the site's revenues are paid back to the platform's makers. The content published on the site serves only the interests of its authors and not those of 3D printer brands who also wish to control the 3D modeling market.

100% secure payment by credit card, PayPal, Apple Pay, Google Pay, etc.
View all payment options.