My wife wanted me to make her a light house for the front lawn. Light house was easy to make, but I want to add some realism to it.
So I got on thingiverse and create a real rotating light for it.
This project requires some other tools like a drill and a bit of knowledge in wiring up an electrical light and motor.
You have 5 items that need to be printed out. When printed on my machine they all fit fine have have the clearance need between parts. You may have to slightly increase or decrease the main gear base and the motor spacer as needed.
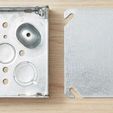
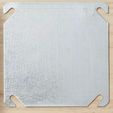
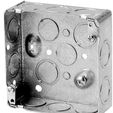
You will also need to get a 4 inch electrical box with a cover.
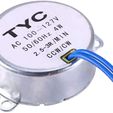
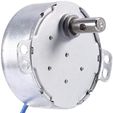
A synchronized 110 volt 2.5 - 3 revolutions per minute motor.
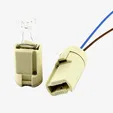
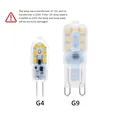
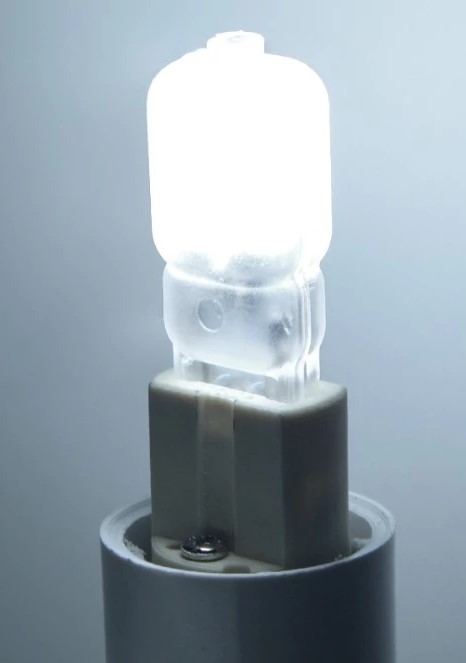
Mini G9 LED.
Male 3 prong electrical plug and a length of wire long enough to go from the top of your lighthouse to the ground.
Links below. Some of these you can get at your Hardware store and may not be as expensive.
Motor -- https://amzn.to/3MTuTTh
G9 Led -- https://amzn.to/3idexH4
4 Inch box -- https://amzn.to/3JeC4n1
Box cover -- https://amzn.to/3KKHl66
3 Prong Plug -- https://amzn.to/3MVlZVq
Wire -- https://amzn.to/37o6g0Q
Putting it all together:
You Tube Video: https://youtu.be/yuPzQ3bicwA
Step 1.
Take you box cover and place the motor on to of it to find out where to drill to hole for the shaft.Make sure that the motor fits within the box and does not over hang the cover plate. Also the motor should have some mounting hole that have to be marked and drill on the cover.
Now place your Main Gear base and mark the spot to drill for the wires.
If you look at the file DO NOT PRINT if will give you a visual of what were doing. Also see the Video.
Step 2:
Mount the Motor and motor spacer onto the cover.
Mount the motor gear onto the motor shaft. The motor I used had a small hole in the shaft. I used a small round wooden toothpick to lock the gear onto the shaft. The toothpick was just the right size and it was right there on my workbench doing nothing.
Step 3 :
Put the small lamp housing and main gear base together.
Place them on the cover above the hole you drilled for the wires as per the Do not print file.
Position the gear base so it is in line with the Motor gear and mark the Main gear base position with a marker on the box cover.
Drill 2 small holes so you can mount the Main gear base to the box cover using some metal screws. After drilling the holes line up the main gear base in the position that you had marked out and drill the hole into the gear base as well. This will make it easier for the metal screws to tap into the plastic. See the Video for a better view of what to do.
Step 4: Wiring
Look at the lamp plug you printed. Slot on top and 2 holes for wires on the bottom.
Cut 2 six inch pieces of wire and pass each one through a hole and solder it to each leg of the G9 lamp.
Push the lamp snuggly into the slot pulling the wires out from the bottom.
Almost done. Take your wire and attach one wire from the motor and one from the light to your cord. Do the same for the second wire. If your cord has a green colored wire use that one to ground your cable to the electrical box.
I will add a picture soon.
Add your 3 prong connector to the other end keeping in mind which wire is the ground.
Double check all your connections and plug it in and stand back and watch your rotating light do its thing.
Tip: you may want to paint the inside of the light dome silver to help it reflect the light more.
You should now have a light that slowly rotates resembling the light in a real lighthouse.
If you have any questions or need clarification on the instructions drop me a message.
PS: There is a picture of a lamp socket that you can buy. I did not use this, we printed our own "Lamp Plug" Although you could always source out the lamp socket and make adjustments for it to be used.

/https://fbi.cults3d.com/uploaders/21335366/illustration-file/47616cc5-36a0-4230-af85-b5248e9b34b2/4inchsquare1.jpg)
