Skip to content

method feeder complete version 2

Advertising
Advertising
?
Creation quality: 5.0/5 (1 vote)
Evaluation of members on the printability, utility, level of detail, etc.

  • 4.6k views
  • 3 likes
  • 16 downloads
  • 2 collections

License
3D design format
STL Folder details Close
  • method feeder V7 Higher 5 mm hole.stl
  • method feeder version 2 part 1.stl
  • method feeder version 2 part 2.stl
  • method feeder V6 Higher 5mm hole.stl
  • method feeder version 2 part 3.stl
  • method feeder version2 part 3 - without hole .stl

Learn more about the formats

Publication date 2022-03-20 at 06:48
Design number 669547

3D printer file info

3D model description

I recommend you also take a look at
NEW : PRACTICAL FEEDERS (3 types 9 variants )

https://cults3d.com/:1906687

my boilise press

https://cults3d.com/:814867

FISHING FEEDER

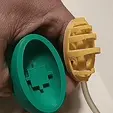
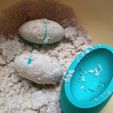
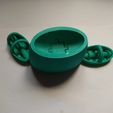
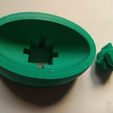
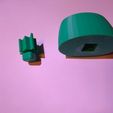
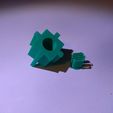
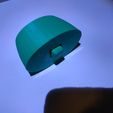
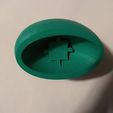
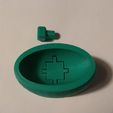
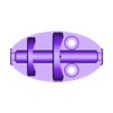
it is two feeders, one extruder .The extruder pushbutton can be pulled out immediately very freely . Compared to the photos I added side cutouts to the extruder so don't be scared :P
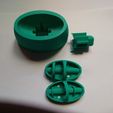
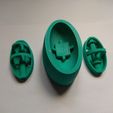
The extruder pusher has a rear stopper and can be pulled out only from the front . The small rear pusher has to be glued inside

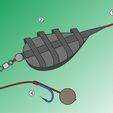
After printing the feeder is very strong. As a replacement for the rubber of the original feeder, it is necessary to use an aquarium tube of 4mm internal diameter. The hole in the feeder is at 5.80mm and I can insert the aquarium tube perfectly
Into these holes if you want you can add a screw and a nut as a weight .

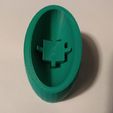
One extruder has a hole for a plug in it and the other one is completely flat without a hole .The second version is if you would like to push the feeder on a flat base

There are two new versions 5,80mm hole + feeder is higher (9,30mm vs 6,8mm and have a lower density of ribbing.!

if your hose went wrong in the feeder hole it would probably be because of the top layer inside the hole .
Use some kind of round file , screwdriver to remove the top excess . Or enlarge (all !!! )objects by 1-2%.
If you would like to use a larger feed tube than 51mm long, remember that you must enlarge all objects equally and use a different diameter tube

if you want more feed versions here is my other link

https://cults3d.com/en/3d-model/various/method-feeder

3D printing settings

feeders I recommend printing only one piece at a time

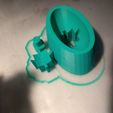
the only support you turn on the hole of the button and then solve it after the bridge and otherwise do not turn on any support.

extruder and pushbutton must be strong - 3 walls 35 % infill
feeder 25 %-100 infill 2 wall
0,2 - 0,28 layer height
Material PLA
teperature 200C
3 bottom layer,3 top layer
infill 100 % 3 walls .

Advertising


Issue with this design? Report a problem.

Would you like to support Cults?

You like Cults and you want to help us continue the adventure independently? Please note that we are a small team of 3 people, therefore it is very simple to support us to maintain the activity and create future developments. Here are 4 solutions accessible to all:

  • ADVERTISING: Disable your banner blocker (AdBlock, …) and click on our banner ads.

  • AFFILIATION: Make your purchases online by clicking on our affiliate links here Amazon.

  • DONATE: If you want, you can make a donation via Ko-Fi πŸ’œ.

  • WORD OF MOUTH: Invite your friends to come, discover the platform and the magnificent 3D files shared by the community!


Sharing and downloading on Cults3D guarantees that designs remain in makers community hands! And not in the hands of the 3D printing or software giants who own the competing platforms and exploit the designs for their own commercial interests.

Cults3D is an independent, self-financed site that is not accountable to any investor or brand. Almost all of the site's revenues are paid back to the platform's makers. The content published on the site serves only the interests of its authors and not those of 3D printer brands who also wish to control the 3D modeling market.

100% secure payment by credit card, PayPal, Apple Pay, Google Pay, etc.
View all payment options.