Skip to content

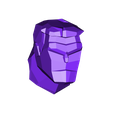
Low Poly Hulk

Advertising
?
Creation quality: 4.4/5 (7 votes)
Evaluation of members on the printability, utility, level of detail, etc.

  • 45.8k views
  • 295 likes
  • 1.7k downloads
  • 3 collections
  • 4 comments
  • 10 makes

License
3D design format
STL Folder details Close
  • Arm_Left.stl
  • Arm_Right.stl
  • Body.stl
  • Cylinders_MinusPointOneOffset.stl
  • Cylinders_MinusPointThreeOffset.stl
  • Cylinders_MinusPointTwoOffset.stl
  • Cylinders_ZeroOffset.stl
  • Foot_Left.stl
  • Foot_Right.stl
  • Hand_Left.stl
  • Hand_Right.stl
  • Head_Front.stl
  • Head_Up.stl
  • UpperLegs.stl

Learn more about the formats

Last update 2018-06-11 at 23:01
Publication date 2015-09-14 at 14:36
Design number 3295

3D printer file info

3D model description

This is my first attempt to design a low poly figure. Like many, I'm a big fan of comic books, toys, and superhero movies so I wanted to design a 3D print that covered these three areas. I wanted the design to be simple yet iconic so I chose the Hulk. He has minimal costume, bright colors, and a lot of muscles! I had a lot of fun on this project and I learned a few things along the way so I hope you can, too. Happy 3D printing!

Follow me on Instagram at 'biglildesign' and see how the Low Poly Hulk was made.

3D printing settings

Low Poly Hulk
- 6" tall (153.6mm)
- Multi-part Assembly (Head, Body, Arms, Hands, Upper Legs, Feet, and Cylinders)
- The Low Poly Hulk shown in the photos was printed on a Makerbot Replicator 2 at 200 microns in PLA filament. The head was printed at 100 microns.
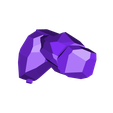
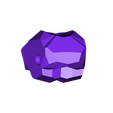
- I recommend printing 'Head_Front' for better surfacing on the face but if this orientation is not stable on your print bed, then use 'Head_Up'.
- All the parts require support except the feet and upper legs. The body will have minimum support.
- Before painting acrylic paint, I sprayed Adhesion Promoter by Duplicolor. This is not required in order to paint acrylic onto these parts.
- Acrylic Paints: Apple Tart (green), Purple, Black, and White
- After painting, I super glued the hands to the arms, feet to the upper legs, and head to the body.
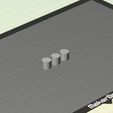
- I used neodymium magnets to connect the arms and upper legs to the body for articulation. The magnets are 9mm diameter and 4mm thick. In case you don't have these magnets, I've included 'Cylinders' to connect the parts. Choose which tolerance is the best fit for your 3D print.
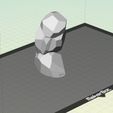
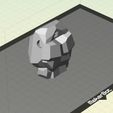
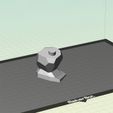
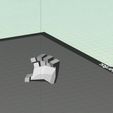
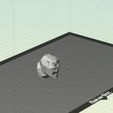
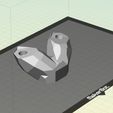
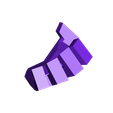
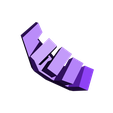
- I've provided screenshots to show the orientation of each part on the 3D printer platform.
Good luck and happy 3D printing!

Advertising


Issue with this design? Report a problem.

Would you like to support Cults?

You like Cults and you want to help us continue the adventure independently? Please note that we are a small team of 3 people, therefore it is very simple to support us to maintain the activity and create future developments. Here are 4 solutions accessible to all:

  • ADVERTISING: Disable your banner blocker (AdBlock, …) and click on our banner ads.

  • AFFILIATION: Make your purchases online by clicking on our affiliate links here Amazon.

  • DONATE: If you want, you can make a donation via Ko-Fi πŸ’œ.

  • WORD OF MOUTH: Invite your friends to come, discover the platform and the magnificent 3D files shared by the community!


Sharing and downloading on Cults3D guarantees that designs remain in makers community hands! And not in the hands of the 3D printing or software giants who own the competing platforms and exploit the designs for their own commercial interests.

Cults3D is an independent, self-financed site that is not accountable to any investor or brand. Almost all of the site's revenues are paid back to the platform's makers. The content published on the site serves only the interests of its authors and not those of 3D printer brands who also wish to control the 3D modeling market.

100% secure payment by credit card, PayPal, Apple Pay, Google Pay, etc.
View all payment options.