Skip to content

LED Nameplate Display 9v

Advertising
Advertising
?
Creation quality: 5.0/5 (1 vote)
Evaluation of members on the printability, utility, level of detail, etc.

  • 1.7k views
  • 1 like
  • 23 downloads

License
3D design format
STL Folder details Close
  • LED-Name-Display-Stand-BatteryPlate.stl
  • LED-Name-Display-Stand-Body.stl
  • LED-Name-Display-Stand-BottomPlate.stl
  • LED-Name-Display-Stand-LED-Spacing-Template.stl
  • LED-Name-Display-Stand-Top.stl

Learn more about the formats

Publication date 2022-03-25 at 00:02
?
Published to Thingiverse on: 2022-03-24 at 22:25
Design number 673588

3D printer file info

3D model description

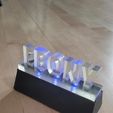
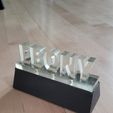
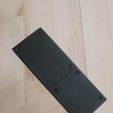
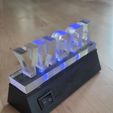
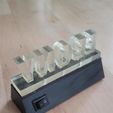
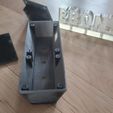
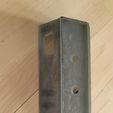
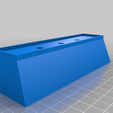
So a friends dog recently passed away and i wanted to make them something to remember her by. I decided to make an LED lit Name display. i did this all within 6 hours, from concept to finished product, you can see the paint hasn't even fully dried in the photos above. Anyway since it turned out so great, i figured i would share in the event someone else likes the idea.

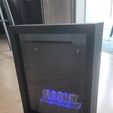
Make sure everything works, snap everything into their spots, and screw on the bottoms. I also put on some small black furniture pads. Thats all, you have a display for a desk or shelf, or like me, a shadow box.

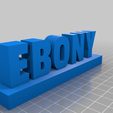
You can make your own customized name display with a couple of very simple steps. First, Generate your name on this free site: https://text2stl.mestres.fr/en-us/generator (make sure you use the correct type of shape. You will want your base to be about 10mm thick to accomodate the LED's. Then you can simply import your output.stl file generated by that site into Tinkercad. Also import the "LED-Name-Display-Stand-LED-Spacing-Template.stl" . Then resize and adjust the dimensions such that the base measures 27mm wide by 130mm long. Center the spacing template as negative space and group them together and that's it. Export the file and you have your custom name plate ready.

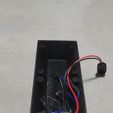
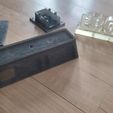
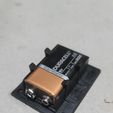
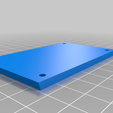
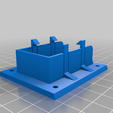
Then Print the 3 files, which include the base and 2 bottom plates, one of which has a mount for a 9v battery. Its a simple wiring job, Run the positive from the 9v pigtail to the middle pole on the switch, then the outside pole runs to your first LED's Anode (positive). if you have an LED that is not wired up, the anode is the longer wire. Leaving the shorter wire to be the cathode or negative. If you have LED's that have wires, you will typically have a colored wire for positive (Anode) and then black for negative (Cathode). You then connect the Cathode of the first LED to the Anode of the 2nd and repeat that process for the 3rd LED. Then the Cathode of the last LED in the series runs to the 9v negative wire. I used 12v LED's, so i did not need a resistor or anything, Make sure to use a LED resistor calculator if you use lower voltage LED's.

Parts i used:

5mm LEDs: https://www.amazon.com/gp/product/B08G4X23BR
LED Mount Clips: https://www.amazon.com/gp/product/B01LX8JVG7https://www.amazon.com/gp/product/B01LX8JVG7
9v Pigtail: https://www.amazon.com/gp/product/B07TRKYZCH
Switch: https://www.amazon.com/gp/product/B07S2QJKTX

3D printing settings

-

Advertising


Issue with this design? Report a problem.

Would you like to support Cults?

You like Cults and you want to help us continue the adventure independently? Please note that we are a small team of 3 people, therefore it is very simple to support us to maintain the activity and create future developments. Here are 4 solutions accessible to all:

  • ADVERTISING: Disable your banner blocker (AdBlock, …) and click on our banner ads.

  • AFFILIATION: Make your purchases online by clicking on our affiliate links here Amazon.

  • DONATE: If you want, you can make a donation via Ko-Fi πŸ’œ.

  • WORD OF MOUTH: Invite your friends to come, discover the platform and the magnificent 3D files shared by the community!


Sharing and downloading on Cults3D guarantees that designs remain in makers community hands! And not in the hands of the 3D printing or software giants who own the competing platforms and exploit the designs for their own commercial interests.

Cults3D is an independent, self-financed site that is not accountable to any investor or brand. Almost all of the site's revenues are paid back to the platform's makers. The content published on the site serves only the interests of its authors and not those of 3D printer brands who also wish to control the 3D modeling market.

100% secure payment by credit card, PayPal, Apple Pay, Google Pay, etc.
View all payment options.