Skip to content

Evangelion - Spear of Cassius

Advertising
Advertising
?
Creation quality: 5.0/5 (1 vote)
Evaluation of members on the printability, utility, level of detail, etc.

  • 5.4k views
  • 22 likes
  • 62 downloads

License
3D design format
STL Folder details Close
  • 1a.stl
  • 1b.stl
  • 2a.stl
  • 2b.stl
  • 3a.stl
  • 3b.stl
  • Peg 9.5.stl
  • Peg4.5.stl
  • Spear of Cassius Spearhead.stl
  • Spear of Cassius body.stl
  • Spear of Cassius pummel.stl
  • p1a.stl
  • p1b.stl
  • p2.stl
  • p3.stl
  • p4a.stl
  • p4b.stl

Learn more about the formats

Last update 2024-01-05 at 14:14
Publication date 2022-04-19 at 09:16
Design number 698583

Goowah

3D printer file info

3D model description

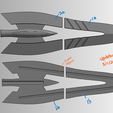
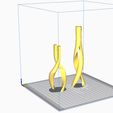
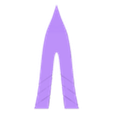
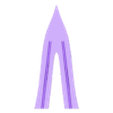
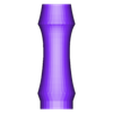
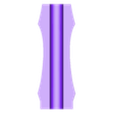
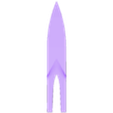
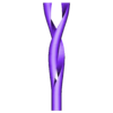
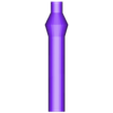
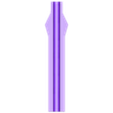
This model is cut come with 3 main parts, Spearhead, body and pummel.

The length of the body is 180mm. You can print multiple pieces and join together to achieve the total length you wish to have.

Spearhead and pummel is cut into pieces to fit in Ender 3 with 200mm x 200mm x 200mm platform size. An uncut file also included just in case you want to cut it yourself to fit in your printer.

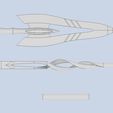
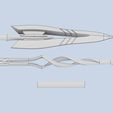
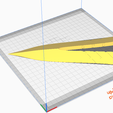
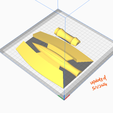
To avoid using support, you can refer to the picture of arrangement of pieces on the printing bed in the preview section.

The spearhead is quite straight forward to build. Once printed, glue pieces a and b together to form a part. Repeat the same for the other pairs and join all the parts together to form the spearhead.

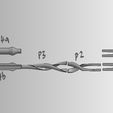
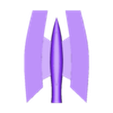
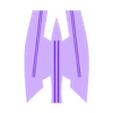
For pummel, building process will be the same like spearhead, but please take not on the pieces p2. It is separated pieces. It is join to each side of part p1 and p3. I will suggest you to print all the pieces make it into part first. Then you can figure out which side to join. It should be quite easy with the help of picture in the preview section.

For the file names, there is picture of pieces label with their names in the preview section where you can refer to.

For scaling please use the same scale for all the pieces.

Cheers and Happy Printing!

====UPDATE====
5th January 2024
1. Update on the spearhead for a symmetry design
2. Adding extra tunnels with a 5mm diameter on the spearhead for easier alignment and bone installation purposes.
3. Adding "peg" files, cylinder with 4.5mm and .5mm for alignment and bone installation purposes. This is optional to print if you can get material with similar dimensions.
4. Revised the cutting placement.
5. The old version is removed.

Advertising


Issue with this design? Report a problem.

Would you like to support Cults?

You like Cults and you want to help us continue the adventure independently? Please note that we are a small team of 3 people, therefore it is very simple to support us to maintain the activity and create future developments. Here are 4 solutions accessible to all:

  • ADVERTISING: Disable your banner blocker (AdBlock, …) and click on our banner ads.

  • AFFILIATION: Make your purchases online by clicking on our affiliate links here Amazon.

  • DONATE: If you want, you can make a donation via Ko-Fi πŸ’œ.

  • WORD OF MOUTH: Invite your friends to come, discover the platform and the magnificent 3D files shared by the community!


Sharing and downloading on Cults3D guarantees that designs remain in makers community hands! And not in the hands of the 3D printing or software giants who own the competing platforms and exploit the designs for their own commercial interests.

Cults3D is an independent, self-financed site that is not accountable to any investor or brand. Almost all of the site's revenues are paid back to the platform's makers. The content published on the site serves only the interests of its authors and not those of 3D printer brands who also wish to control the 3D modeling market.

100% secure payment by credit card, PayPal, Apple Pay, Google Pay, etc.
View all payment options.