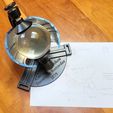
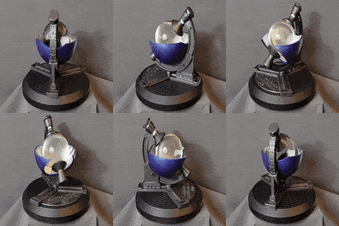
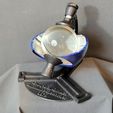
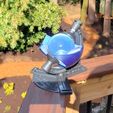
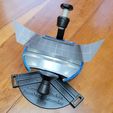
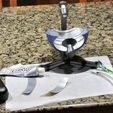
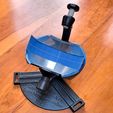
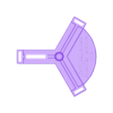
This is a Campbell-Stokes sunshine recorder. Using this device weather stations around the world have recorded the time and duration of sunlight at hundreds of locations for well over a century. Investigators can reference this treasure trove of data to map long-term weather trends, or merely to check if the sun was out at 10AM on April 3, 1921, in Glasgow, Scotland (which it probably wasn't).
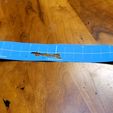
Here's how it works: A clamp holds a glass or resin orb and a hemi-spherical bowl centered on that orb. The bowl has grooves that hold a strip of paper such that sunlight passing through the orb reaches its focal point at the paper, scorching or burning it. As the Earth rotates, the apparent movement of the sun draws this focal point in a line across the strip of paper. By measuring the length of the scorched line, you can add up the hours of sunlight in a given day. You can also tell when the sun was out and when it wasn't. Ideally, you screw it into a rock or building and leave it there for a century. You hope that no trees or buildings pop up over that century to obstruct a clear line of sight to the sun. Then, once each evening after sundown, you or your descendant removes that day's paper and insert the next. The bowl has 3 paired grooves, allowing you to change the location of the strip to match the season and the sun's relative peak in the sky.
There are safety drawbacks to this device:
- Fire! To even work, this project must focus a patch of sunlight tightly enough to burn paper or plastic. Random sunlight on the orb can start fires all by itself, without the orb even being installed in this device (incidentally, that's how Campbell came up with the idea, according to legend). Do not set the orb or the entire project in line of site with the sun unless it's a location with nothing that can burn or melt. As a lens, a sphere is omni-directional. That means light coming from any direction will be focused at a potentially dangerous location. Do not put it in an indoors window sill, even just for display!
- Blindness! Focusing a 100mm diameter patch of sunlight into a 1-2mm diameter patch results in an incredibly bright point of light that WILL blind you at least temporarily in at least part of your visual field if you look at it. And you will look at it, to verify it's focusing, to verify it's burning, and just out of curiosity. The solution is welding goggles. I put them on any time I approach this device under an open sky, but even with them the light can be painfully bright and glances are better than stares. Furthermore, you MUST keep this device away from anyone (kids, unaware adults) who might look at it and blind themselves.
In addition to printing the major parts in PLA, I recommend printing the parts labelled "Grip_Pad" in flexible filament. If you don't have access to flexible filament, you could make this part out of a circle of flat rubber such as a cut up bicycle tire inner tube.
I considered making the orb myself, but realized I would spend as much on clear liquid resin as it would cost to simply order an optically functional orb online. I went with the 100mm "K9 Crystal Sphere Ball" by Duosony on Amazon.com for $19. Different sizes and materials will result in orbs with different focal distances, which may mean you have to adjust the model for yours.
Print it strong-- thick walls are a must. You'd be surprised how heavy the orb is. Also, I had to "floss" the bowl's grooves with sandpaper to get them smooth enough to slide in the paper strips.
Once you have all your parts printed, you'll need 10 M3 bolts and nuts to hold it together.
Next you need to line the bowl with aluminum to keep it from melting during use --a lesson learned from experience. This part is quite dangerous as you'll be cutting an aluminum can into strips. Cut aluminum cans are basically springy razor blades that are sharp on all edges. Use gloves and great caution. Kids should NOT attempt this part. Print out the file "Aluminum Strip Templates.pdf" and cut each template out.
Trace each template onto the shiny side of an opened aluminum can. You can then cut out the strips with regular scissors. Be sure to immediately label each strip on the non-shiny side with the number on the template. Then you can glue the strips to the bowl using E6000 or similar glue. Clean up any glops of glue with nail polish remover and a cotton swab.
And there you have it. Print and cut out the paper strips to fit in your bowl. Take it outside and let the sun write a diary of its day for you. Just PLEASE, use strong eye protection at all times and use only somewhere that sudden meltdown and even fire would not cause harm. Enjoy!

/https://fbi.cults3d.com/uploaders/13100539/illustration-file/666869f6-cbaf-44ea-a9cb-f2b965c5cf9d/resized_20220415_125354.jpg)
