Skip to content

Artemis Snowpeak PP750 Grip Adapter

Advertising
Advertising
?
Creation quality: 5.0/5 (1 vote)
Evaluation of members on the printability, utility, level of detail, etc.

  • 2.9k views
  • 6 likes
  • 5 downloads
  • 1 collection

License
3D design format
STL Folder details Close
  • PP750_AR_style_grip_left.STL
  • PP750_AR_style_grip_right.STL

Learn more about the formats

Publication date 2023-07-06 at 08:28
Design number 1309194

3D printer file info

3D model description

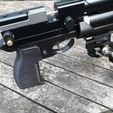
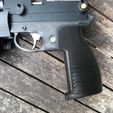
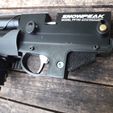
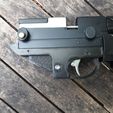
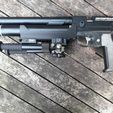
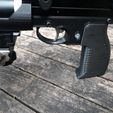
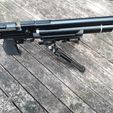
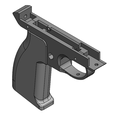
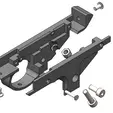
I wanted to try a more vertical grip on my PP750, so I made this adapter, which replaces the original grip for an AR-15 style one. I only tested it with one grip, but you can fit any grip you want, as long as it does not have the curved part on the top. Important to note that the trigger pull will be somewhat heavier, but this could perhaps be reduced by sanding the contacts between the 3D-print and the metal trigger parts. The grip in the picture is not included.

It uses stock bolts and 2x M5 lock nut, 1x M5x12 internal hex bolt and 2x M3x16 bolts. And an M5 bolt for attaching a grip.

Assembly is very straightforward.

I would recommend depressurising the air cylinder, though it is not strictly needed. Then unscrew the screw in front of the trigger guard and at the back of the gun beneath the hammer spring adjustment screw. The whole trigger/grip assembly should come right off. BE CAREFULL NOT TO LOSE THE SMALL SPRING. Place all the trigger components in the same place in the printed part. The exploded view with all the bolts and nuts is included in the images. Make sure to instert the small spring back into the hole in the body of the gun before fastening the adapter in place.

Please note that this is still a plastic part, therefore is will never be as strong as the original aluminium grips. Use at your own risk and please use common sense when handling it. I want to make it out of PLA Pro from Polymaker, but have not been able to do this yet, the standard PLA I used works as well.

Let me know if there is anything wrong, or if you have any questions.

3D printing settings

It is a structural part, which needs to be able to hold back the hammer spring, so I would recommend to not cheap out on filament.

Perimeters: at least 4
Infill: at least 30% (higher is better)
Supports: yes, everywhere (you will be printing some parts in the air, so make sure your printer can handle it)

It is naturally best to just print it at 100% infill, but that would obviously require more filament. Mine are 39 grams together, printed with the settings above.

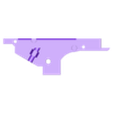
I recommend printing them on the largest flat surface. This way the part will be the strongest.

Advertising


Issue with this design? Report a problem.

Would you like to support Cults?

You like Cults and you want to help us continue the adventure independently? Please note that we are a small team of 3 people, therefore it is very simple to support us to maintain the activity and create future developments. Here are 4 solutions accessible to all:

  • ADVERTISING: Disable your banner blocker (AdBlock, …) and click on our banner ads.

  • AFFILIATION: Make your purchases online by clicking on our affiliate links here Amazon.

  • DONATE: If you want, you can make a donation via Ko-Fi πŸ’œ.

  • WORD OF MOUTH: Invite your friends to come, discover the platform and the magnificent 3D files shared by the community!


Sharing and downloading on Cults3D guarantees that designs remain in makers community hands! And not in the hands of the 3D printing or software giants who own the competing platforms and exploit the designs for their own commercial interests.

Cults3D is an independent, self-financed site that is not accountable to any investor or brand. Almost all of the site's revenues are paid back to the platform's makers. The content published on the site serves only the interests of its authors and not those of 3D printer brands who also wish to control the 3D modeling market.

100% secure payment by credit card, PayPal, Apple Pay, Google Pay, etc.
View all payment options.