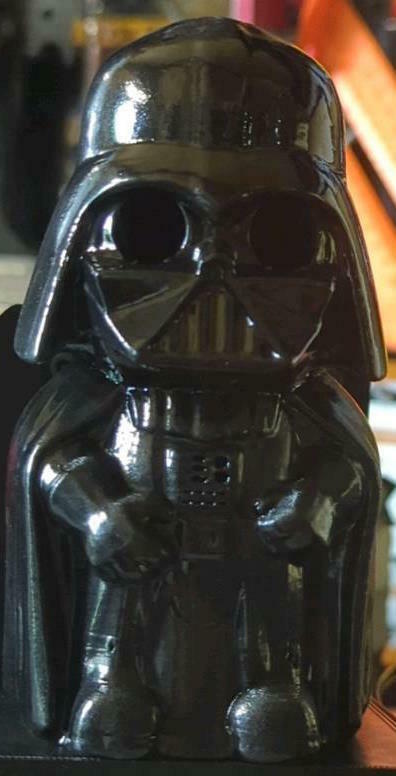
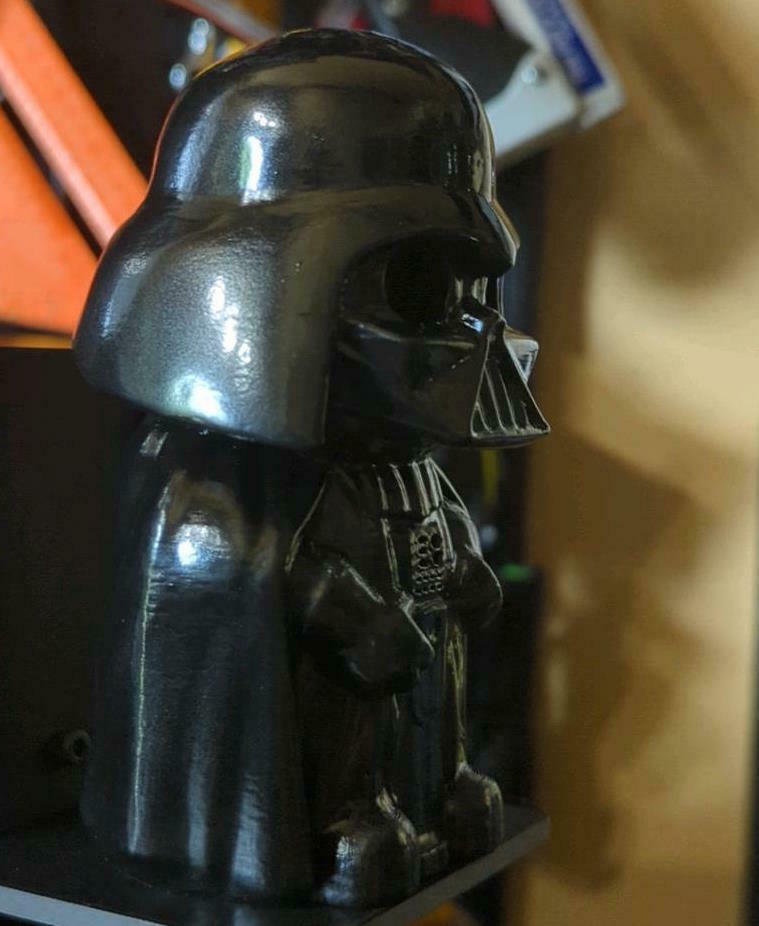
Darth eVader 3rd Brake Light
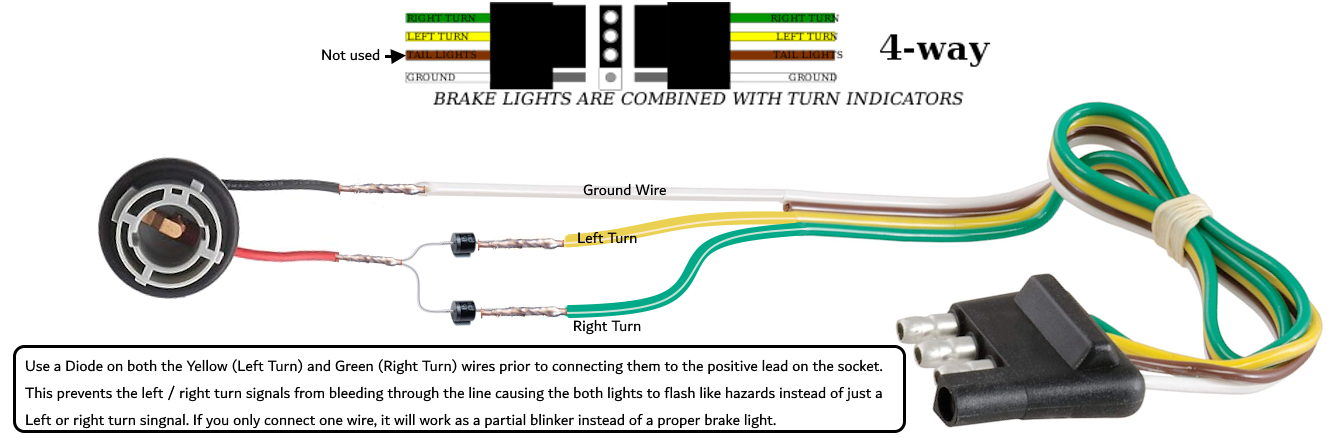
I came across the original Darth Vader trailer ball cover a while ago and thought it was awesome,link but I don’t generally leave the ball on my vehicle so I decided to try to make myself a 3rd brake light / hitch cover with it instead. My vehicle uses the flat 4 pin connector, so if yours uses something different, you'll need to figure out your own wiring diagram. Due to the heat this is exposed to and for greater durability, I'd recommend making this in ABS or another high heat material.
This is printed in 4 parts to make printing easier, fit on smaller build plates, and to make it easier to replace parts later if needed.
A – Darth e-Vader
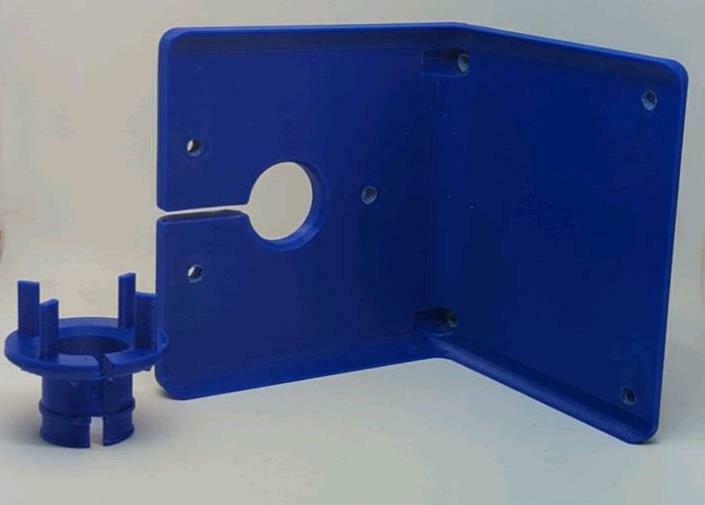
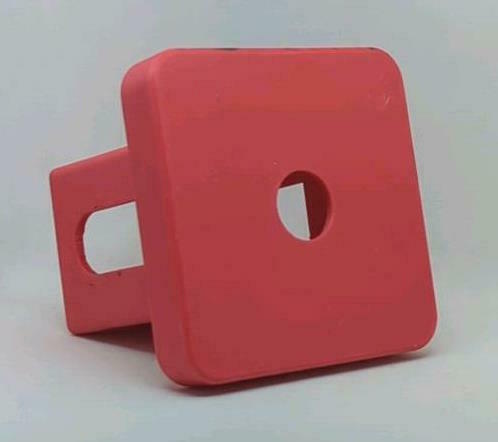
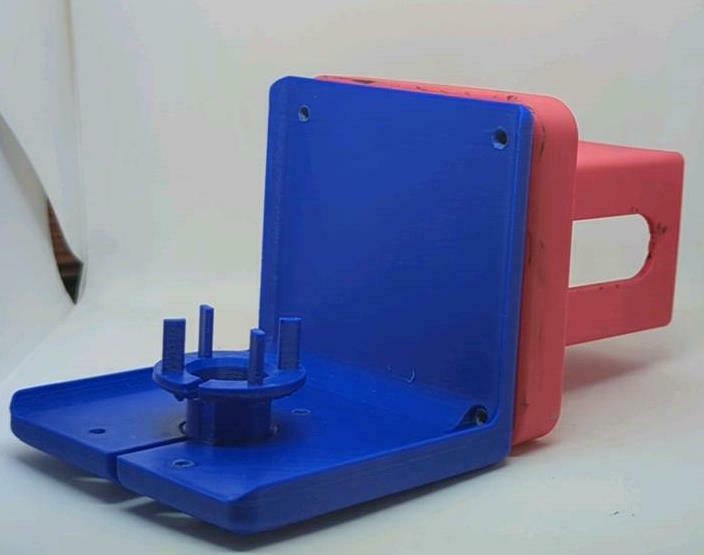
B – Hitch Mount
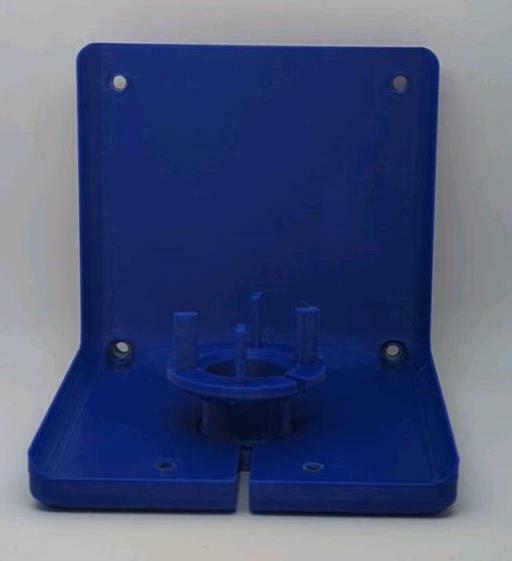
C – Mounting Plate
D – LED Light adapter
I use a Bambu Labs X1-C, I printed all the parts with a .4 nozzle and .2 layer height with no supports on either the hitch, (Modified from the original https://www.thingiverse.com/thing:724837) or the mounting plate. I printed Darth helmet down with a brim to prevent all the extra supports required when printing right side up.
I use M4 x 20 bolts to hold Darth to the Mounting Plate, they seem to do well and since I sized the holes a little small, the bolts cut their own threads and hold on well. Likewise, I took the original Darth Vader .stl and punch holes for the eyes and his chest piece, then stretched the inner hole up to reduce print material and to connect to the eyes and lastly, I added the mounting holes in the base with some additional material surrounding them from the inside for strength. This seems to print well and be plenty strong.
As for the light up eyes and chest piece, I painted the inside of e-Vader a silver, reflective color, then covered the holes from the inside with a piece of masking tape. I mixed up a small amount of Epoxy with a red dye and filled the eyes and the chest piece. The eyes were easy, but the chest piece, due to the hole sizes, was harder. For that, I used a toothpick to drop a couple of drops of epoxy on the chest piece and just waited for it to “Soak” in. If you get the right amount, it will cover the chest piece a little, but it should be nearly invisible.
Once that epoxy dried, I pulled the masking tape, made up another 1.5 ounces of clear epoxy and poured it inside Darth, then leaned him over at a 45-degree angle, eyes/helmet down, so the epoxy would cover the eyes and the chest piece and work to gather and funnel the light to them.
While I wait for the Epoxy to cure, I built the rest of the setup by attaching the mounting plate to the hitch using the M4 bolts and nuts. This can also just be glued, but later if I need to repair or replace the parts, it would be harder to do so. Following the wiring diagram I've attached, I soldered the White ground wire from the wiring harness to the black wire of the LED socket, I leave the brown wire alone because I want the LED to light up specifically with the taillights. I then solder a Diode striped end pointing away from the yellow wire and another with the striped end facing away from the green wire, then I solder both diodes to the Red Positive lead on the LED socket. (The reason we used two diodes in this fashion is due to the 4 wire, wiring harness, the turn signal and brake light are both on the same wire. And, while, if we did not diode isolate the yellow and green wires, the brake light would still work, the turn signals would not work properly. Turning on the right turn signal would power the green wire on and off, but without the diode, the power would flow back up the yellow wire and cause it to blink as well, causing it to appear that you were using your hazards instead of a turn signal. Likewise, while you could ONLY connect to the yellow or only the green wire, and you would get a brake light, Darth eVader would only light up for the turn signal wire you connect it to and then do nothing for the other turn signal which might be a little odd for anyone that notices it.)
Once the wiring harness is complete, I slide it through the slot in the Mounting Plate and the LED Light adapter and snap the adapter into the Mounting Plate. I used a couple drops of superglue to temporarily affix the Bulb Socket to the LED Light adapter and then use a flexible glue (silicone, e600, etc.) to permanently attach the two (I do this because superglue can be to ridge and is prone to cracking under vibration, a flexible glue won't have that issue).
Other Parts:
Standard 1156 LED Bulbs Socket Holder Auto Car Plastic Waterproof Turn Signal Tail Stop Rear Brake Light Base Harness Plugs Connectors Pre-Wired Wiring Sockets
https://www.amazon.com/gp/product/B01M040VQB
UNXMRFF 1156 LED Bulb White Super Bright 1073 1003 BA15S 7506 1141 LED Bulbs 5050 18-SMD Replacement for 12V RV Interior Ceiling Dome Light/Travel Trailer/Boat Indoor/Camper Light Bulbs
link
CURT 58030 Trailer-Side 4-Pin Flat Wiring Harness with 12-Inch Wires
link
15SQ045 Schottky Diodes 15A 45V, Diode Axial Schottky Blocking Diodes link
Optional - Spray paint in the color of your choice, it's Darth eVader so I am guessing black, but you do you.
3 – M4 x 20mm bolts to attach Darth to the baseplate
4 – M4 x 10mm bolts and nuts to attach the baseplate to the hitch cover
Glue: to glue down the LED socket, this is not needed, and other things can be used. But it should be mounted in some way, stay away from hot glue as it will melt in high temps and / or when the bulb gets hot after being on for a few minutes. The adapter holds the bulb about ½” to ¾” up in the air above the mounting plate to better align the LED bulb with the epoxied holes.
Roughly 2 – 3 ounces (113.4 g) of Epoxy and Epoxy colorants (don’t mix all at once, will be divided into portions) – These are up to you, you could use something else, but this is what I had. For the eyes and chest piece, I used about half an ounce of Epoxy and a little Red Epoxy dye. Once that was mostly cured, (it was still a little tacky but wasn’t going to run any longer), I used about 1.5 to 2 ounces of clear epoxy poured inside the head and cured at a 45-degree angle to catch and redirect the light out the eyeholes.
:format(webp)/https://fbi.cults3d.com/uploaders/15605616/illustration-file/0762d4d9-286a-4d8f-b283-51218856b97d/Image20230810105556.jpg)


/https://preview3d-images.cults3d.com/ocwufzhqpnr4og00p53i6dblz29t)
/https://preview3d-images.cults3d.com/1pv82gzje73m4ekgo6yq1ukfzs7g)
/https://preview3d-images.cults3d.com/0cyiw8q4d7gg33m4on6a30pmjhca)
/https://preview3d-images.cults3d.com/2wwi3ihsan6p8yai2m83unpdb73j)


