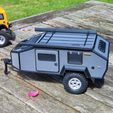
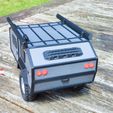
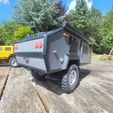
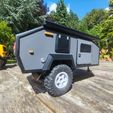
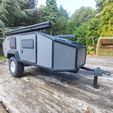
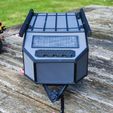
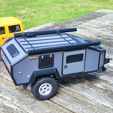
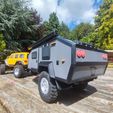
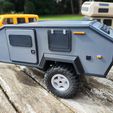
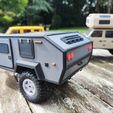
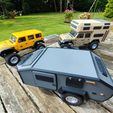
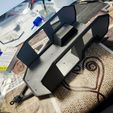
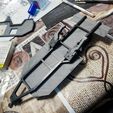
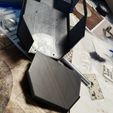
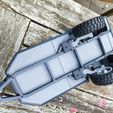
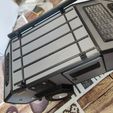
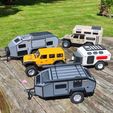
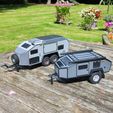
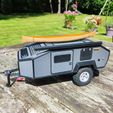
This is an expedition caravan based on the Famous Australian BruderX exp4 real caravan, scale is for 1/24 crawler like AXIAL SCX24 models or TRX4m from Traxxas or any other model like those.
Design was made following pictures available on the BruderX Expedition web site : https://bruderx.com/fr/exp-6/
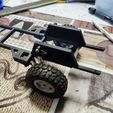
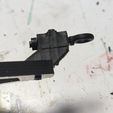
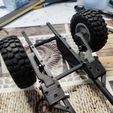
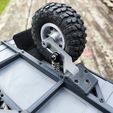
The model have 2 independant suspended wheels using standard SCX24 shocks with reinforced springs. (link below)
Wheels are printed rims and 48mm diameter tires (link below)
It needs some M2mm screws for wheels systems and M1.4mm screws for body fitting and hook assembly.
All parts designed to suit 200 x 200mm bed lile most of printers scalers are using.
If any other adjustment is needed please send an Email to : luc.tellier@wanadoo.fr
Back to the caravan there is quite a number of part to print and assemble.
All panels are separate, very easy to assemble, all junctions are covered by another part then adjustement don"r need to be perfect. Nevertheless you need to take your time and made required adjustements if needed.
Sides of the caravan and roof have some equipements glued on it. To save some weight I made openings in the main panels and windows and doors have to glued on top of thos holes. There are jigs to print which help to locate properly windiws doord lights and rear door handle.. Jig files are identified with jig in the name
I made a mistake glueing 3 rear lights instead of 2, then I let it like this but real model haso nly two.
Due to the huge amount of time already spent on this and the small price the files are sold, be aware there is no assembly guide except the following guide lines.. The job is not so complicated with pictures and a minimum of attention
in the Assembly process I suggest the following plan :
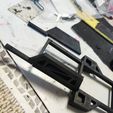
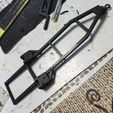
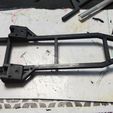
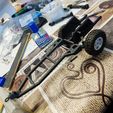
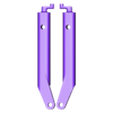
Prepare chassis with wheel system fitted on it, much more easy to prepare it first. Two vertical parts, shock frames have to be fitted on the chassis using glue and screws to locate properly.
Prepare the two full sides glued on surround.
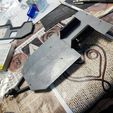
Fit the front and rear base on the chassis, screwed and locate on it.
Print the front and rear panels as well as mud gards.
Look at pictures for the sequence..use mud gards to stabilize the side panels on the base panels and glue one side panel at a time.
Then assemble the rear panels to get something more rigid.
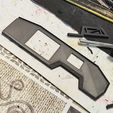
Glue the front top part on the front surounf and slide it from the front up to its position . check and glue. then add the two front side panels and finaly the central front one.
You can glue the roof at this stage and then end the body assembly with glueing all cover profiles for junctions.
Pre assemble the door and window sub frame, frame window and latch using the jig (symetricaly). and then fit it on the body.
For the side window you just have to glue the hinges first and glue on the body
Print and glue the main roof part to finalize the carvan body which is now looking good
Rest deoebd of your choice, you hve every thing to make it like pictures. The roof rack has to be glued first on the roof. then drill 1,2 mm holes in the the 4 square areas of the rack. Then fit the long sun cover fixture with screw on each squre part of the roof rack.
take care to align and fit the long sun coves. if ok then glue in place.
Then you can remove the sun covers if you want. Just look at pictures.
Print wheel arches, mud guards and glue it on place.
Here you are with most of the caravan ready.,
Rims need 3 parts and it need support for ptinting inner and outer.
Depending of how you want it to move you can locate inside some weight to adjust the weight on the car hook.
You can also prepare some parts for interior realistic simulation. It is not included in this set of file to get it as lightweight as possible.
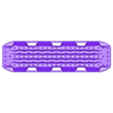
Maxtrax plate is included to be glued on the rear. Solar panel too.
Some parts need to be properly located on the bed as I do not know how to get them flat on the bed when saving this files from 3d design software
Tires : choose color 1 to get the 48mm diameter ones, you need one set for driving wheel and 2 if you want the spare on the front.
Then consider you can make another trailer with those tires, and look to tear drop caravan , same tires are needed for.
https://fr.aliexpress.com/item/1005003386583358.html?gatewayAdapt=glo2fra&spm=a2g0o.order_list.0.0.21ef5e5bj5Vq4N
Springs
https://fr.aliexpress.com/item/1005001989786210.html?gatewayAdapt=glo2fra&spm=a2g0o.order_list.0.0.21ef5e5bj5Vq4N
Screws M 1.4 Chose some 6 and 8 mm long
https://www.ebay.fr/itm/352910341699?var=622163280830
Screws choose 16, mm long
https://www.ebay.fr/itm/352910341699?var=622163281034
https://www.ebay.fr/itm/352910341699?var=622163281046
https://www.ebay.fr/itm/352910341699?var=622163281074
In case you are stuck send an Email to luc.tellier@wanadoo.fr
Video here : https://youtu.be/gdKnGqQgkOs

/https://fbi.cults3d.com/uploaders/13410598/illustration-file/c4dc1f00-062d-4da7-bda2-49673ef88b6e/IMG_20230809_125926.jpg)
