3D model description
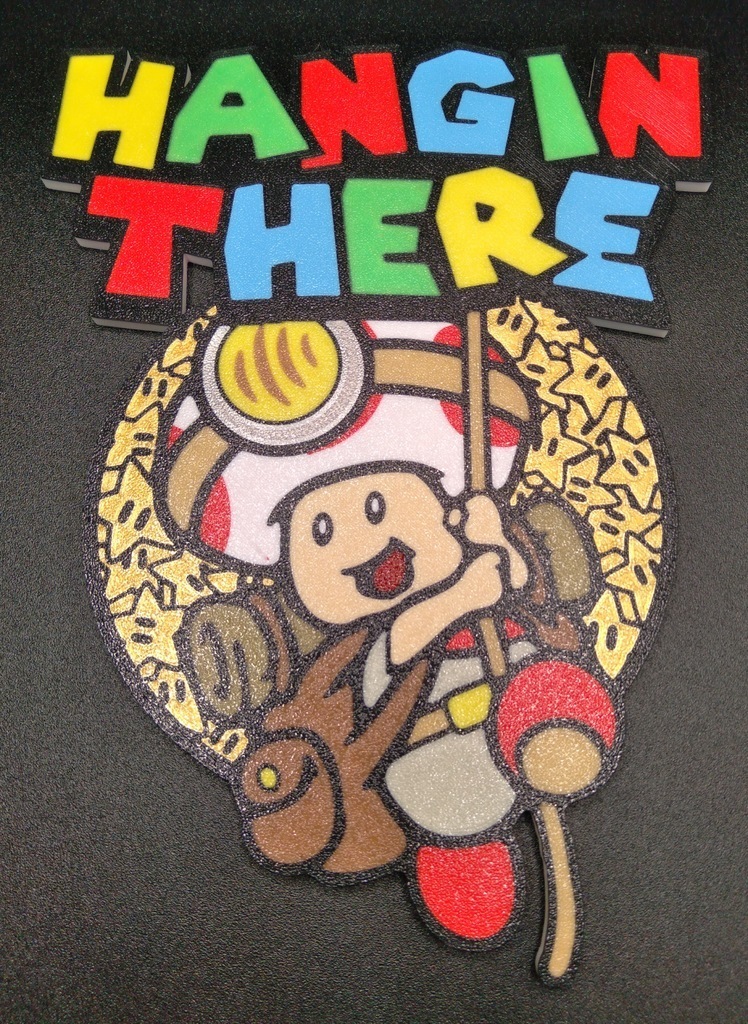
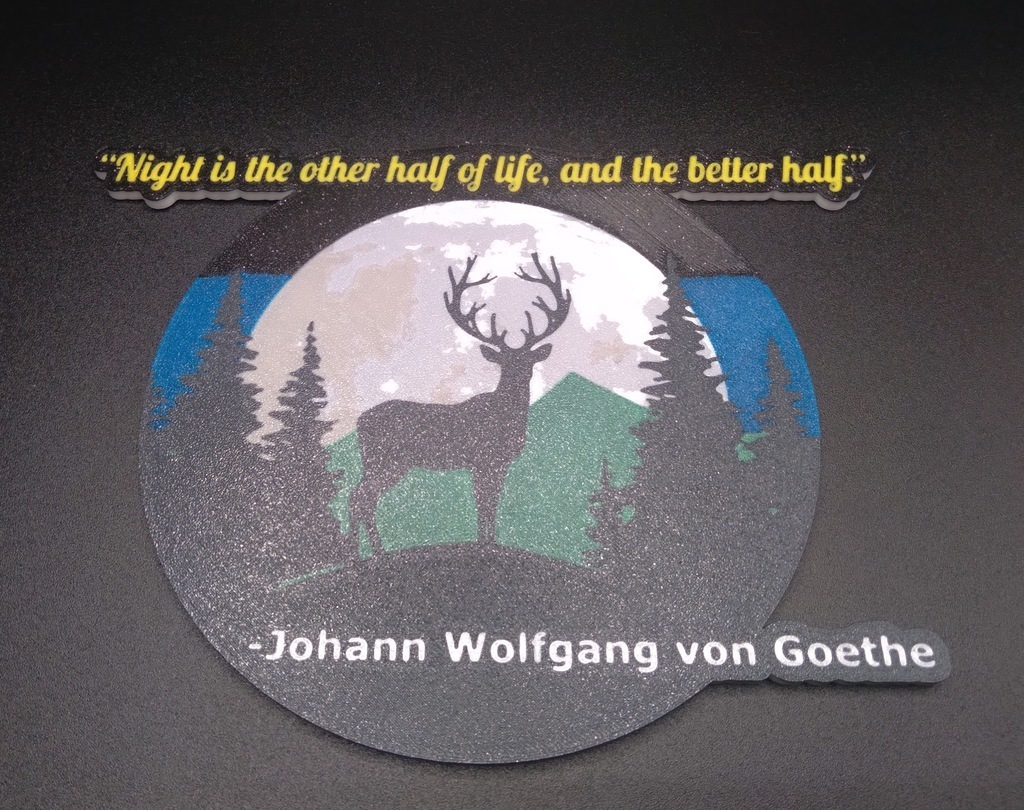
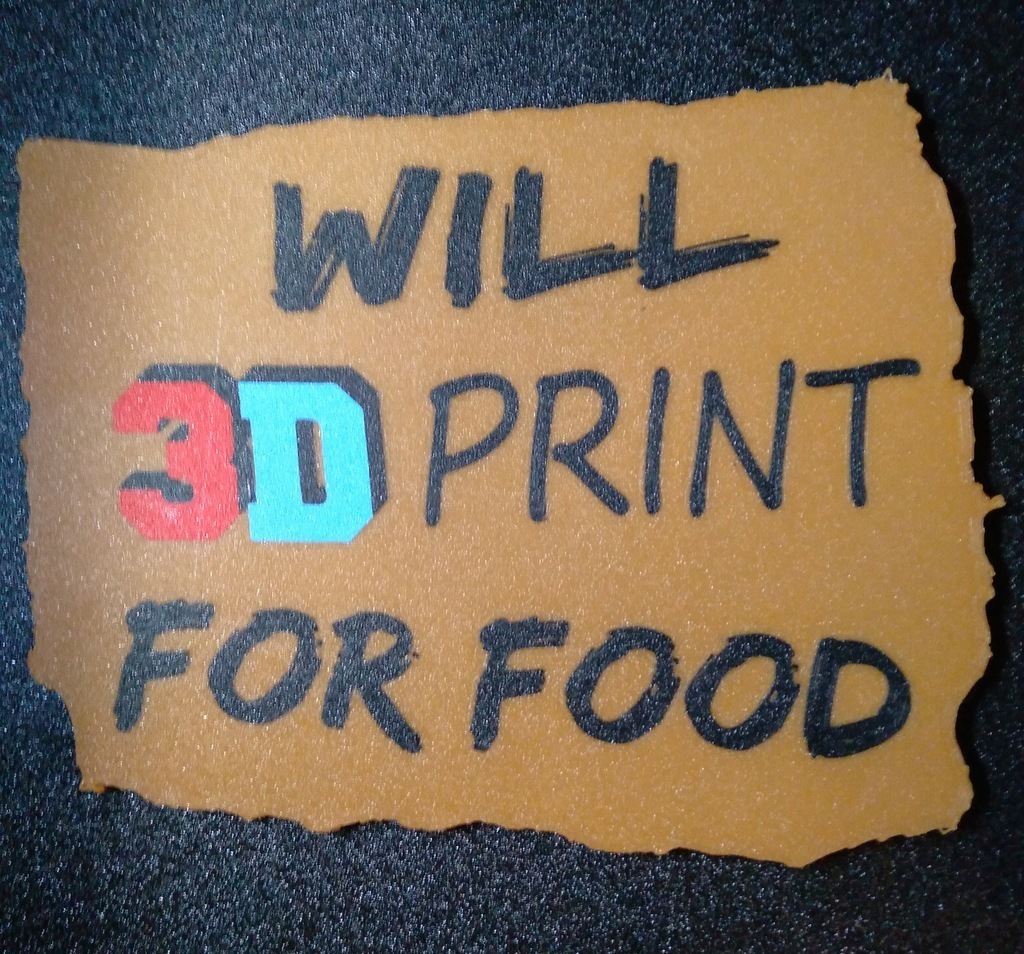
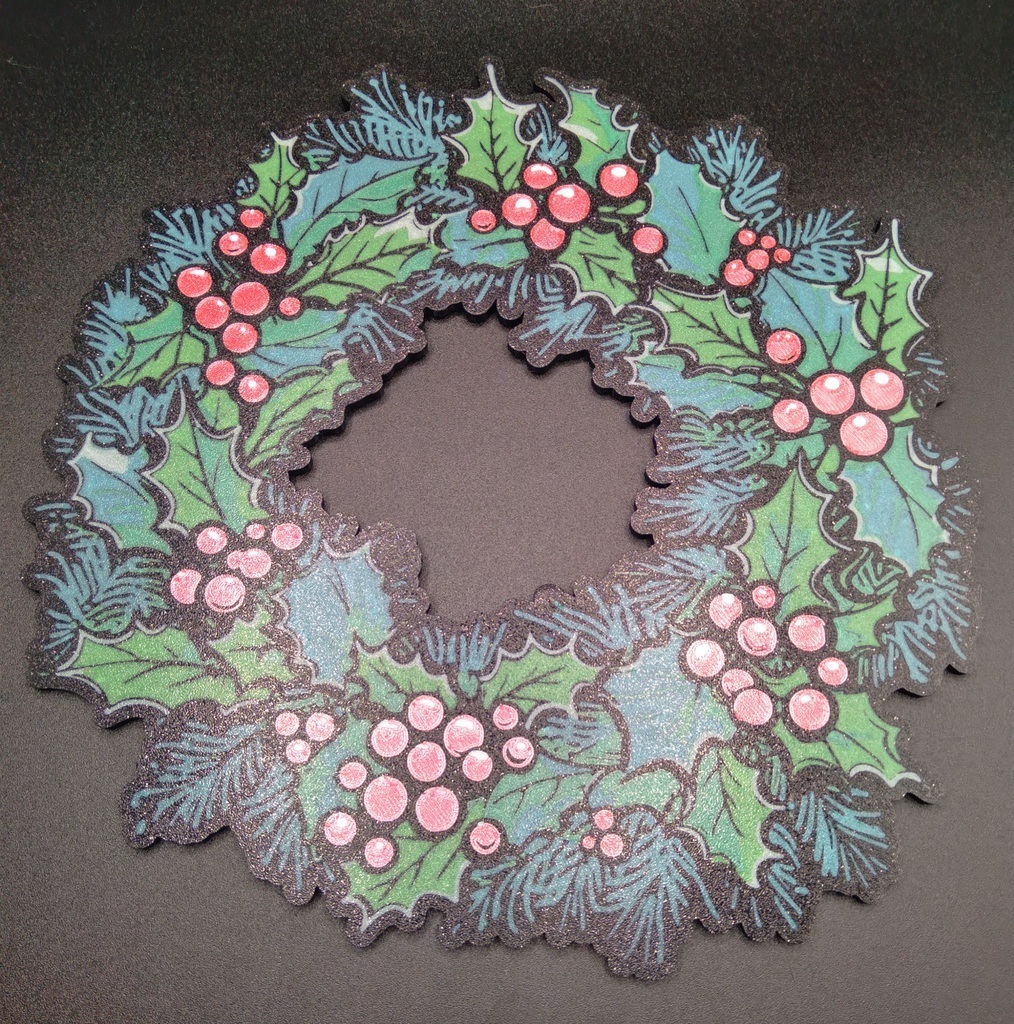
Create awesome art panels using this (very simple) openSCAD script and your favorite SVG editor. Using an online SVG to STL converters are inaccurate, produce geometry errors and exposes your files. Converting by the slicer is very buggy.
- Download and install the latest version of Inkscape you can also use Adobe Illustrator
- Download and install the latest version of openSCAD I use the latest dev snapshot
- Download my SVG2PLATE.scad (and mozworldBLACK.svg in “other files” if you want to use the default example)
- Download Strings.scad (included in the files) and put it in the same folder as SVG2PLATE.scad, this is just used to convert the COLOR to lowercase to make it more user friendly when using “PLATE” Thanks to 16807user on Thingiverse for sharing.
- Design an SVG with Inkscape or Illustrator, and save each color as its own SVG. use the naming convention “designCOLOR.svg, designPLATE.svg” eg “mozworldBLACK.svg, mozworldPLATE.svg” to make it easy. the PLATE.svg is a total shape of the design. The default PATH is the same directory SVG2PLATE.scad is in.
- Open SVGtoPLATE.scad and enter the parameters in the customizer box on the right (uncheck “Automatic Preview” above the Parameters):
- PATH = the path to the folder your SVGs are kept in, default is the same folder SVG2PLATE.scad is in. (eg. "D:\Desktop\SVG\")
- FILE = name of the file without the COLOR (eg. “mozworld” from mozworldBLACK.svg)
- EXTENSION = .svg or .dxf (.dxf not tested)
- canvassizex = x canvas size of your SVG editor
- set the canvas to the same dimensions as your build plate to make it easy
- canvassizey = y canvas size of your SVG editor
- layerheight = Layer height for the details.
- platethickness = Thickness to extrude the PLATE.svg
- 4mm works well with 3mm(2.8mm) magnets, I also use 3.2mm for smaller plates with 2mm magnets
- affects the z position of the details, so make sure to set it for the COLOR.svg's
- seems to not line up in the slicer if the plate is too thick
- detaillayers = # of layers to extrude the COLOR.svg
- 2 layers works well, you could add more for white or more translucent colors
- increase this number if your layerheight is less than 0.2mm
- detailoffset = # of layers to offset the COLOR.svg from the base
- useful for layering colors in the slicer.
- svgscale = easily scale small SVGs in x and y direction (z is only scaled with platethickness and detailthickness)
- bypassname = always extrude to platethickness if checked. default = unchecked
- usecolor = use the color in generating a preview (will give a warning if the color is not in the index and will always show up yellow when rendering)
- COLOR = name of the COLOR in the "designCOLOR.svg" (eg. "BLACK" from "mozworldBLACK.svg")
- You will be going back to this field and tabbing over to x and y.
- it will automatically include the EXTENSION at the end for ease, so just leave it out
- if this value is “PLATE” (not case sensitive) then it will extrude the SVG to "platethickness."
- x = x coordinate of the COLOR.svg
- relative to the top left corner of the canvas
- default is anchored to the center of the SVG
- half the “canvassize” is the center.
- y = y coordinate of the COLOR.svg
- svganchor = anchor point of the SVG.
- Inkscape defaults to top left
- Illustrator defaults to center
- (topleft only tested minimally)
- mirrorsvg = mirror the SVG (for first layer details)
- $fa = fragment angle resolution, increase this to reduce file size and slicing time at the cost of resolution
- Render the STL, converting the SVG to STL (F6)
- Save the STL as designCOLOR.stl, save the PLATE as designPLATE.stl
- Open the PLATE.stl in Bambu Studio, Orca Slicer, or Prusa Slicer. (not sure how to do the rest with Prusa Slicer)
- Add all the COLOR.stl files as a modifier on the PLATE.stl
- Set the colors appropriately
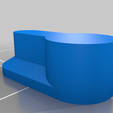
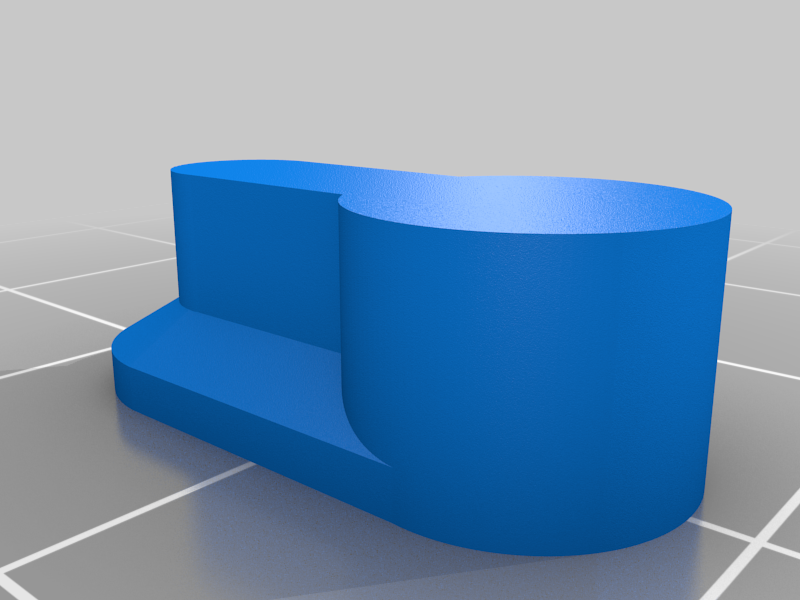
- Add modifiers to embed magnets, make a mounting hole, etc. and position them. (included is picturemountingholenegative.stl)
- Slice and print! make sure to include pauses to insert magnets.
- Share your designs on Printables.com!
- Remix this model so I know my script is getting used!
- ???
- Profit!
Tips:
1. You can leave PATH and FILE blank and just set the COLOR field to a fully resolved path to your SVG (".svg" is automatically appended)
2. You can import the PLATE.svg into Fusion 360 to make a PLATE.stl with fillets, chamfers, etc. offset the PLATE.svg by the amount you plan to chamfer
3. Center your design on the canvas when exporting them so the PLATE will just be in the center
4. Convert all text to shapes (ctrl+shift+o in illustrator, ctrl+alt+c in Inkscape)
5. Expand strokes to shapes (object > expand… in Illustrator, I think Inkscape does this automatically when exporting?)
6. In Illustrator, uncheck “Responsive” in the export settings > format options
7. Get familiar with “Export for Screens” in Illustrator
8. Simplify shapes and remove stray lines and points to reduce render time and file size.
9. Merge or Union your design when you are finished with it to remove overlap, save the original to make revisions easier.
10. Lookup tutorials on how to use your SVG editor
* specifically, learn about image tracing and path operations
Guide for Inkscape:
1. File > Document Properties > change Width and Height to your build plate size
2. Create your design and when you're finished, group all same colors together
* Select 1 object of a certain color
* Edit > select same > fill color
* ctrl + g to group
3. Export them as designCOLOR.svg's (ctrl + shift + e)
4. Create a overall shape of your design and export it as designPLATE.svg
* I make a copy of the whole object, drag it off the canvas
* subtract it from a square using a Division operation (Path > Division)
* delete the copied design (drag the outline out of the way)
* make another square to fit the hole created
* do another division operation but this time keep the shape that is created by the outline
* There has to be an easier way to do this. making the copied design the same color and merging them usually makes extra geometry, making the resulting files larger and harder to slice
* give the PLATE a funky color to easily keep it separated from the design
5. Go between openSCAD and Inkscape to reference the x and y coordinates
* Click on it twice to bring up rotation and anchors and select the middle anchor (not sure if there is a way to make this the default anchor point, request this feature from the devs)
* x and y position are at the top in Inkscape
Guide for Illustrator:
1. In the new document prompt, set the canvas size to your build plate and save it as a new preset.
2. Create your design and when you're finished, group all same colors together
* Select 1 object of a certain color
* Select > same > fill color
* ctrl + g to group
3. Open the asset export window: Window > asset export
4. Select each group one by one and select “generate asset from selection” (little box with +)
* you can also group all the colors, select all, and click “generate multiple assets from selection” but this sometimes makes a bunch of extra assets if you have a lot of stray paths or ungrouped shapes.
5. Name each asset to designCOLOR in the asset export panel
6. Create a overall shape of your design and add it to the export panel as designPLATE
* I make a copy of the whole object, drag it off the canvas
* subtract it from a square using a Divide operation (Pathfinder > divide)
* delete the copied design (drag the outline out of the way)
* make another square to fit the hole created
* do another divide operation but this time keep the shape that is created by the outline
* There has to be an easier way to do this. making the copied design the same color and merging them usually makes extra geometry, making the resulting files larger and harder to slice
* give the PLATE a funky color to easily keep it separated from the design
7. Select all the assets in the asset panel and click export, make sure svg is selected
8. Go between openSCAD and Illustrator to reference the x and y coordinates
* Anchor points are set to center by default
* x and y positions are in the properties window in Illustrator.
* make sure anchor point (reference point) is set to center
Todo:
* Make a tutorial video
* Adapt the script to use a first layer height
* Adapt the script for top layer details
* Develop the process and make a guide on how to mass convert with .json files and python
* Make an openSCAD script for making a multi level plate using color swaps at layer heights, importing multiple SVGs at once

/https://fbi.cults3d.com/uploaders/13766634/illustration-file/ed3537ba-860d-47fd-a963-8abe3548a1c9/0a90a3cd-028d-4bbc-8355-e6565a6aba5c.jpg)

