Skip to content

IOM rigging mast Bending Jig

Advertising
Advertising
?
Creation quality: 5.0/5 (1 vote)
Evaluation of members on the printability, utility, level of detail, etc.

  • 2k views
  • 1 like
  • 5 downloads
  • 2 comments
  • 1 make

License
3D design format
STL and ZIP Folder details Close
  • 22-8-7Bearing.stl
  • 22-8-7BearingBigerID.stl
  • LHdies1.stl
  • LeftDieFrame.stl
  • LeftandRightDieFrameV2.stl
  • Legs.stl
  • MastBendingJiG.zip
    • MastBendingJiG.pdf
  • RHDies2.stl
  • RightDieFrame.stl
  • Spacer1.stl
  • Spacer2.stl
  • Spacer3.stl
  • Spacer4.stl
  • Spacer5.stl
  • Spacer6.stl
  • Spacer7.stl
  • Spacer8.stl
  • TopPlate.stl
  • TopPlateCaptivatedM6Nut.stl

Learn more about the formats

Last update 2024-02-16 at 21:19
Publication date 2023-08-11 at 06:12
Design number 1378873

3D printer file info

3D model description

Now has upgraded top plate with 6mm captive nut. Glue it in place. See in the comments the review by Lawriehendrickson on his build. Also added is a 3d printed bearing 22-8-7.
This jig is what I used to bend my IOM mast for the required prebend to be used on my Alioth build. Use your sailmakers specifications for the required bend.
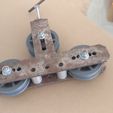
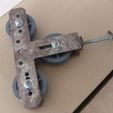
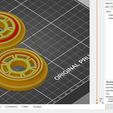
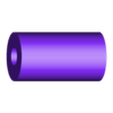
The wheels are 3d printed in halves then glued together and fitted with 2 roller skate bearings.
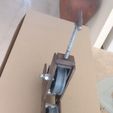
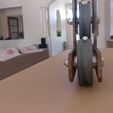
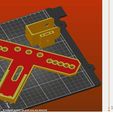
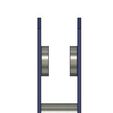
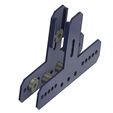
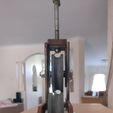
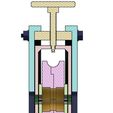
See the photos attached for assembly, also attached is a drawing that I used to make the steel frame if you don't want to 3d print it. Printing will be fine as it doesn't take a lot of force to bend the mast to the required.
I hope you have as much fun printing and building as I did.
Parts required
Bearings - 6, ABEC-11 6908RS or 22 od, 8id x 7 wide
Bolts, Rollers - M8x55 for the 3mm steel frame. If printing 5mm thick use M8x60 with Nylock nuts & washers.
Bolts for the top plate - 2, M4x35 with Nylock nuts and washers. Use the bolts for alignment then glue in place,
Adjusting bolt - M6x70 long. Use what every you have for a Tee bar or print something. Grind or machine the end to fit into the Top Plate and drill for a split pin as per the attached photo.

3D printing settings

printing specs, 7 perimeters, 20% infill, 0.2 layer height
Bearing
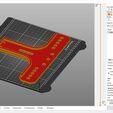
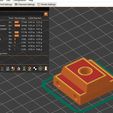
I have added a stronger frame if you are doing the 3d printed version, LeftandRightDieFrameV2.stl have a look at both and decide which you want to print. This one is a little stiffer but I am not sure if it is required. See the last photo showing the extended ribbing

Advertising


Issue with this design? Report a problem.

Would you like to support Cults?

You like Cults and you want to help us continue the adventure independently? Please note that we are a small team of 3 people, therefore it is very simple to support us to maintain the activity and create future developments. Here are 4 solutions accessible to all:

  • ADVERTISING: Disable your banner blocker (AdBlock, …) and click on our banner ads.

  • AFFILIATION: Make your purchases online by clicking on our affiliate links here Amazon.

  • DONATE: If you want, you can make a donation via Ko-Fi πŸ’œ.

  • WORD OF MOUTH: Invite your friends to come, discover the platform and the magnificent 3D files shared by the community!


Sharing and downloading on Cults3D guarantees that designs remain in makers community hands! And not in the hands of the 3D printing or software giants who own the competing platforms and exploit the designs for their own commercial interests.

Cults3D is an independent, self-financed site that is not accountable to any investor or brand. Almost all of the site's revenues are paid back to the platform's makers. The content published on the site serves only the interests of its authors and not those of 3D printer brands who also wish to control the 3D modeling market.

100% secure payment by credit card, PayPal, Apple Pay, Google Pay, etc.
View all payment options.