Long overdue update: I’ll reevaluate thingiverse hosting if it has stabilized. For a significant period of time, I couldn’t post, edit, or update files, downloads wouldn’t work, and the site was just totally unstable. On top of that, piracy ran rampant and I have found several of my and other creators’ non-commercial works offered for sale around the web. However this and other of my designs on thingiverse are all largely outdated, and so for private use only I will rehost their original file sets. If you like what I do and want to support me continuing to do it, check out the etsy; I use earnings from that to justify buying filament, hardware, and printers to continue to design and build blasters.
(https://www.etsy.com/shop/meakerarms)
Thank you for your support.
I present for your consideration a new DIY Nerf Blaster:
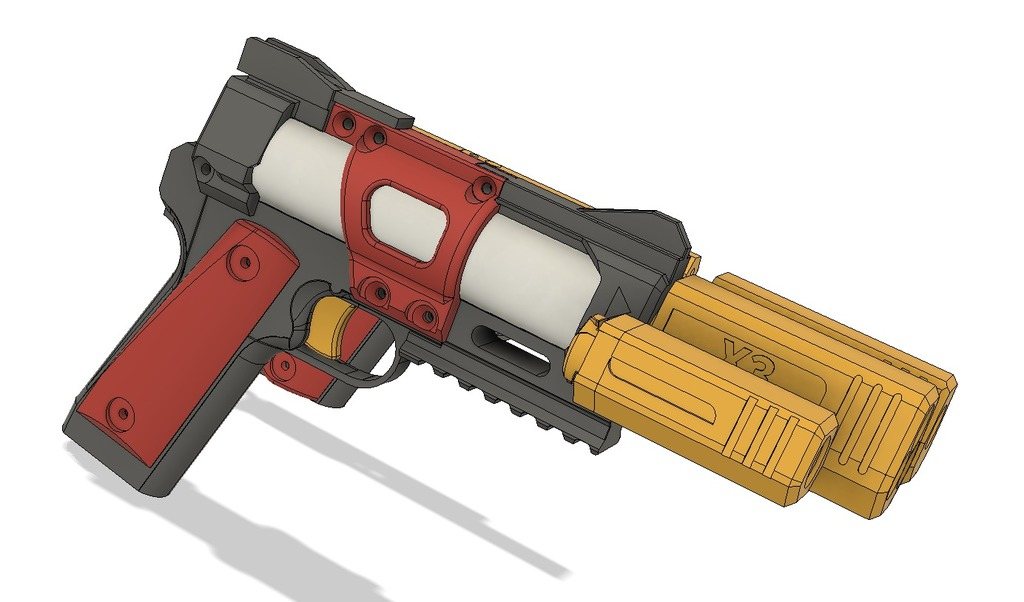
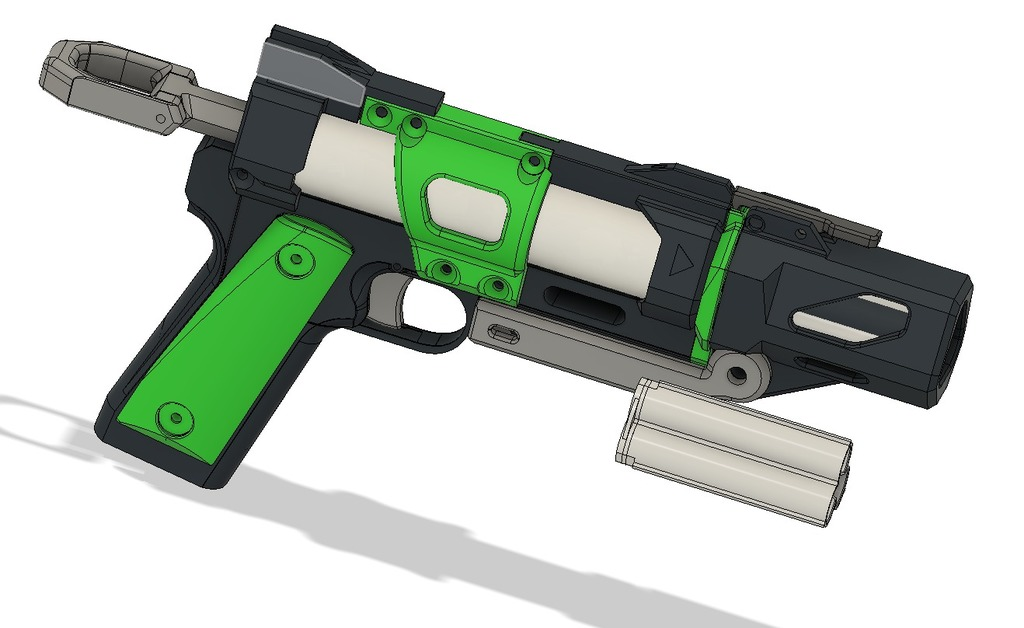
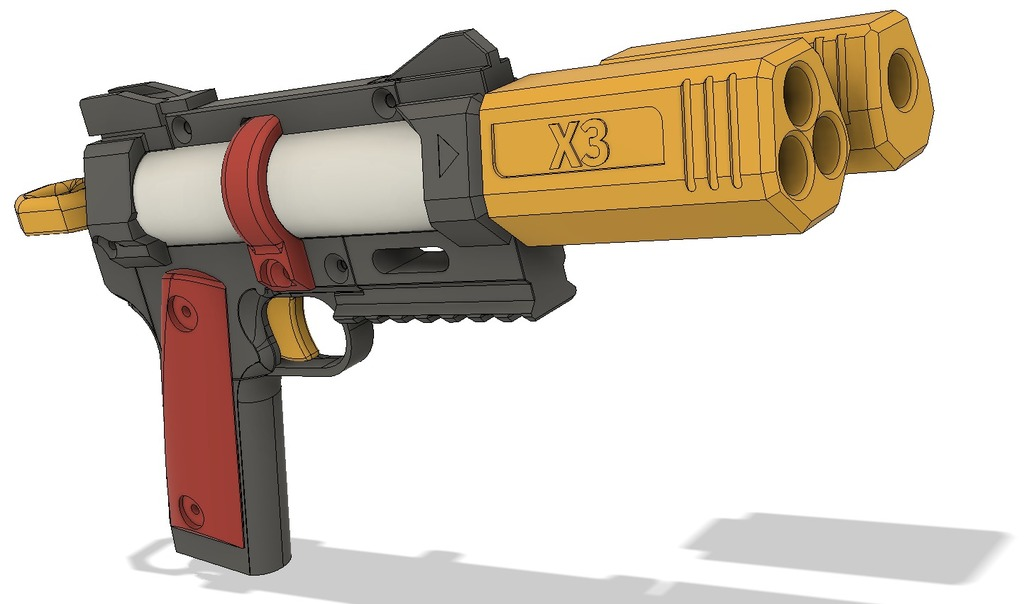
The Meaker Mk18 Assault Pistol
Not suitable for use by children under the age of 14
9-16-19: WHOLE NEW RELEASE
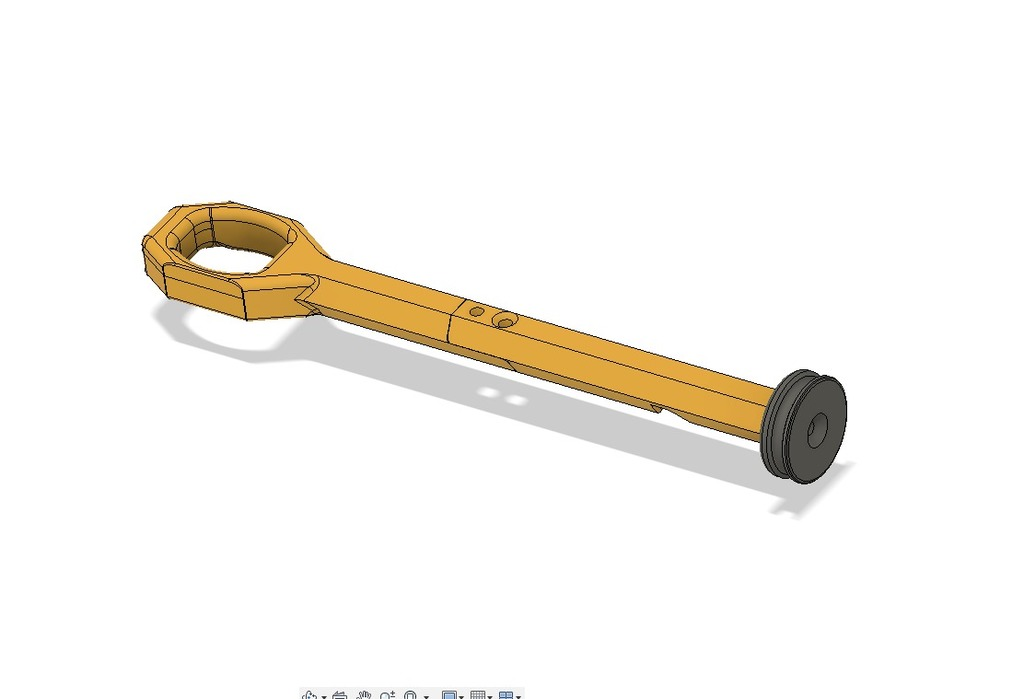
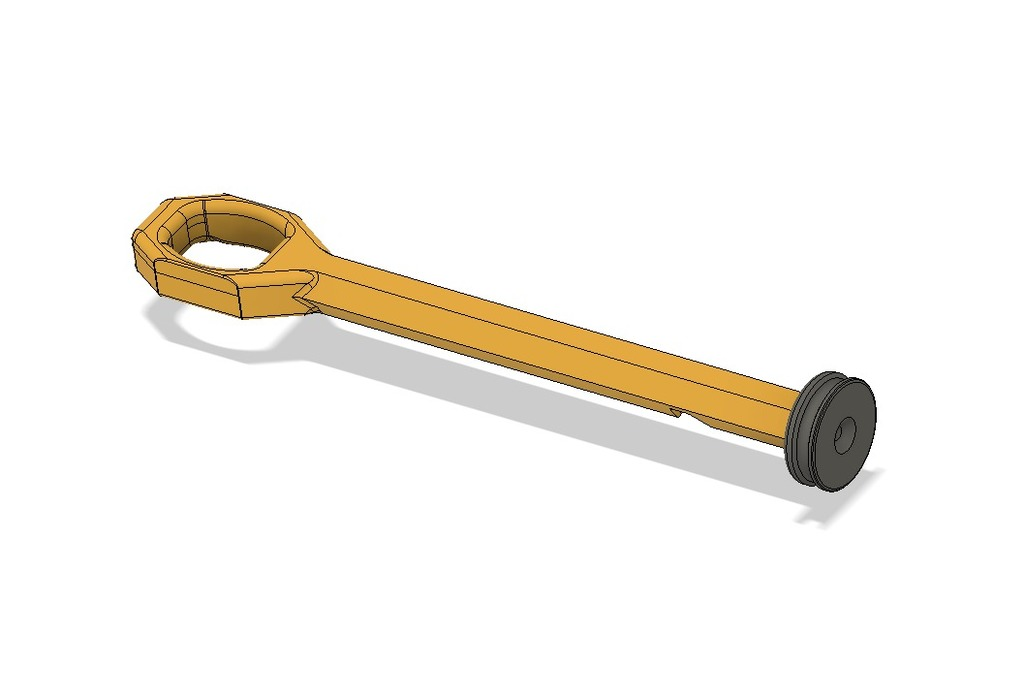
The almost completely redrawn Mark-18 Release 5 now uses a 1-1/2" OD x 1-3/8" ID polycarbonate tube 5-7/8" long for the plunger tube, eliminating much of the difficulty in sourcing material for prior versions. #4/m2.5/6 by 1/2" (12mm) coarse thread sheet metal (or similar) screws should reduce cost and simplify assembly. The K25 mainspring has been tested, but a K26 and a myriad of other lighter springs may also fit. A few dash-123 orings serve as plunger seal, plunger-tube to front seal, and shock buffer. The trigger spring is still the McMaster 9657K266.
Assembly should be similar to prior versions/obvious; but as a quick primer:
Place your plunger rod through the rear, catch plate (flat facing back), mainspring, and plunger head (flat end front). Screw the head on, apply oring & lube. Slide PT over plunger assembly, add ring. Add two orings to plunger tube front piece, insert into PT. Add bottom pic rail. Slide front over assembly. Use top (and optionally, side) pic rails to space parts and screw into place making sure the front screw goes through the front piece into the plunger tube front. Assemble grip as before and install with screws.
Important Assembly Note: Install the screw going through the center of the cam from the back (flat side) of the grip, even if you do not install scales. This piece may shear off if unsupported or if a screw is installed from the open side first and this may result in a much more difficult trigger pull.
11-11-19 UPDATE: Modified catch & grip to v3; added a spring guide to the grip and adjusted clear length in the catch to compensate.
4-7-19: I'd heard reports of success printing R3 at a funny angle, and tried it myself after learning about tree supports. Seems to be holding up well, I recommend it if you can use tree supports (In Cura, turn off regular supports than under experimental options turn on tress supports. Print the front rotated 45 degrees forward).
2-11-19: Due to a report about a failure in an R3 model, I've gone ahead and designed a threaded-rod variant R4. Requires ~12" of #8 threaded rod and 4 #8 nuts; drops 4 of the screws previously required though. I've assembled the prototype of this version, made some changes I believe will make assembly more straightforward and stronger, and released the files. To assemble, build the top as normal but instead of screws use the threaded rod through the entire assembly, starting with a nut slotted into the hole in the front and ending with a nut exposed at the rear of the upper assembly. The lower will be assembled with a piece of threaded rod sticking out (verify length against front such that rod does not protrude beyond front of blaster) and be inserted into the assembled front/upper assembly, where a nut will be installed in the lower hole on the front piece and tightened down with needle nose pliers. Failing that working as intended, the front can be installed after the rest of the upper and the lower have been assembled. Nuts should be tight enough not to come loose, but should not need to be torqued down - the looseness of the pieces will absorb shock.
(New catch deleted 2-14-19)
I also reuploaded the BA_BARREL_GDOP file to be the correct file and uploaded Spring Thunder shells of my design and the sledgefire shell file I also provide in a separate listing. (Barrel fixed again - screw hole size changed 2-14-19)
1-24-19: Restructured files. "ZLegacy files" contains everything that used to be here. Files are now labeled according to use:
"BA..." are parts for the break action fronts. You only need one of the BA-Barrel files depending on which you intend to use - the one for sledgefire shells or the one for Gdop's spring thunder shells. If you want both, you should print two of everything else except the coupler.
"F..." are parts for the frame. You need one of each.
"I..." are internal/functional parts. You need one of each except for the PH (plunger head) files, which you need one of the two depending on your oring size and plunger tube material. The number should correspond to the dash-number of the oring.
"Shell..." and "Scale..." should be self-explanatory :P You'll want one of each scale and whichever shells you want.
01-22-19: Uploaded full R3-200 PSI frame with some tweaks to hopefully address some structural problems I observed after printing a dozen or so blasters. Problems were splitting around the screws on the front piece, the lock nubs breaking off, and the ring-pull whipping around when firing. I've thickened the front piece around the break points, loosened the screw tolerance, and switched to a T-pull. The front split happened to a couple of my prints but does not appear to be happening consistently with all of them, and even if it does break does not appear to affect performance (even taping the blaster back together should work). I have not tested these changes.
The nub breakage happened once on a questionable print.
The ring pull whipping can be addressed with glue, a bolt, or better fitting screws. It only happened to a couple of my blasters, but still when it happened my hand paid the price.
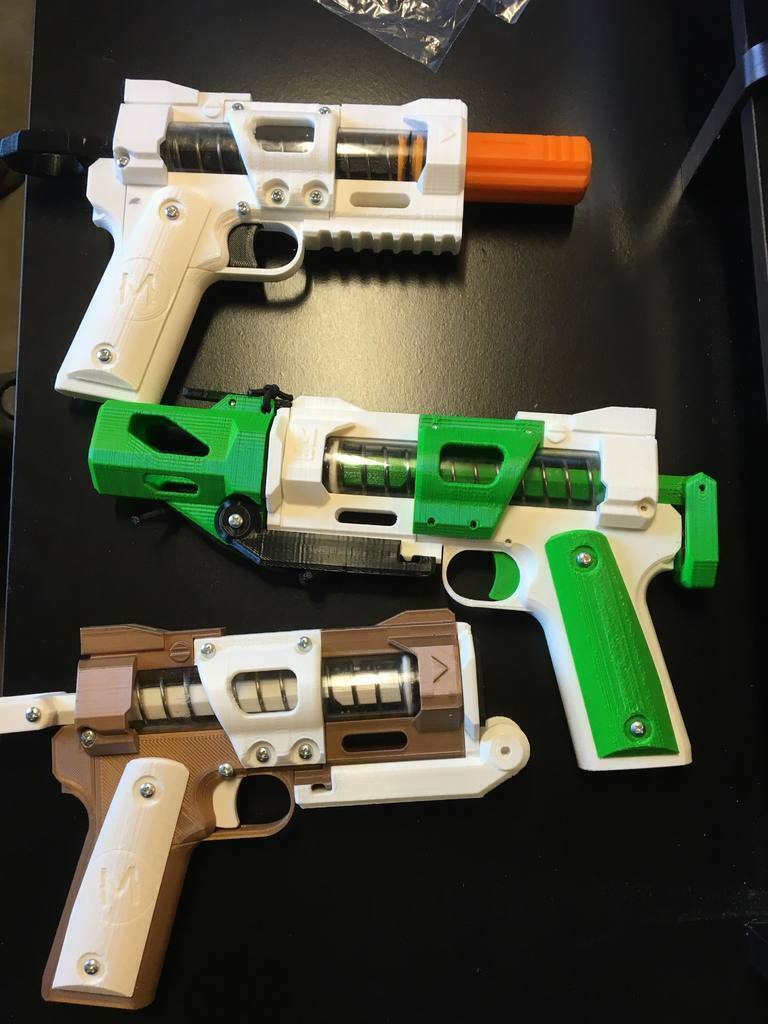
12-17-18: Added v3 front, shells, and break action coupler. V3 has symmetrical large lugs for strength, with the supposed added benefit of easier loading. The two R2v2 shells have a larger ID for easier dart fit.
12-11-18: Upload- Noticed some strange results on my local files, so re-exported and uploaded all the base parts just to make sure the latest files are up here. For some reason I've had a couple grips print with interference with the cam; should this happen shaving down the corner of the cam that interacts with the heel of the grip will fix the issue.
BreakFront Break Action Adapter - New set of parts that allow the use of sledgefire shells. Gasketing foam required; the sledgefire uses a custom trifoil oring. Now includes a Gdop26 Spring Thunder (https://www.thingiverse.com/thing:2846629) barrel etsy link. Works fine. Updated coupler to have a dart stop for reasons that will be clear later.
Trigger stopped return - has provisions for stopping the trigger at the end of its travel and for springing it in position when the blaster is primed using another catch spring. Untested, but doesn't require any other changes.
Catch plate - may not be required for operation. Blaster tested with Homedepot/Everbuilt mainspring without it and no immediate issues presented.
R1 - discontinued in favor of R2
R2v2 - Current - substantial clearance adjustments required new, incompatible, version with v1 12/08/18
R2v1 - minor clearance changes to rear frame 11/24/18, 12/2/18 fixed tolerance on rear frame to prevent miscatch, 12/3/18 fixed issue with grip plate that requires drilling out the rest of the hole in earlier versions
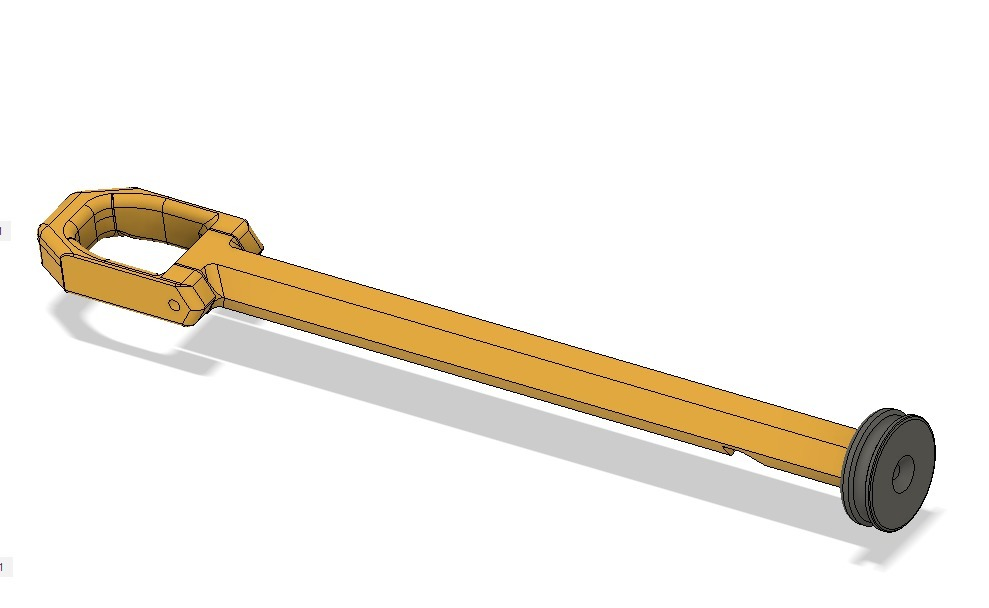
Plunger-Rod long may be preferable to increase distance between rear frame and ring-pull. Instead of the ring, you may opt to use a straight T-style pull by installing a bolt and some appropriately sized tubing. Tested, is now my preferred version.
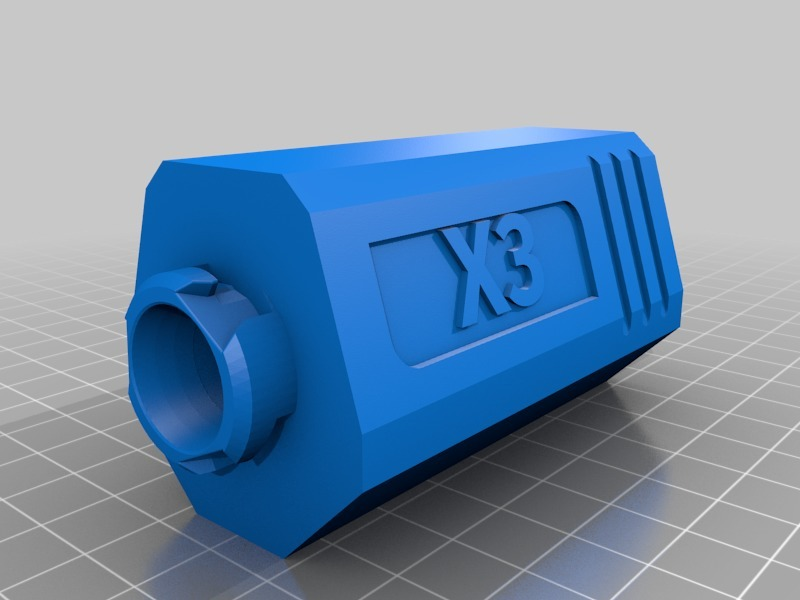
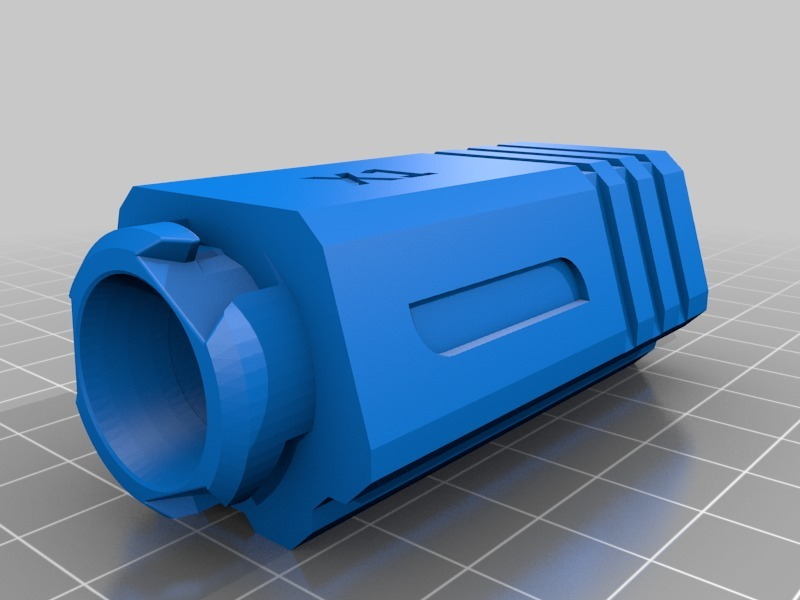
Shell X1s is a prototype shell with a smaller outer geometry that should fit more easily into a chronobarrel for testing. Shell X1 is not recommended (aesthetic issues, doesn't fit the chronobarrel; I was hoping to standardize shells initially but have given that up) and will be discontinued.
Gasketless shells - high-tolerance shells that need no additional gasket between frame and shell. May require a well-dialed in printer or slight gasketing (eg: tape) on the frame. Now includes shells for housing 9/16" brass and US Copper-Pipe-Spec 1/2" CPVC, as my experimental all-printed sniper shell hasn't worked out as well as I'd hoped.
I found that a second dash-213 or a dash-316 oring worked well for both sealing the plunger tube to the frame and padding the plunger head. I will experiment with other sizes as well. I also found that Home Depot (and probably Lowe’s) use a different numbering system for their orings. A #218 is a dash 213; look for a 1/8” oring with a 1-3/16” OD and 15/16” ID.
Demoted Gasket Shells - old low-tolerance shells that need a gasket or oring.
Sch 40 Parts: Has a plunger head for a dash 211 oring (Nominal 1/8" section 1-1/16" od) and an experimental front for sch 40 PVC or anything with an OD of ~1.315" (eliminated the plug for the ID). Let me know if it works/does not unless I get to testing it first.
Aus Spec: Should fit Australian and NZ-spec 25mm class 1x9 PVC pipe and a 3mm section 30mm OD oring. Coarse-thread flat/bugle-head M3.5 screws should work instead of #6's, but if you guys have drywall screws I can't imagine they are much different from ours. Untested, because I'm not an Austrailian and can't get Aus-spec pipe in the US. Updated 12/3/18 with the same grip-plate fix as the main version.
Background:
This blaster was concieved and designed when I found that, while playing in an infinite-respawn CQB point-based game, players carrying around bulky mag/clip based loadouts were only effective as long as their mag supply held out. Once they ran out (they all did) they were out of the match for several minutes reloading. While observing this, I also found that I could do quite well scoring points and holding territory with just a single-shot pistol (ala a Nightfinder, Firestrike, Hotshock, etc.).
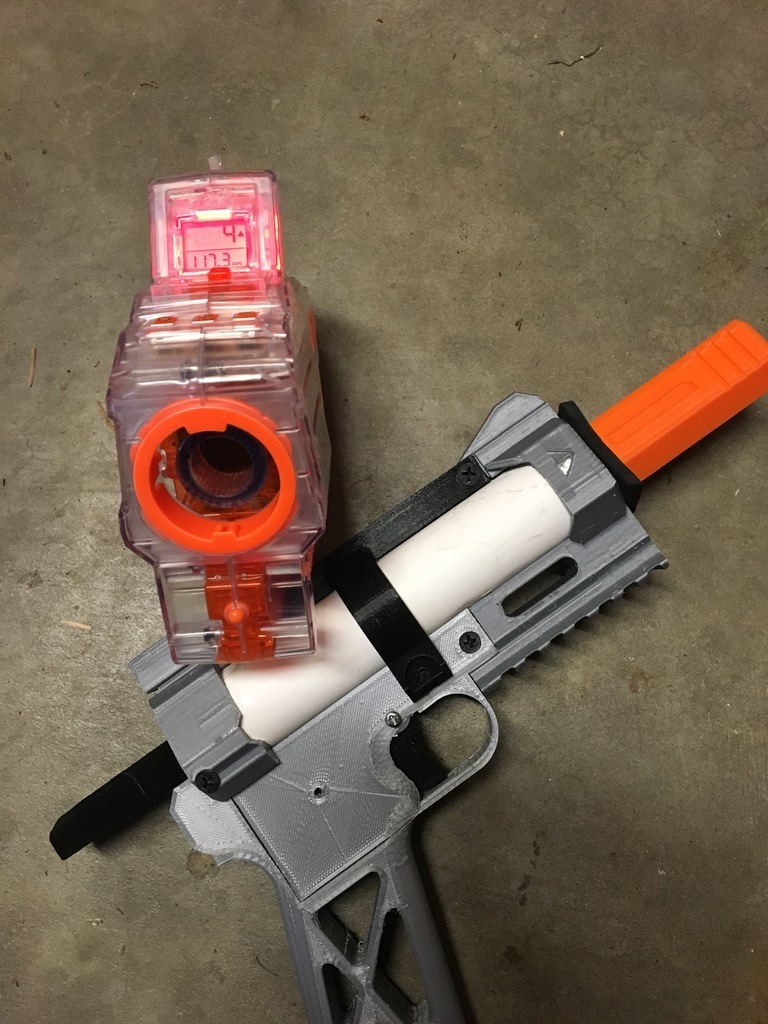
However, I did run into several situations that left me wanting for additional firepower- I couldn't do much against a group of players after firing once. Thus I designed a blaster with quick-change barrels and multi-shot capability, designated an "Assault Pistol" as the player wielding it is intended to be rushing flags, taking points, and helping their team win the round, not necessarily focusing on getting tags except in fulfillment of those goals. Additonal barrel types are in the works and barrel fit is still being adjusted for maximum performance. At the time of posting the blaster is hitting ~90FPS with two of the three barrels plugged in the X3 barrel, and the shortest round in the burst lands as far as the longest from a stock sledgefire.
All parts should be safe printed at 2mm shells 20% infil; including the plunger head and plunger rod. No part other than the grip requires support; the grip only requires support touching buildplate. Part orientations may not be ideal; orient as needed. Barrels should print with the coupler up.
Ensure your printer's layers look clean and well-adhered, if you experience a failure increase the wall thickness rather than the infil unless you're increasing it to 100%.
Recommend printing in non-realistic colors (bright orange, blue, red, etc.) when intended for use outdoors. Always play responsibly, do not aim blaster at people or pets, wear goggles, etc. etc. I am not responsible for your misuse of the blaster.
Additional required parts:
~6" (5.932" or ~5-15/16") Of 1" 200 PSI PVC - Ping me on reddit or NH with your non-US-standard tubing options that are close to 1.315" OD and 1.185" ID so I can make new plunger heads (and frames if needed).
A ~5.5" mainspring of your choice (K25/6, ACE#49, etc.; has 'only' been tested with K25". Reports of 6"+ spring use have indicated excessive strain transferring to and snapping the frame; recommend using a spring with little/no precompression and using the long PR if pursuing longer spring geometries)
M2 or #2 or pin to run through grip & trigger
A Dash 213 (139" (1/8") sectional diameter, .921" (15/16") ID, 1.199" (1-3/16") OD) o-ring. Home Depot (and probably Lowe’s) use a different numbering system for their orings. A #218 is a dash 213; look for a 1/8” oring with a 1-3/16” OD and 15/16” ID.
A small extension spring for the catch. Designed with McMaster 9657K266 in mind.
A handful of #6 bugle or flat coarse-thread screws. I used 1-1/4" drywall screws and cut them where they stuck out.
Some gasketing between the PT and frame or another PH oring or a dash-316 oring. (optionally also between the low-tolerance barrels and frame). I've used ~1/4” craft foam in the past.
Plastic-safe lubricant of your choosing. Silicone plumber’s/faucet grease should be sufficient and in the same place as the orings in the hardware store.
Assembly instructions:
Put the o-ring on the Plunger Head. Optionally pad the plunger head with gasketing.
Insert the Plunger Rod into the Rear Structure, through the Catch Plate, through the mainspring, and into the Plunger Head. Secure with #6x1-1/4" (minimum) long screw.
Lubricate and slide PVC over plunger head into structure. Slide Frame Ring over PVC.
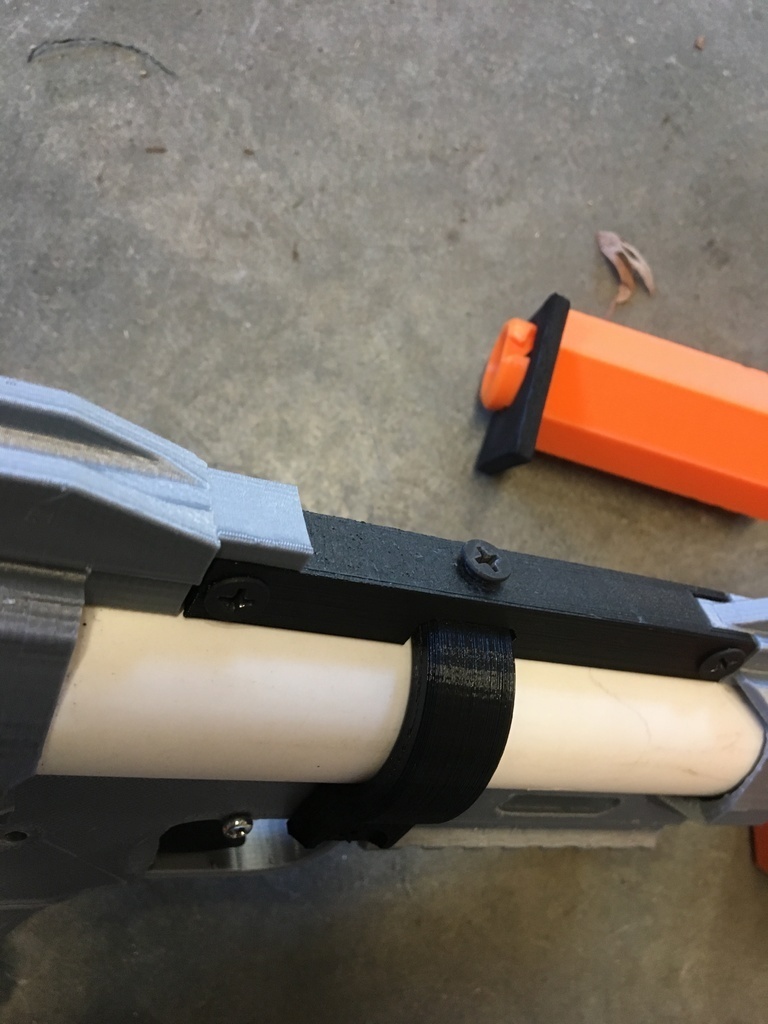
Attach top structure and front structure with #6 screws to assembly. Optionally, insert craft-foam gasketing or padding between front and plunger tube. Ring should be closer to rear than front.
Insert small catch spring into Catch, Catch into Grip Frame with Cam and Trigger as shown in internal image in posting.
Add Grip Cover and attach grip to assembly with 3 #6 screws.
Cut #6 screws which protrude from assembly to length. While you’re cutting screws, cut one long enough to attach the top and ring without penetrating the PVC plunger tube.
- HOTFIX: I noticed some flex in the frame that caused the catch to miss occasionally. To help quickly, I’m recommending driving a short screw through the top into the ring. There is a picture of this above. It is possible that it’s happening on mine because my screws are too short, but regardless I've worked out a more ideal solution in R2.
Optionally, add scales. #6 Pan-head screws, chicago screws, or bolts should be used to attach them to the grip.
Cut a hole in craft foam and install onto barrel of your choosing.
Load dart(s), pull plunger, and have fun!
:format(webp)/https://fbi.cults3d.com/uploaders/29804320/illustration-file/d65bc08e-1172-4692-81e4-759d5051b666/Mk18R5.PNG)


/https://preview3d-images.cults3d.com/yk4u4t9weioycuneuhy4vdyzc5fd)
/https://preview3d-images.cults3d.com/o7o8qlzoq7d8nzry5m74ftyqcbvu)
/https://preview3d-images.cults3d.com/kk7m8jklwwe8kksnz4s2f6vlwty3)
/https://preview3d-images.cults3d.com/374o7iwxixpknd9ueueucv61b0og)
/https://preview3d-images.cults3d.com/0hh4p341tk3kbbzg7kw9yztu6php)
/https://preview3d-images.cults3d.com/595pneovwoy5b7bnb7danyokizns)
/https://preview3d-images.cults3d.com/r7mknczd77pc3faittw6hku6bo82)
/https://preview3d-images.cults3d.com/oh6fvgzvqffwjyh4tc0yrokxbw5b)
/https://preview3d-images.cults3d.com/7h0868y7zbefbq6f0tob0caadegc)
/https://preview3d-images.cults3d.com/m9d1oa7f2jluzrid30rjey5sl55k)


