Dibella - Skyrim Goddess - 5 Petal Lore Friendly Mod


Dibella - Skyrim Goddess - 5 Petal Lore Friendly Mod
Published 2023-08-22T09:52:41+00:00
3D Print file for Dibella Statute from Skyrim.
- Skyrim fans will notice that Dibella's flower has 5 petals rather than 6.
Reason being, the inspiration for this model came from this Nexus Mod.
The creator of that mod pointed out that in other Elder Scrolls games Dibella's flower is depicted with 5 petals rather than the 6 used in Skyrim.
I also found that using 5 petals rather than 6 gave me more space to thicken the petals and stem so the flower design was more print friendly(those of you who've tried to print either of the two Dibella's on Thingiverse know the struggle is real with that flower Lolol).
YOU WILL NEED SUPPORTS
Read the Printing Details section for tips on avoiding some common print quality issues that can occur with this model (some of which you may see in my pics of this prototype).
Software Used:- Blender
- Netfabb
- Meshmixer
- Cura 5.4


My Printer: Ender 3 S1 Plus
Material: PLA (Overture Brand)
Print Temp: 200c
Speed: 50mm/s
Infill: 10%
Build Plate Adhesion: Brim
Slicer: Cura
Supports: Tree Supports - Touching Build Plate Only
Z Seam: The version in these images had Z Seam set to random.
I tested Z Seam settings in my following pritns. Setting the Z Seam to line up in a user chosen or other location gave me a smoother surface overall, but since there are literally no sharp corners or sides, I found the Z seam line quite noticable and personally like the random setting better in this case. I'm going to sand it a little before painting to smooth our the little z seam bumps.
SUPPORTS
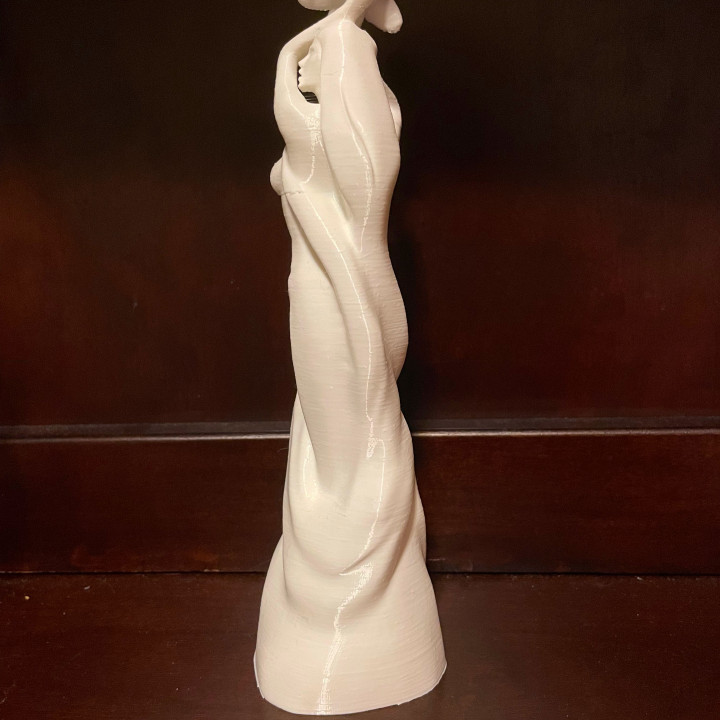
Our Lady Dibella is a bit endowed (classic art style not anime waifu style) and needs chest supports as well as support for the raised arms and flower.
Support Setting Story Time:
You'll notice some print quality issues in place above the waist.
The base of one of my tree supports didn't adhere to the build plate. It came loose and one of the branches kept swiping across the outside of some of the taller parts. I was using this print to test how my printer did at its max print height and found the tree supports needed more structure than the tree supports I used on my shorter prints of this model.
You may wish to experiment with support blockers around the face or allow the supports to be built on the model and not just touching the build plate.
The branches of the tree supports for her face and base of the flower ended up intertwining between her arms. This made removing them without snapping her arm off a challenge. I ended up just taking some pliers and crushing the supports until they shattered and I could pick off the pieces.
I also got a teeny cut on my hand doing this, not a big deal but crush plastic with caution and don't stab yourself in the hand with your needle nose pliers.
Even though the support came loose, a corner of the support was still attached to the buildplate/brim. As the loose support moved around my printer kept laying down plastic to build out branches. As you can guess, by the time the branches built on the loose support reached the flower, they were not the smoothest supports.
Since this print takes so long and the most complicated part is at the top, I recommend using a brim and wider support bases. This print is most likely to fail or have issues near the top, so you really want a stable base.
This version was a touch over 10 inches tall and took about 19 hrs to print at 50mm/s
Expectation Setting:
If you want a super smooth finish expect to do some light sanding.
An infill of higher than the 10% I used may help get a better surface finish.
When removing the supports, just brace yourself for the possiblity that the flower may snap at the wrist and have some super glue ready to patch. : )
| Date published | 22/08/2023 |