English
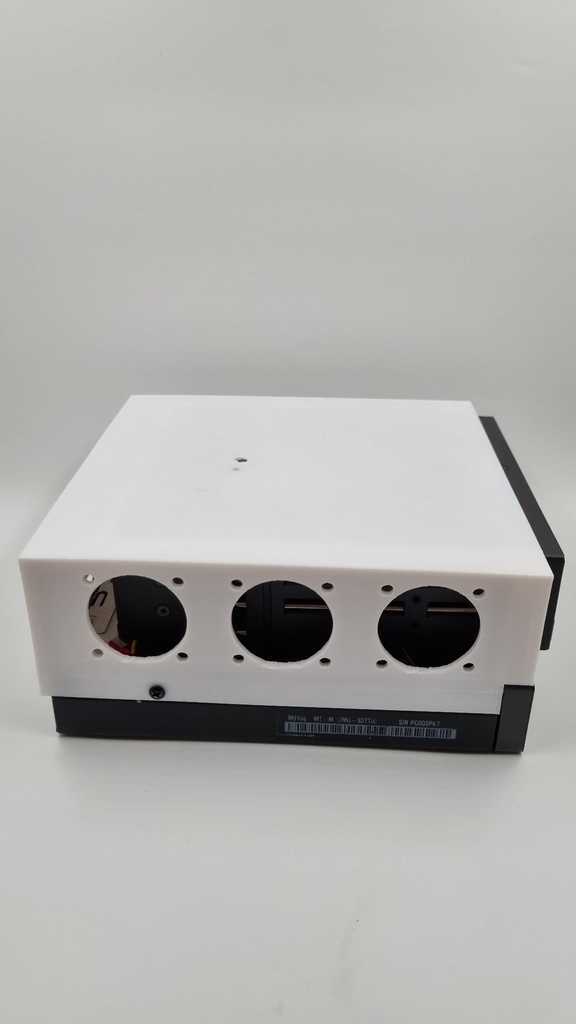
This is a practically complete modification of the M710Q/M910Q/M910X that allows to place in the upper part an enclosure with 6 2.5" disks.
Due to hardware limitations, the speed of the disks in the enclosure will be limited to 8Gbps as the M.2 Wifi port has only 1 PCI lane.
This limit is not present in the M910X/M720Q/M920Q as the integrated PCI slot is used.
It is quite possible that it is compatible with M920Q/M720Q or M700 but I don't have those devices to test.
There are 4 models available:
With 6 40mm fans
With 4 fans of 40mm
With 2 x 40mm fans
Without fans
I recommend using 6 fans but you can print the one you want.
The necessary parts are:
Printed model
0,2,4 or 6 fans of 40x40x10mm(4010) of 12V and 2 or 4 M4 screws per fan)
Fan controller if you want to regulate the speed https://es.aliexpress.com/item/1005003780355526.html
Molex cables https://es.aliexpress.com/item/1005002711097524.html
1 x 6mm long M2.5 screw to fasten the 6-disk bay to the top (use double-sided tape if you don't have it)
2 screws to attach the cover to the side of tiny
6 port Sata - PCI controller https://es.aliexpress.com/item/4001263294249.html
6 Drive Disk enclosure (you can also use the same 4 drive bay, they have exactly the same size) https://es.aliexpress.com/item/1005005195440556.html
M.2 Wifi to PCI adapter https://es.aliexpress.com/item/4000207687691.html molex splitter
In case you do this mod to a M910X/M720Q/M920Q you don't need the M.2 Wifi to PCI adapter but you will need a riser.
I also recommend buying a very thin sata cable https://es.aliexpress.com/item/1005004727987331.html to make it easier to place the cables.
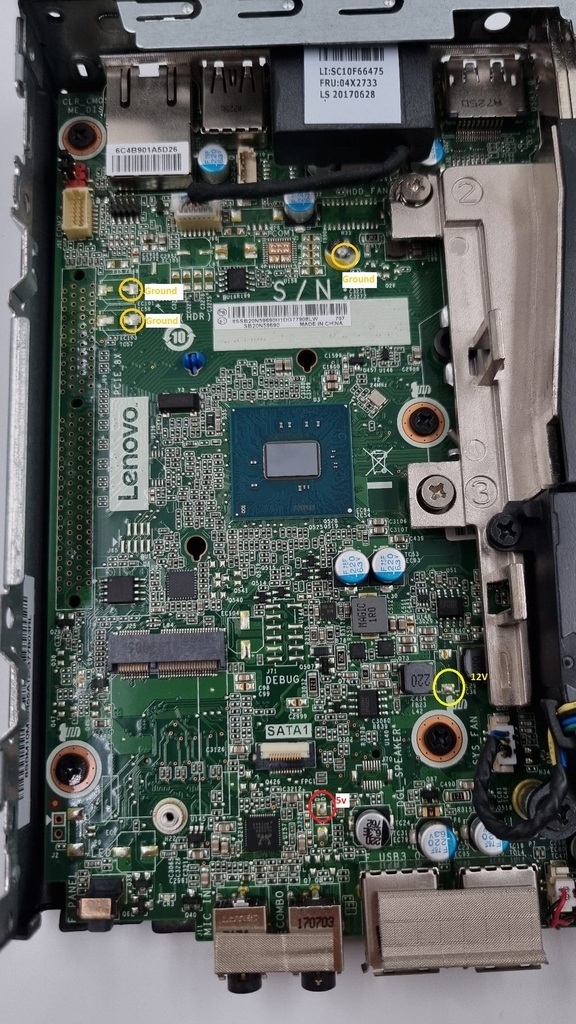
The first thing to do is to get power by soldering wires to the marked pins, you can cut one of the molex cables to make it easier.
The idea is yo connect ground, 5V and 12V to the Molex cable that will go to the drive bay and also to the PCI connector.Also get the 12V to the fan controller.
Once the power is done, the order of the adapters goes as follows:
M.2 Wifi -> PCI -> SATA controller
In my case I have glued the end with the PCI port to the inside of the case so that it stays firm with double-sided tape.
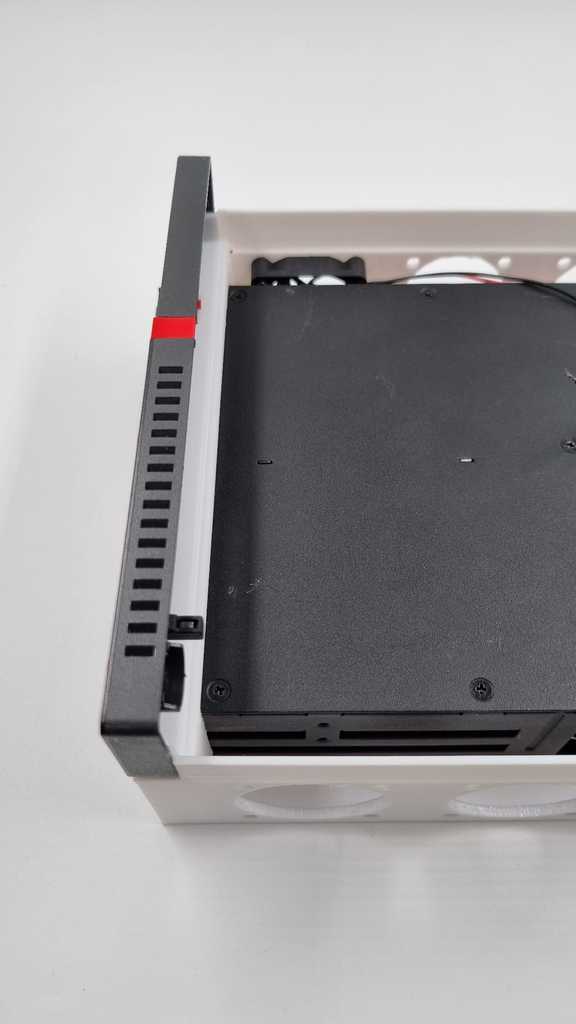
Once that is done, in the drive bay remove the top screw, the one near the fan and put the box inside the printed model but leave it halfway, connect the sata cables inside and the power supply.
On the upper part put the 6mm M2.5 screw and screw it into the hole left by the previous screw.If you don't have/can't find this screw just use good quality double-sided tape
With this the case should be in its final position, which will now be firm and held in place by both the sides and the screw.
Place the 40mm fans on the sides and attach them with M4 screws.
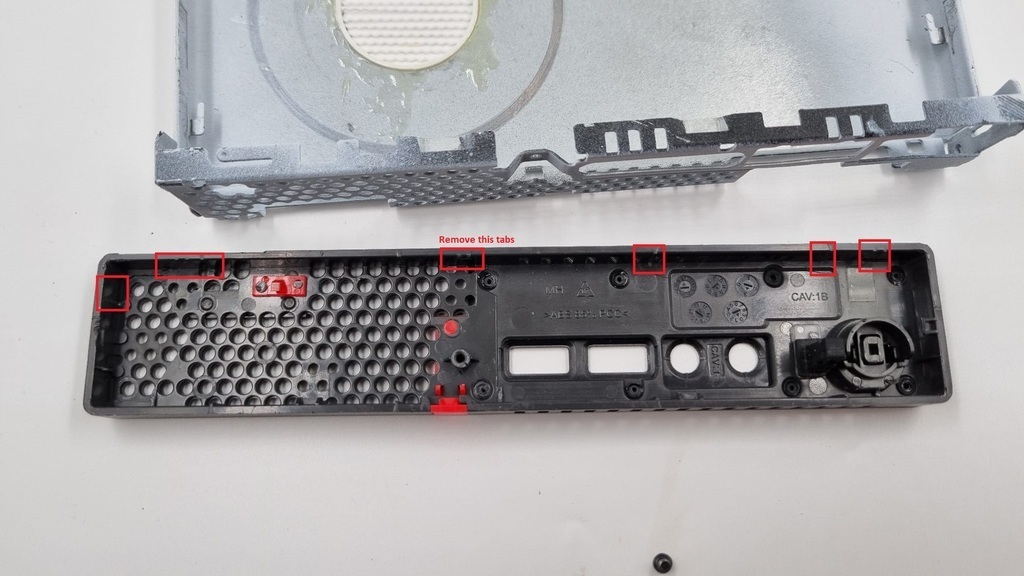
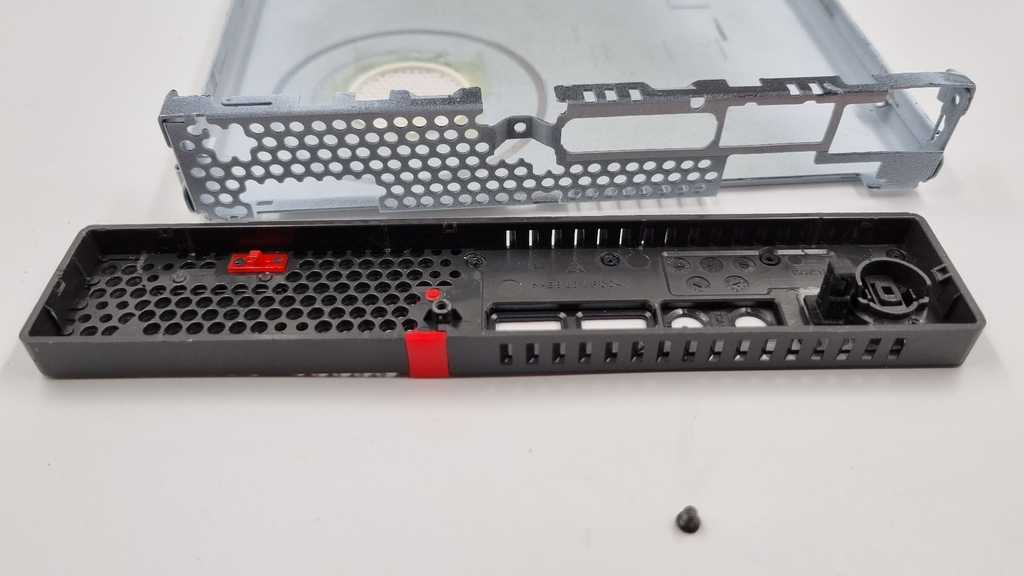
To remove the front of the tiny, just remove the tiny screw from inside and pry it open
With a cutter cut the tabs that it has inside and insert it on the printed model taking into account the notch.
Connect the sata cables to the controller and connect the 2 molex cables to the drive bay
Place all the model on the tiny by fitting the front and use the the 2 side screws to prevent the cover from coming off.
Category: Computer
Spanish
Se trata de una modificación practicamente completa del M710Q/M910Q/M910X que permite colocar en la parte superior una caja con 6 discos de 2.5".
Debido al hardware del equipo, la velocidad de los discos en la caja será limitada a 8Gbps ya que el puerto M.2 Wifi solo dispone de 1 linea PCI.
Este limite no se puresenta en el M910X/M720Q/M920Q ya que se usa el PCI integrado.
Es muy posible que sea compatible con M920Q/M720Q o con M700 pero no dispongo de esos equipos para probar.
Se dispone de 4 modelos:
Con 6 ventiladores de 40mm
Con 4 ventiladores de 40mm
Con 2 ventiladores de 40mm
Sin ventiladores
Recomiendo la de 6, pero pueden imprimir la que quieran
Las piezas necesarias serán:
Modelo impreso
0,2,4 u 6 ventiladores de 40x40x10mm(4010) de 12V y 4 tornillos M4 por cada ventilador)
Controlador de ventiladores si se quiere regular la velocidad https://es.aliexpress.com/item/1005003780355526.html
1 tornillo M2.5 de 6mm de largo para sujetar la el bay de 6 discos a la parte superior(usa cinta de doble cara si no tienes)
2 tornillos para sujetar la tapa al lateral del tiny
Controladora Sata - PCI de 6 puertos https://es.aliexpress.com/item/4001263294249.html
Caja para discos https://es.aliexpress.com/item/1005005195440556.html
Adaptador M.2 Wifi a PCI https://es.aliexpress.com/item/4000207687691.html divisor molex
En caso de realizarse este mod a un M910X/M720Q/M920Q no es necesario el adaptador M.2 Wifi a PCI pero necesitarás un riser
También recomiendo comprar un cable sata muy fino https://es.aliexpress.com/item/1005004727987331.html para que sea más facil de colocar los cables
Montaje:
Lo primero que hay que hacer es conseguir alimentación soldando cables a los pines marcados, puedes cortar uno de los cables molex para hacerlo más fácil.
La idea es conectar ground , 5V y 12V al cable Molex que irá a la bahía de discos y también al conector PCI.También llevar los 12V + ground al controlador del ventilador.
Una vez hecha la alimentación, el orden de los adaptadores va de la siguiente manera:
M.2 Wifi -> PCI -> Controlador SATA
En mi caso he pegado el extremo con el puerto PCI al interior de la caja para que se mantenga firme con cinta de doble cara.
Una vez hecho esto, en la bahía de unidades quitar el tornillo superior, el que está cerca del ventilador y meter la caja dentro del modelo impreso pero dejarlo a medias, conectar los cables sata dentro y la fuente de alimentación.
En la parte superior pon el tornillo de 6mm M2.5 y atorníllalo en el hueco que ha dejado el tornillo anterior.Si no tienes/puedes encontrar este tornillo simplemente usa cinta de doble cara de buena calidad
Con esto la caja debería estar en su posición final, que ahora estará firme y sujeta tanto por los laterales como por el tornillo.
Coloca los ventiladores de 40mm en los laterales y sujétalos con tornillos M4.
Para quitar el frontal de la tiny, solo hay que quitar el pequeño tornillo del interior y hacer palanca para abrirlo
Con un cutter corta las pestañas que tiene en su interior e introdúcelo en el modelo impreso teniendo en cuenta la muesca.
Conecta los cables sata a la controladora y conecta los 2 cables molex a la bahía de discos
Coloque todo el modelo sobre el tiny encajando la parte delantera y utilice los 2 tornillos laterales para evitar que la tapa se salga.
:format(webp)/https://fbi.cults3d.com/uploaders/26073673/illustration-file/c806ad11-0db9-4e43-a3b0-624f6002ef0d/a7cde4b1-6ea9-45c8-b770-d8a6813ac55b.jpeg)


/https://preview3d-images.cults3d.com/l9oum9umjpmt33nxgewplkzmdeq4)
/https://preview3d-images.cults3d.com/1s8pfr7z6qwqoyz26kbqx27zlph9)
/https://preview3d-images.cults3d.com/ukoyugwdj1jg3zbf56q9vc3k8ny0)
/https://preview3d-images.cults3d.com/0o40c3xrkudd9vhwh22niir5yb8v)


