Skip to content

Motorized Lighthouse Display Model on a Rock

Advertising
?
Creation quality: 5.0/5 (1 vote)
Evaluation of members on the printability, utility, level of detail, etc.

  • 1k views
  • 1 like
  • 41 downloads

License
3D design format
Folder details Close
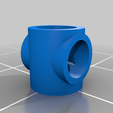
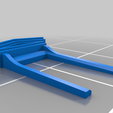
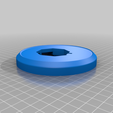
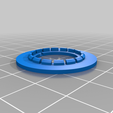
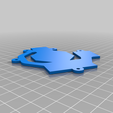
  • 01_Base_Plate.stl
  • 02_Base_Lid.stl
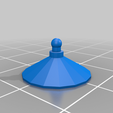
  • 03_Base_and_Rock_Alignment_Pin.stl
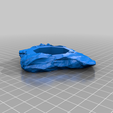
  • 04_Rock.stl
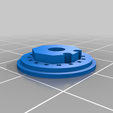
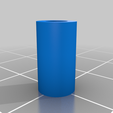
  • 05_Base_Rock_Alignment_Collar_And_Motor_Mount.stl
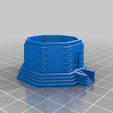
  • 06_Tower_Base.stl
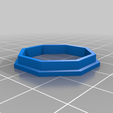
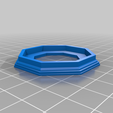
  • 07_Base_Trim.stl
  • 08_Octo_Connector.stl
  • 09_Doorframe.stl
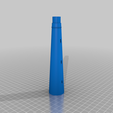
  • 10_Tower.stl
  • 11_Deck.stl
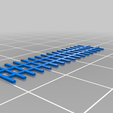
  • 12_Deck_Brace_x16.stl
  • 13_Railing.stl
  • 14_Tower_Cap_Part_1.stl
  • 15_Tower_Cap_Part_2.stl
  • 16_Roof_Part_1.stl
  • 17_Roof_Part_2.stl
  • 18_Windows.stl
  • 19_Lantern.stl
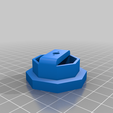
  • 20_Motor_Drive_Shaft_Adapter.stl
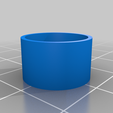
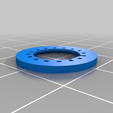
  • Optional_Window_Bending_Guide_Collar.stl

Learn more about the formats

Publication date 2023-09-12 at 23:12
?
Published to Thingiverse on: 2023-09-12 at 21:35
Design number 1446523

3D printer file info

3D model description

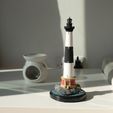
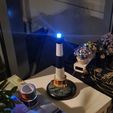
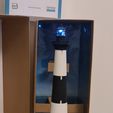
So I decided to take the Cape Hatteras lighthouse, put it on a rock and a base as a display model and motorize it.

Video of it in operation: https://imgur.com/gallery/dk2f6uN

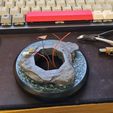
I did not take nearly enough photos during the building process, and it was prepared as a gift to a special someone so I no longer have it in my possession to take additional photos, but I'll try to explain the assembly the best I can with the photos that I do have.

Do feel free to ask questions if something doesn't make sense.

The model has also been scaled to 85% of the original size.


Electronic Components:


Battery: Battery Compartment is 40x20x10mm (LxWxH). I had a 400mAh battery laying around. 3.7V
Switch: 3x10mm slide switch
Wire: I used 32 AWG wire
LED: 3mm LED, any color. I used white.
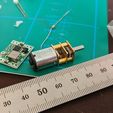
Motor: Search for "6V DC Gear Motor" or similar. I bought a 10RPM one locally. If it looks like in the photos, it's the right thing.
Charging: TP4056 USB C Charging Board
Buck Converter: MP1584EN
Resistor for LED: I had 110 Ohm ones laying around. It did the job.
LED Socket: MillMax sockets I had laying around. 1.5mm diameter.


General Notes and comments in no particular order to help you assemble this.


  • Lid attaches with M3x10mm screws and M3 threaded inserts into the base.
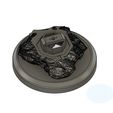
  • The Alignment Pin (Part 3) is used in the slot in the base and rock to align them when gluing to ensure it's centered
  • The motor mounts using M1.6 screws, but I drilled the holes out gently and used M2.5 screws that I had laying around.
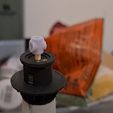
  • LED has to be bent 180 degrees like in one of the photos. The lantern will spin around the LED. Wires run up the tower from the base, and are soldered to the bottom of the MillMax sockets that the LED sits in.
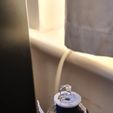
  • Motor shaft is a 3mm diameter skewer from the grocery store cut to length. You want it cut so that the lantern sits just half a millimeter or so above the floor, and you need to glue the lantern (Part 19) to the top of the shaft, and press fit into the drive shaft adapter (Part 20) . It can also not go too far into the lantern, because then the LED will sit too high and it will not look right. The lantern allows for the skewer/shaft to push in 2mm into the bottom of the lantern.
  • Motor screws into the base collar (Part 5), and the drive shaft adapter (Part 20) is either press fitted or glued onto the motor shaft. At final assembly the shaft coming down the tower from the lantern is pressfitted onto the collar coming off the motor shaft. It's a bit of a pain to align it, and get the shaft the right length so that the lantern sits at the right level when it's all pressed together. Took me a few tried. Either way, that allows the lantern to spin when the motor is powered. If you have bent the LED leds correctly, the lantern will spin without hitting the LED legs. Β΄ One of the photos shows the concept anyway, but the shaft is not yet cut to length in that photo.
  • Motor speed is adjusted with the buck converter. I bought a 10RPM motor, but turning down the voltage to where it will barely spin makes it run at 4.4 RPM. Buying a 6V motor for a 3.7V supply reduces the speed even without a buck converter.
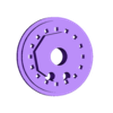
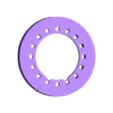
  • The window bending collar part is just because I had such a hard time bending the window round that I forced it into that ring and briefly heated it with a hair dryer to make it round. The part doesn't go into the final piece.
  • The two switches underneath (with labels L for light and M for motor) are wired such that the L switch cuts power between the USB C board and the buck converter, and the M switch cuts power for the motor only. Thus the motor will not run without the LED on, but the thing can still be charged regardless. The LED is powered off of the Buck converter board, but it just splits the voltage coming off the USB C board (so it is not stepped down)
  • The Reason the roof and tower cap has two parts is because I wanted a nice top surface on the tower cap, but needed to print it upside down. The two pieces are glued together. I also modified these pieces with a bit of a lip holding the window because the holes in the original model for the window to slot into are too small to come out on my Ender 3, plus I wanted it more robust.
  • The Water is created by using a blue base paint, and then using AK Interactive Water Gel for Dioramas. The rock texture is created using Citadel Technical Astrogranite Paint.
Advertising


Issue with this design? Report a problem.

Would you like to support Cults?

You like Cults and you want to help us continue the adventure independently? Please note that we are a small team of 3 people, therefore it is very simple to support us to maintain the activity and create future developments. Here are 4 solutions accessible to all:

  • ADVERTISING: Disable your banner blocker (AdBlock, …) and click on our banner ads.

  • AFFILIATION: Make your purchases online by clicking on our affiliate links here Amazon.

  • DONATE: If you want, you can make a donation via Ko-Fi πŸ’œ.

  • WORD OF MOUTH: Invite your friends to come, discover the platform and the magnificent 3D files shared by the community!


Sharing and downloading on Cults3D guarantees that designs remain in makers community hands! And not in the hands of the 3D printing or software giants who own the competing platforms and exploit the designs for their own commercial interests.

Cults3D is an independent, self-financed site that is not accountable to any investor or brand. Almost all of the site's revenues are paid back to the platform's makers. The content published on the site serves only the interests of its authors and not those of 3D printer brands who also wish to control the 3D modeling market.

100% secure payment by credit card, PayPal, Apple Pay, Google Pay, etc.
View all payment options.