** Update** 2023/05/16 - Have tested more than 30 different versions and found the best flying version. Release has been updated and is available. Build guide has been updated. Rudder has been removed in this version.
Stls found here: https://cults3d.com/en/3d-model/various/kmi-madness-pylon-racer
Want this for free?
If you are so inclined you can get the this model for free by doing one of the following:
- Provide a flight video
- Provide build video
- Provide an overview of the process from build through flight.
Doing just one of the following and submitting for review, I will refund the cost of the model. This offer only lasts for as long as they do not exist. I will be updating the description with the winning videos.
The submitted videos will be reviewed to determine the winner. Thing that will be looked at:
- Video quality, color, and clarity
- If providing verbal instructions, communication clarity. At this time there are only so many languages that I can get translated; so please make sure it is in English by default. Only English will be used at this time
- Submission must also include building experience with examples of other models you've printed and build, as well as flight experience.
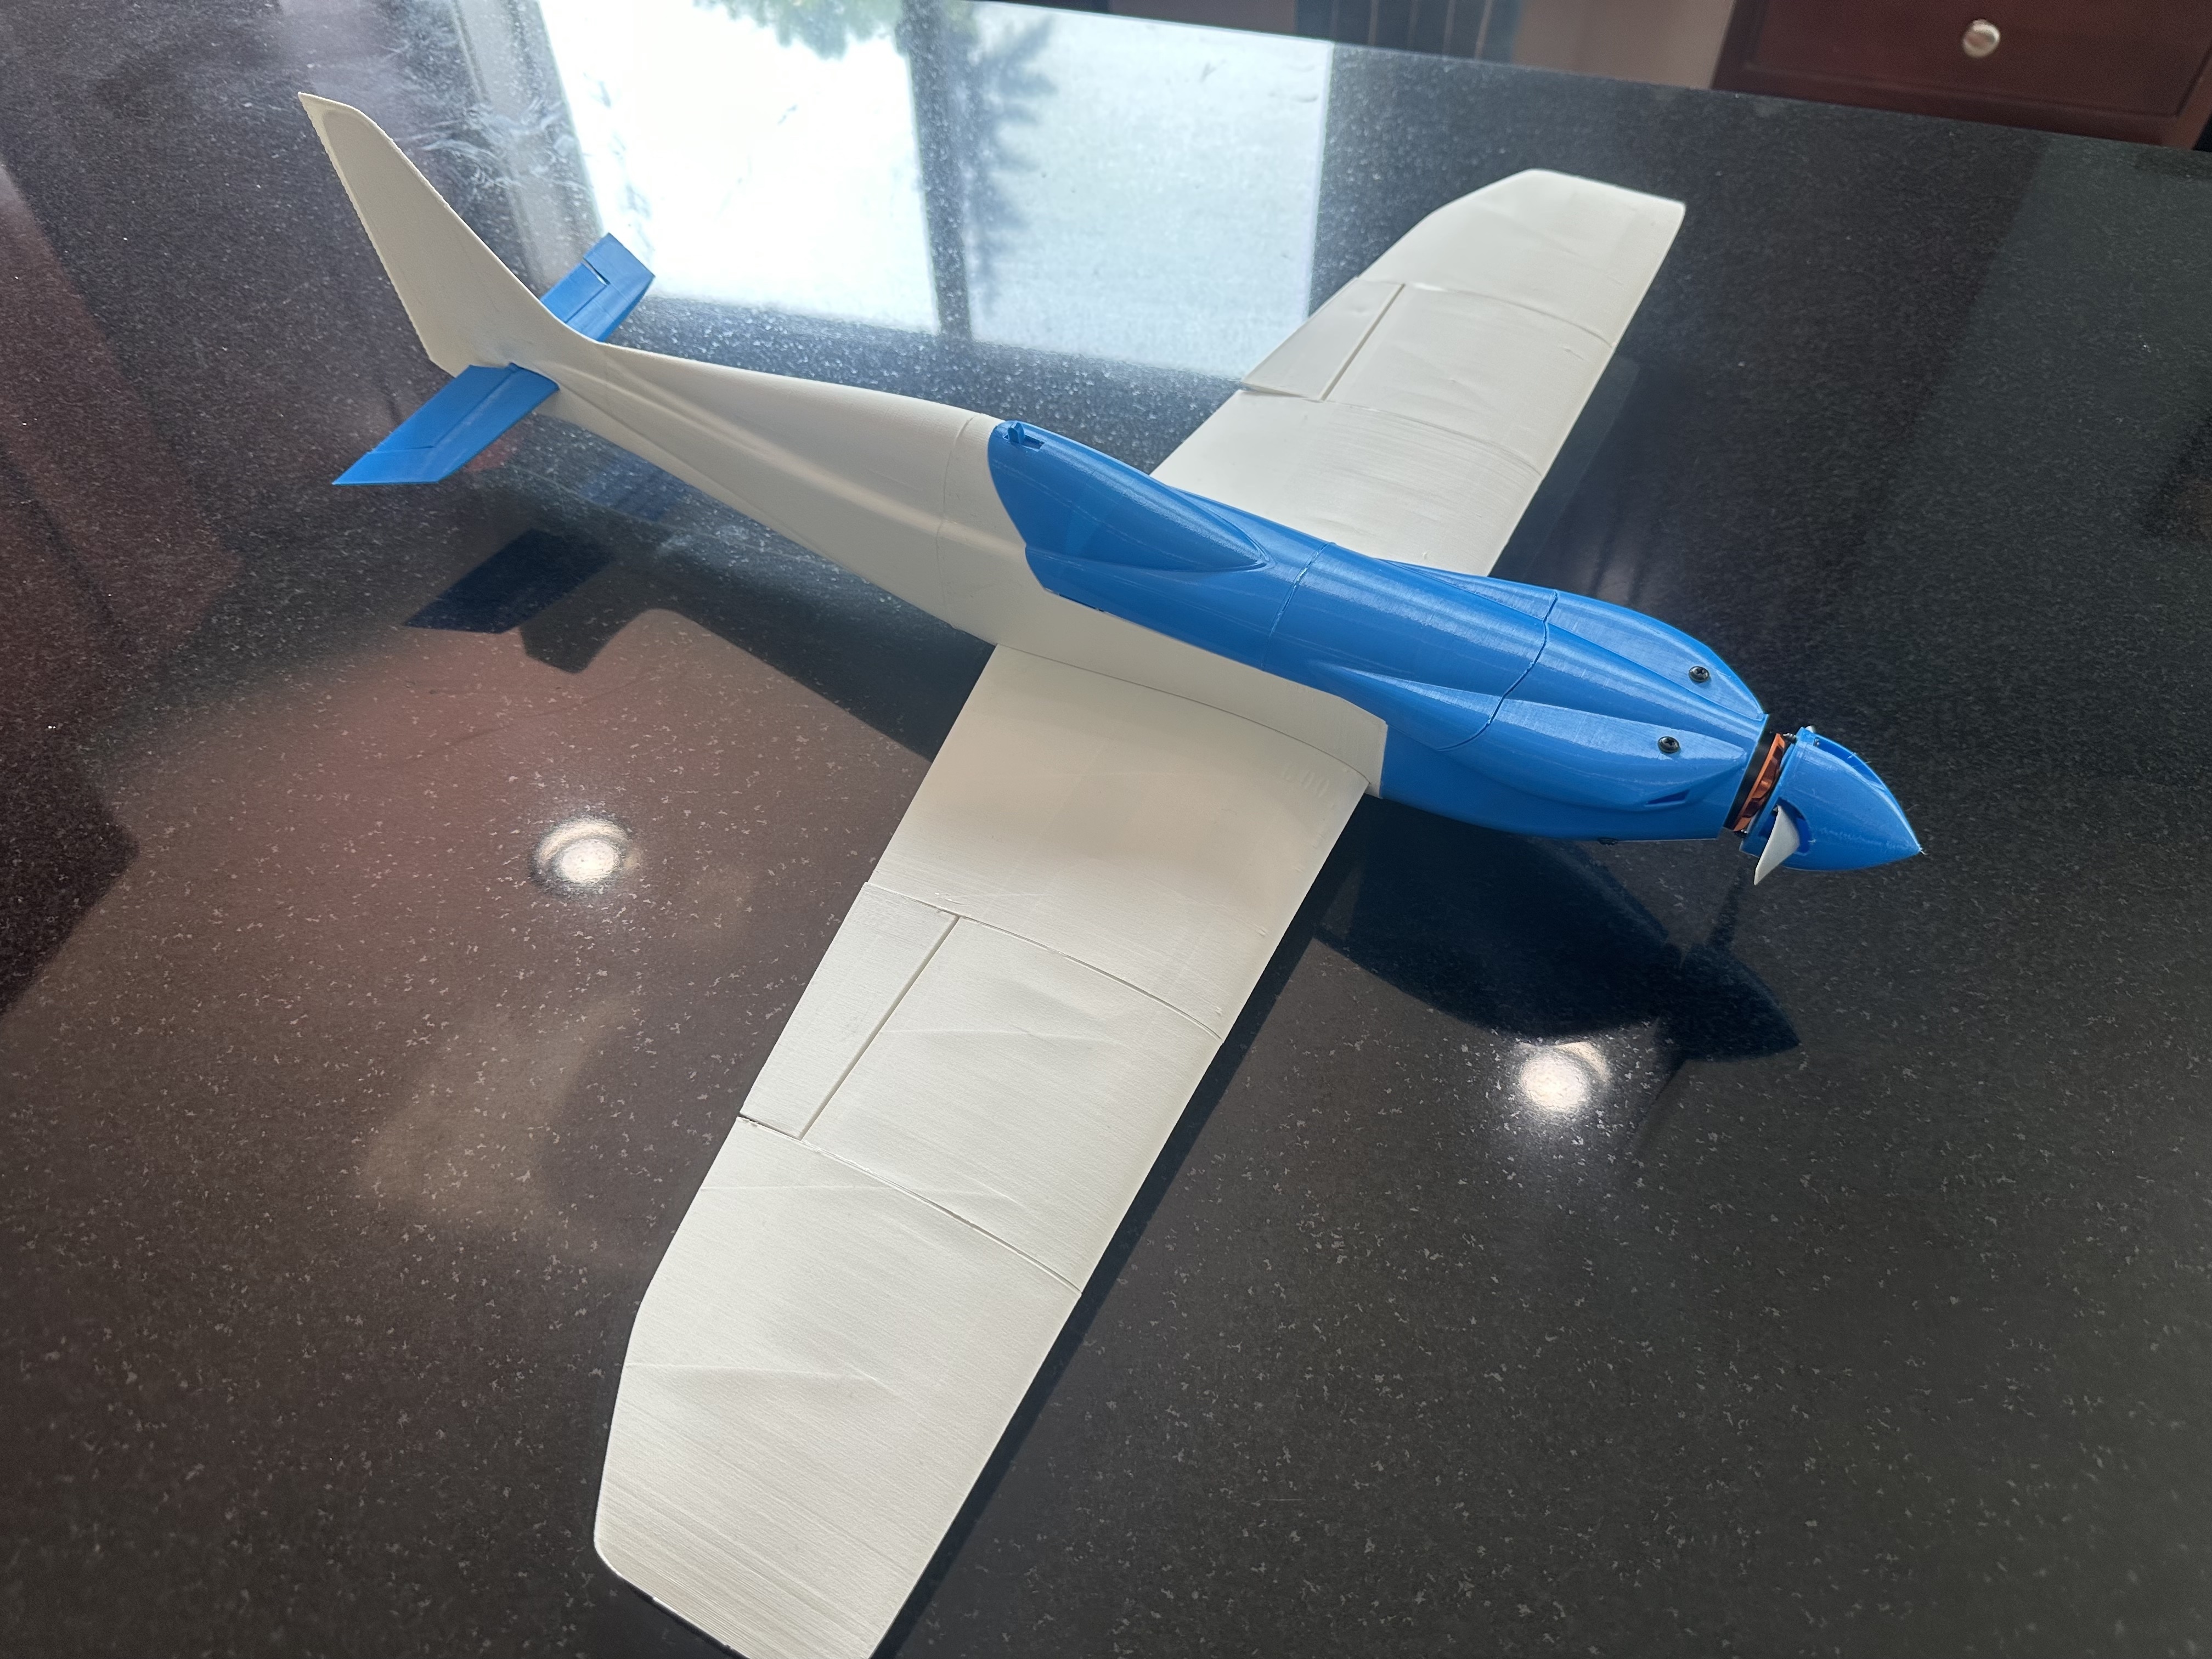
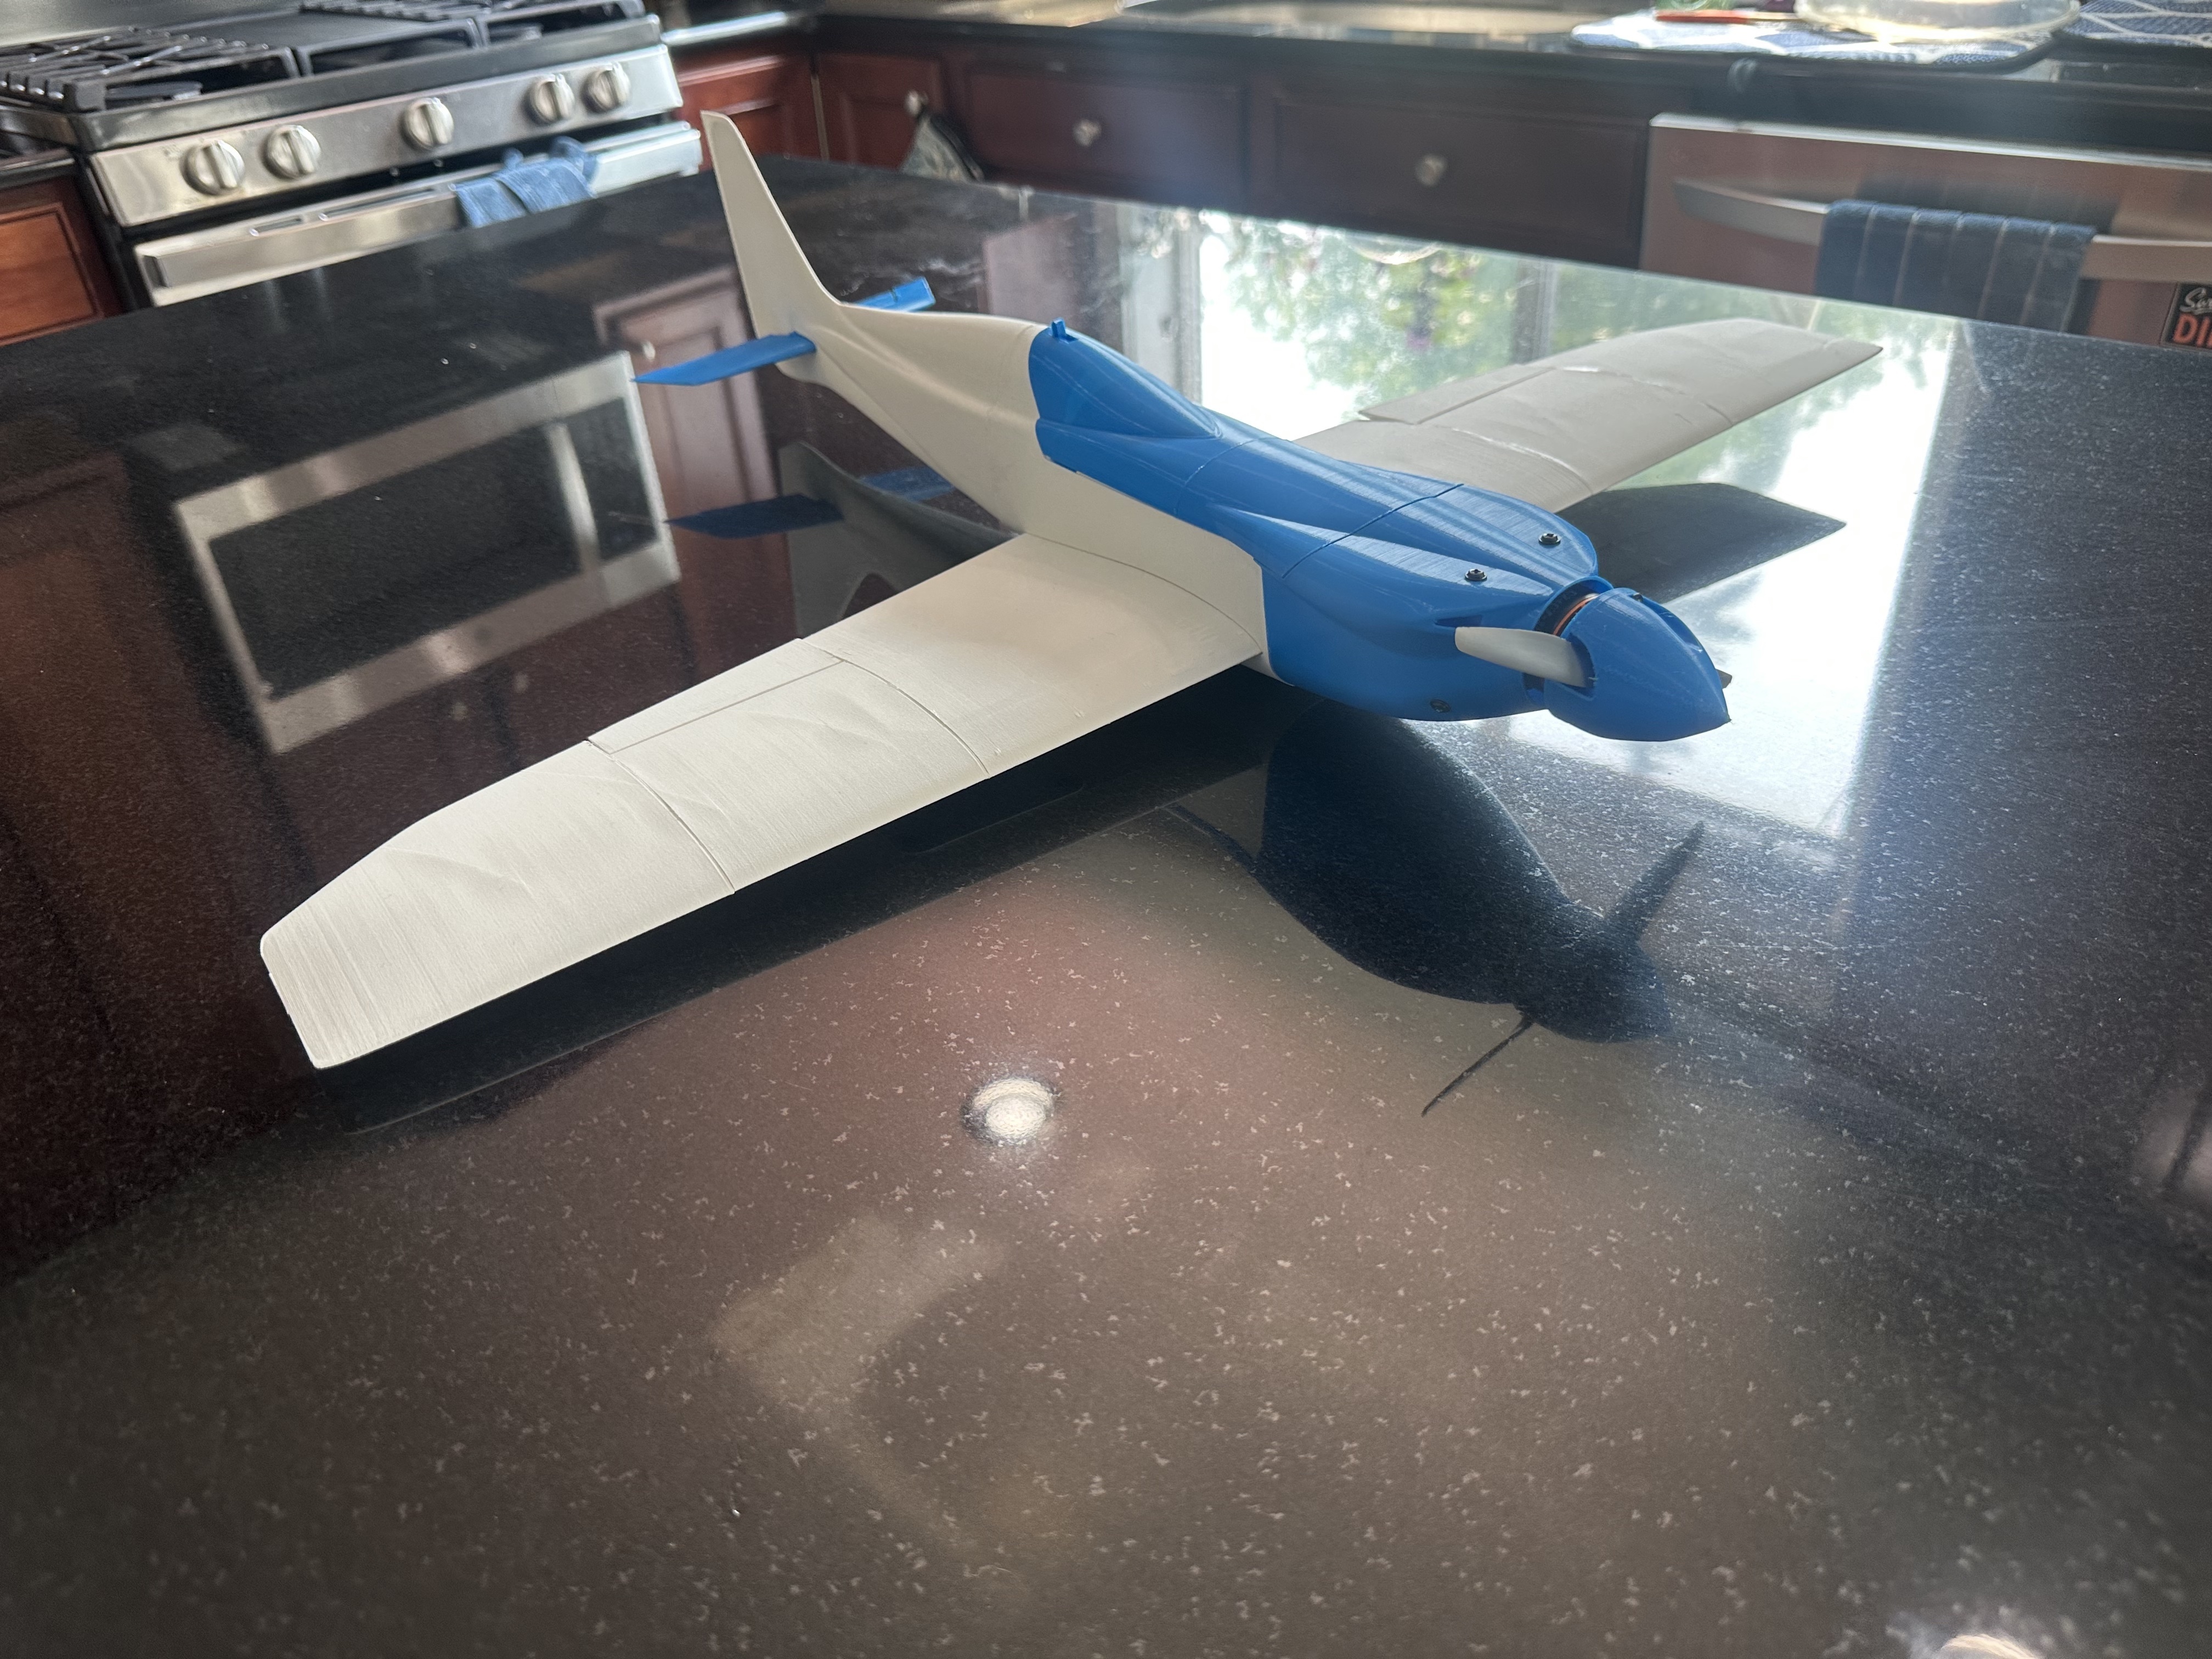
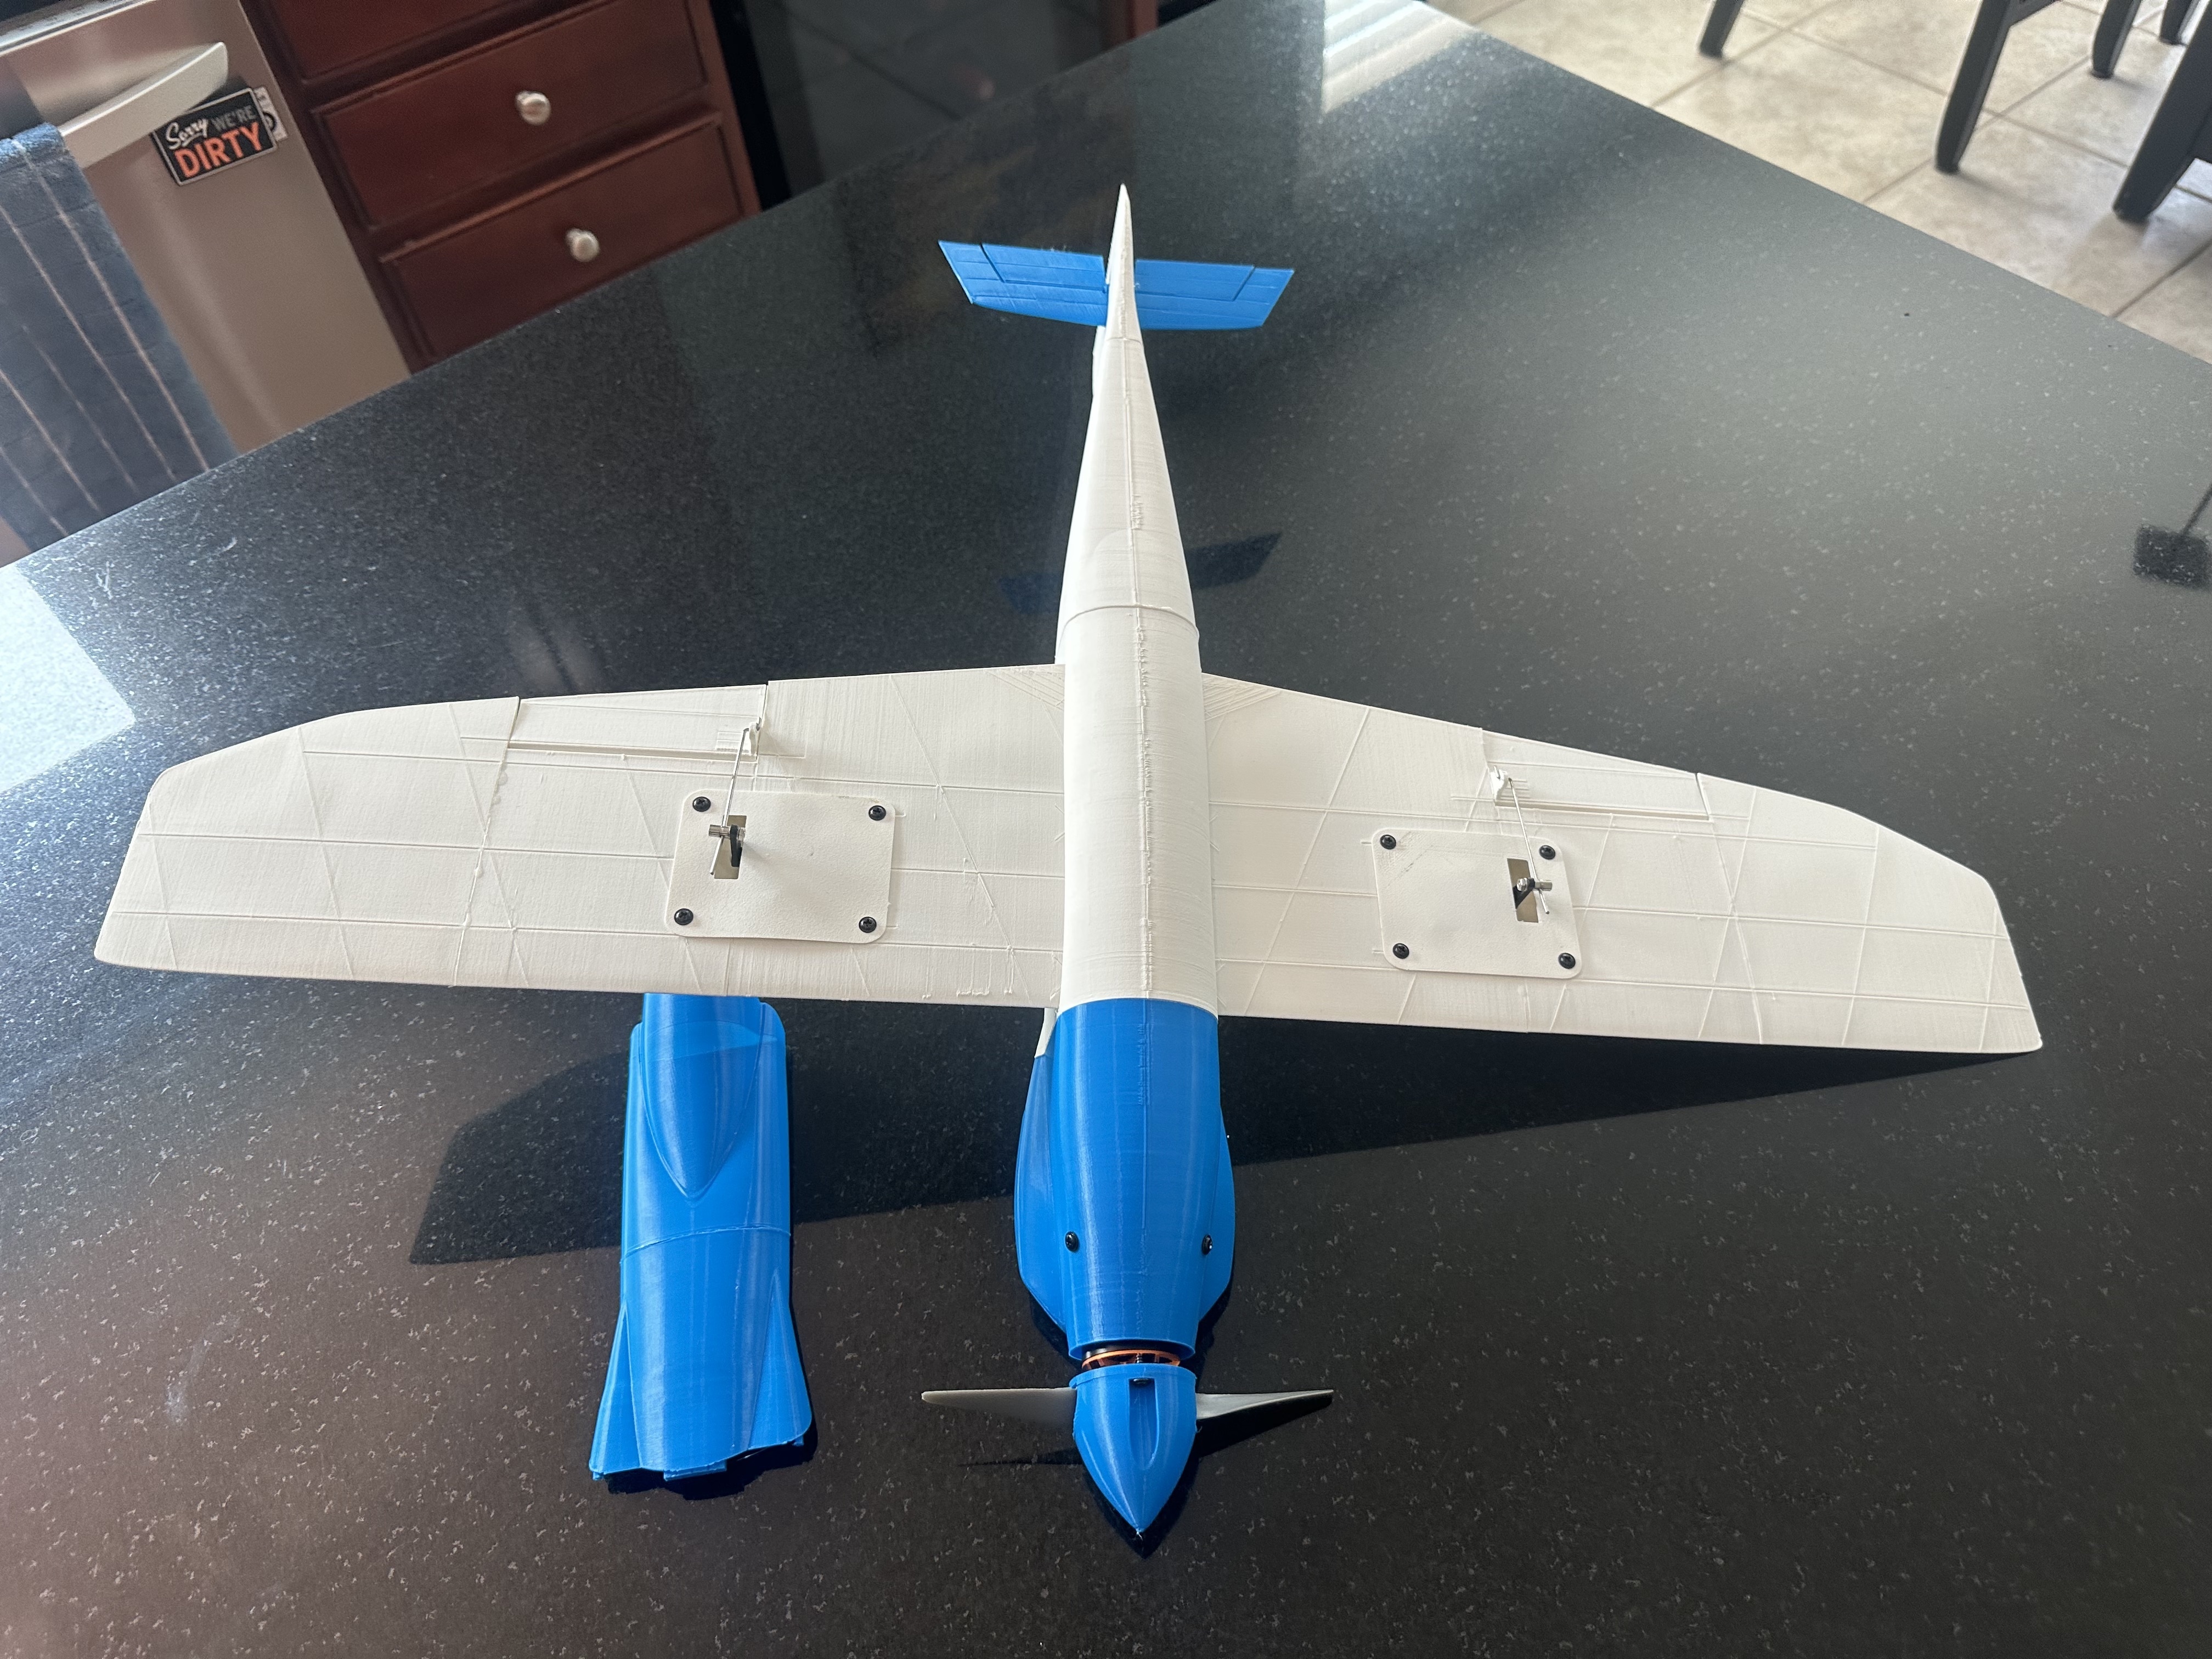
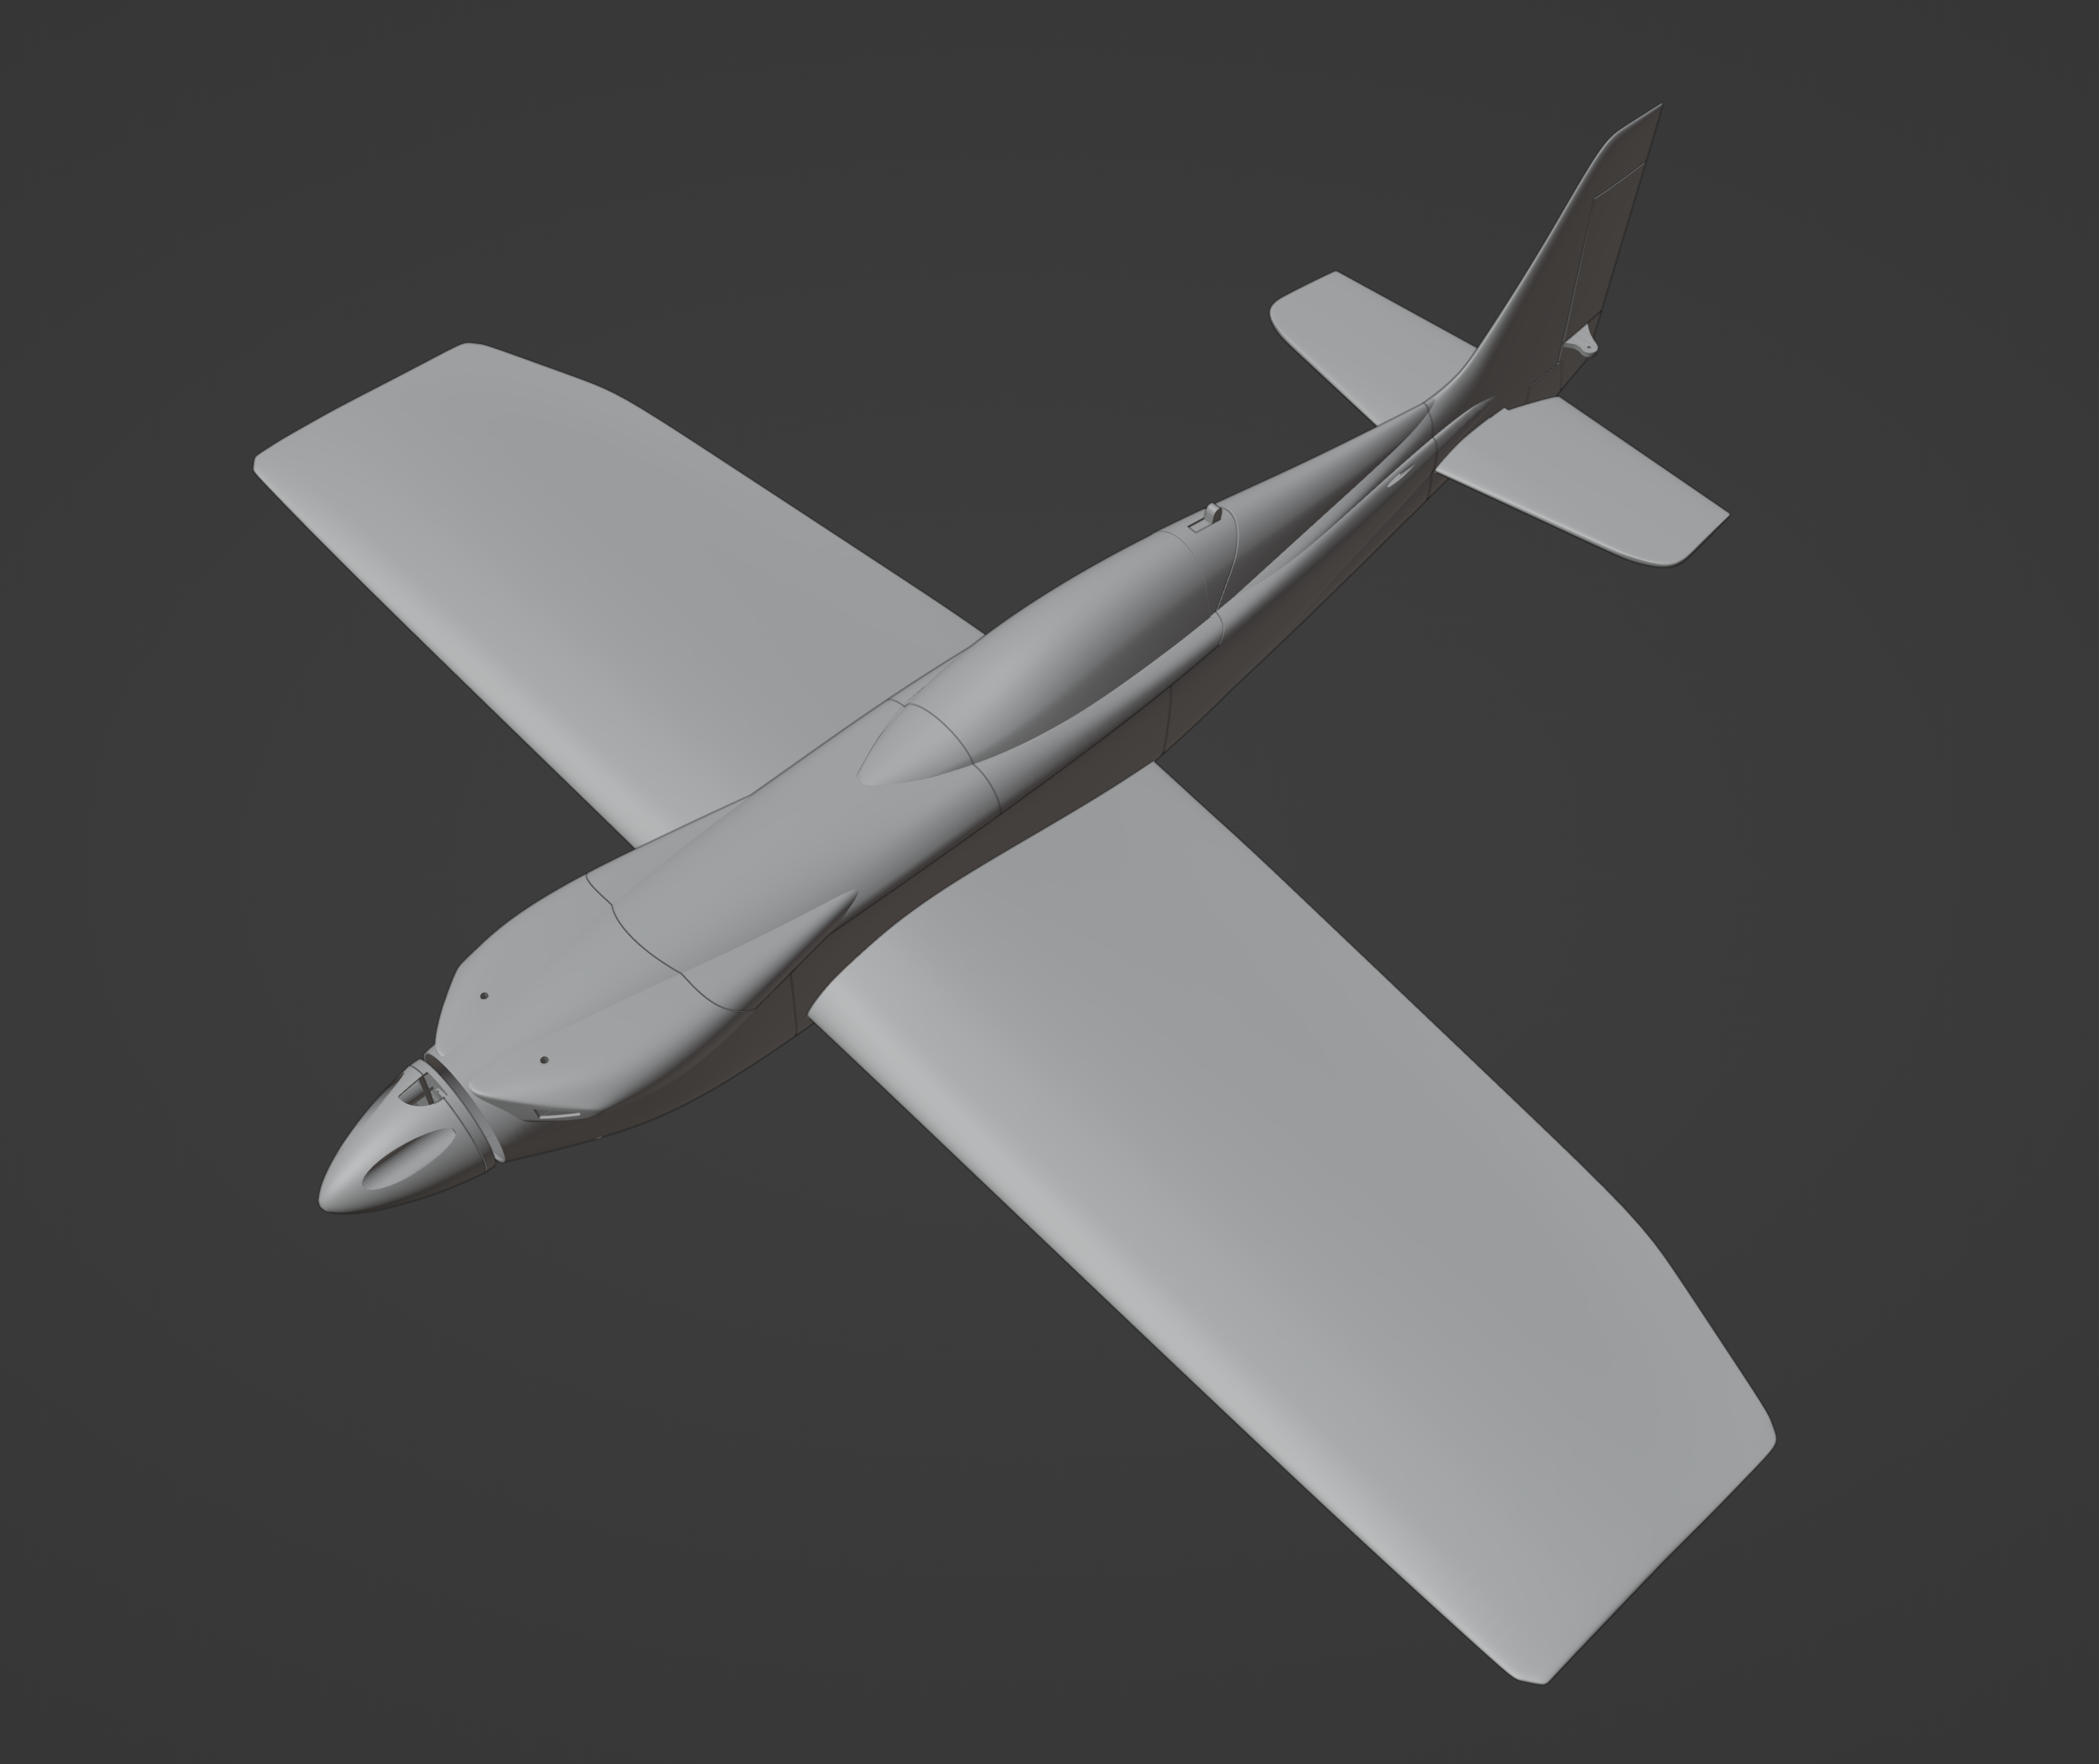
I have been wanting a pylon racer to run in my local clubs. With Reno Pylon Racing coming to an end I thought it was time to make a few models in tribute to the races. I have taken some specs but have altered to make it my own style for the most part. This is my first model to be released. It has been printed, re-printed, and printed again. Don't mind the printing in the images, those were quick test prints for fitment.
It has flown very fast and agile, and also many crashes. This is build a little heavier than you will be used to if you have done other models. The idea is to be more survivable on landing. Many of the others ruin even with the easiest of landings. This has been built in hopes to with stand that. This is 510+/-g at the lowest (LW-PLA-HT prototype; 3s 2200mah) on up pending the filament and battery size you use.
Stls found here: https://cults3d.com/en/3d-model/various/kmi-madness-pylon-racer
Average time to print is dependent on your printer settings. I am able to get it done faster (about a day) using 3 printers. 2 Ender5Pro and 1 Ender2. I have been able to print the entire plane on the ender 2 in about a day in a half. This is with filament that can allow optimal printing with multiple parts to a plate. LW, takes longer because it is highly recommended to print one piece at a time to minimize stringing. Longest single print time for me was fuse 1, 2, and 3 (all on ender 2) at about 7 hours.
The suggested power is designed around what I have found easiest to source and less expensive. It was also elected because it can take an easily sourced prop (5") and with max battery (4s) can product approximate 2:1 thrust to weight ratio. I have opted for drone motors because you can get them 4 at a time which averages out to about half the cost as one fixed wing motor. Drone motors also have shown me they can take more beating than fixed wings have. Approximate 15 prototypes built, 2 flew (final versions) all used the same 4 motors through the entire process and will continue to be used in future prototypes.
Below are the build material specs; along with instructions. I have included what I had purchased for use, along with search results links so you can choose.
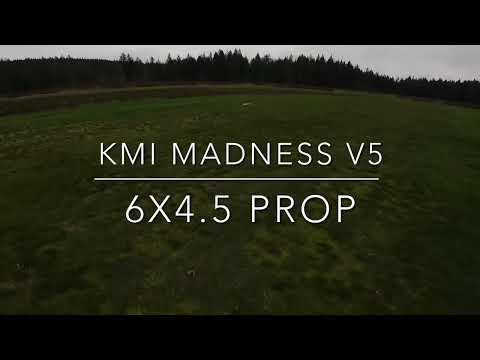
Kind of hard to see since I had to get at least 4 mistakes high. Will work on better videos
Flight vid: https://www.youtube.com/watch?v=uhXrC_28TOY
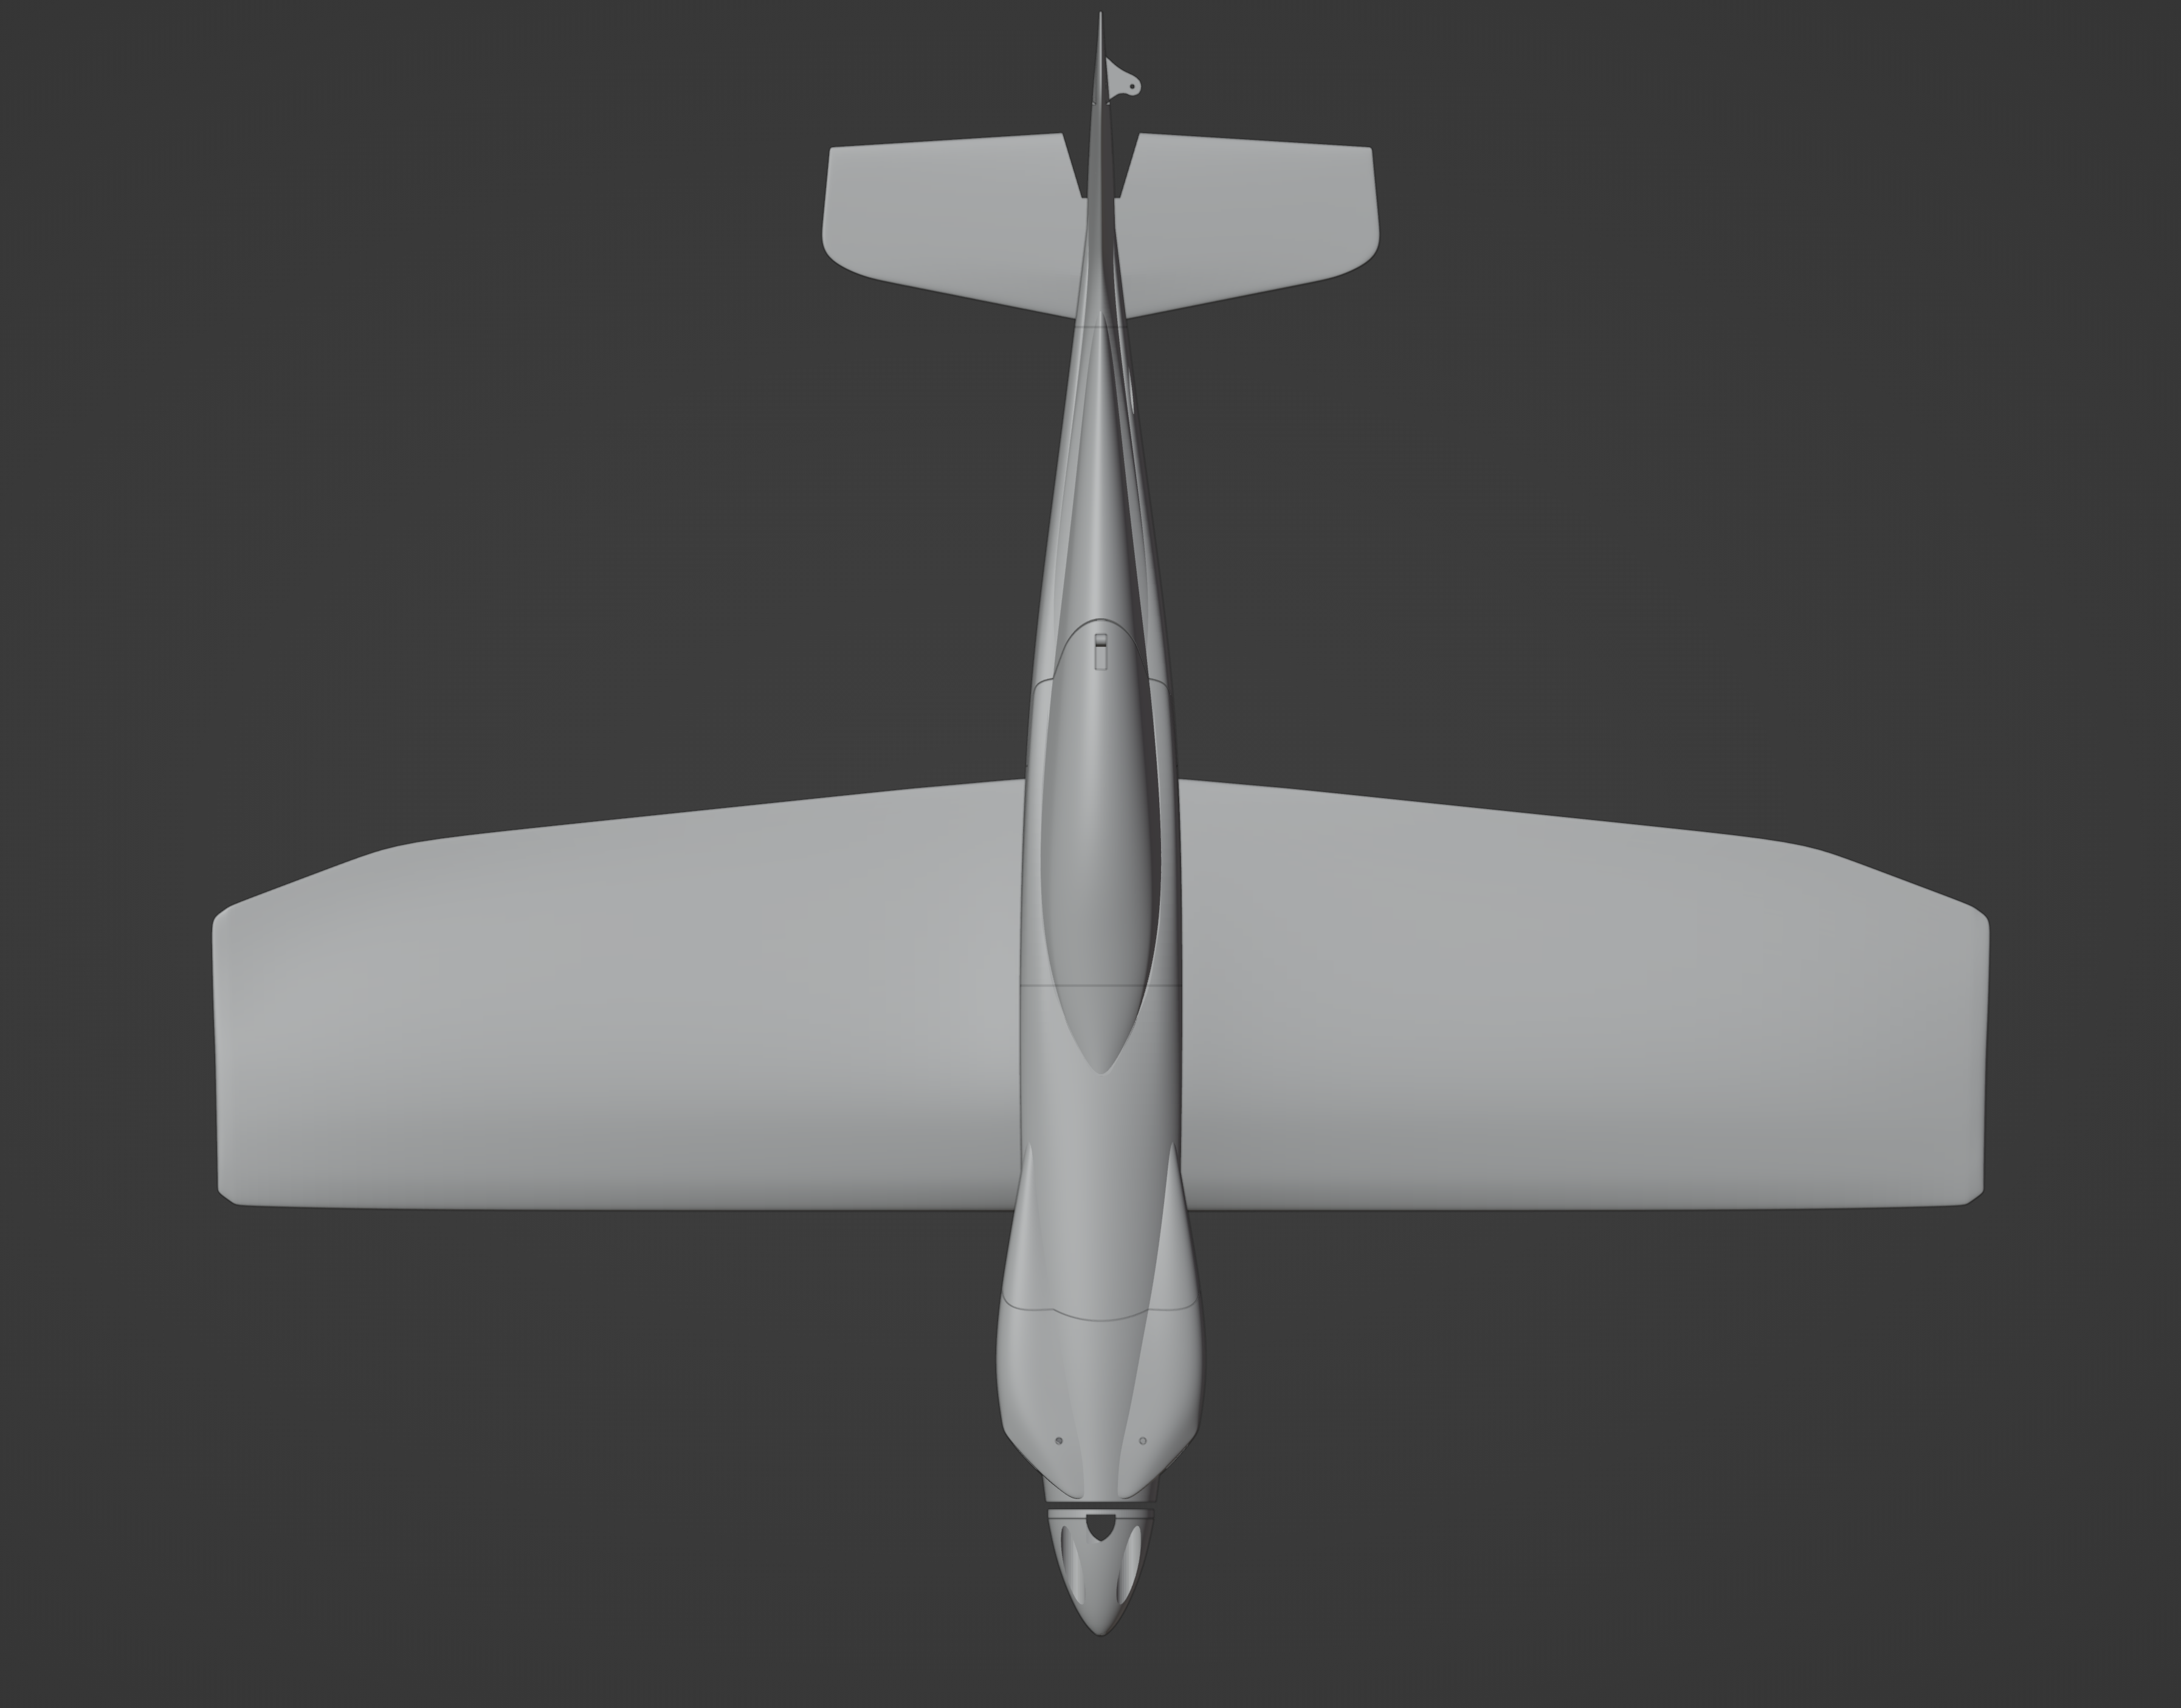
Specs
600mm +/- wing span
509mm +/- length
580g+/- AUW 3s 2200mah
620g+/- AUW 4s 2200mah
Build Material
Specific buys for build
Motor: 2205 2300kv - Used during testing: https://www.amazon.com/Readytosky-RS2205-2300KV-Brushless-Multicopter/dp/B088NGCZ64/?&_encoding=UTF8&tag=kmi09-20&linkCode=ur2&linkId=813f4f4a31631f40b0346da2b4c7db83&camp=1789&creative=9325
Recommended props for above motor:
• B5x5E: https://www.apcprop.com/product/b5x5e/
• 5x5E: https://www.apcprop.com/product/5x5e/
• 5.5x6.5E: https://www.apcprop.com/product/5-5x6-5e/
• 5.5x6.5EC: https://www.apcprop.com/product/5-5x6-5ec/
ESC: https://www.amazon.com/gp/product/B09F3G4KNB/ref=ppx_yo_dt_b_search_asin_title?ie=UTF8&psc=1&_encoding=UTF8&tag=kmi09-20&linkCode=ur2&linkId=957b116ceeb2c2e84fb001b7a5422a94&camp=1789&creative=9325
BEC: https://www.amazon.com/gp/product/B07Q4T9SSD?&_encoding=UTF8&tag=kmi09-20&linkCode=ur2&linkId=819d73586b48367b648acb774bb11e04&camp=1789&creative=9325
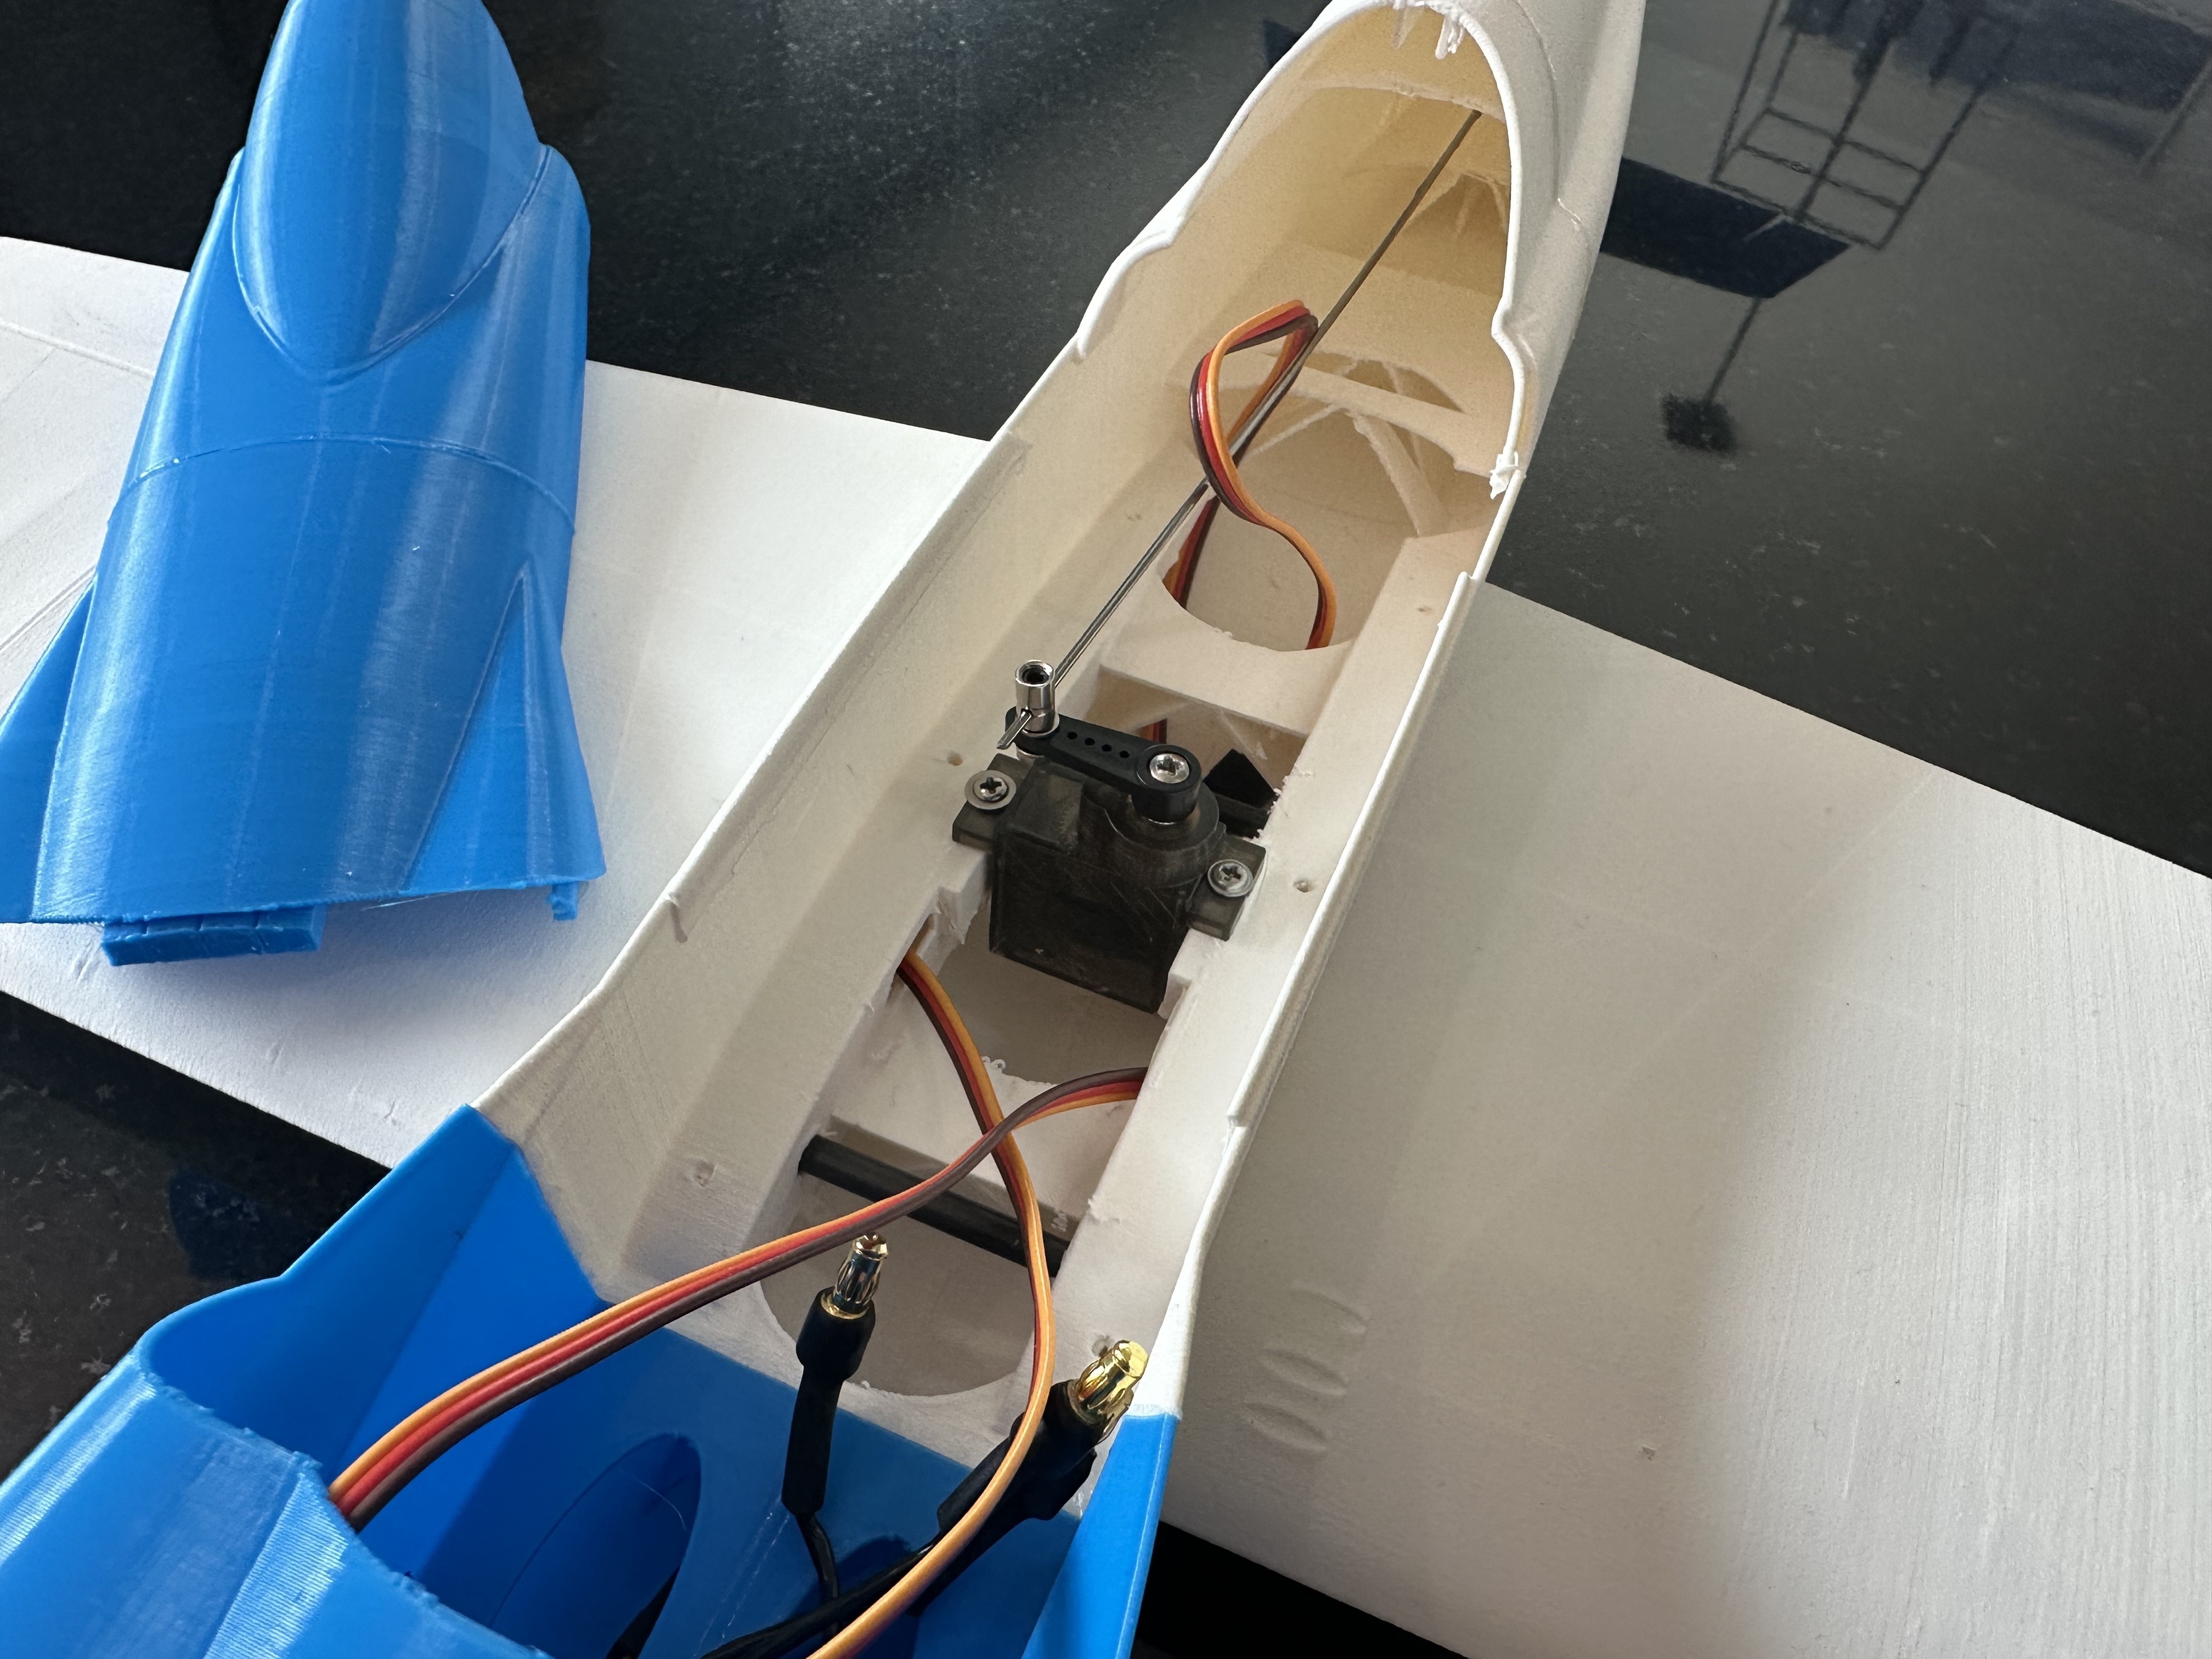
Push rods: 1.2mm push rod - 450mm - x2 - Used during testing: https://www.amazon.com/gp/product/B08K7S62NK?th=1&_encoding=UTF8&tag=kmi09-20&linkCode=ur2&linkId=2010d89cc25364c0b560856fc1f482de&camp=1789&creative=9325
Screws: 2.6x8x6 self tap screws: used during testing: https://www.amazon.com/gp/product/B07Q367Q3Y/?th=1&_encoding=UTF8&tag=kmi09-20&linkCode=ur2&linkId=c11990dfd31238a2ee5decabafe2a426&camp=1789&creative=9325
CF Tube:
430mm x1 - Used during testing: https://www.amazon.com/gp/product/B08H1TZWSY/?&_encoding=UTF8&tag=kmi09-20&linkCode=ur2&linkId=95d364ceb9ba8d08e87cbd1e2d2ebde4&camp=1789&creative=9325
215mm x1 (or get two 430 and split in half)
Rods hinges
If your prints are on point you may elect to use filament instead of rod. I like the piece of mind of the stability in the rod. I also have had to warm the steel rod a few times to get it through the hole with certain filaments
2mm steel rod: Used during build: https://www.amazon.com/gp/product/B0081ZROR8/?&_encoding=UTF8&tag=kmi09-20&linkCode=ur2&linkId=f2e563c0e23979a9aea15d056a53783c&camp=1789&creative=9325
CF flat bar/Pultrude: 3x1 - Used during testing: https://www.amazon.com/gp/product/B07QV99D7S?&_encoding=UTF8&tag=kmi09-20&linkCode=ur2&linkId=426da6770fcaa8949bd2267ab7f2d823&camp=1789&creative=9325
Your Choice or product
Velcro strap: Used in all my planes: https://www.amazon.com/gp/product/B01CJGQATC?&_encoding=UTF8&tag=kmi09-20&linkCode=ur2&linkId=57d45abec1692654be36ae864dc25884&camp=1789&creative=9325
Glue: CA Glue: Used during build: https://www.amazon.com/gp/product/B0166FFCHS?&_encoding=UTF8&tag=kmi09-20&linkCode=ur2&linkId=7094d6c65829be9818877eb1d812805b&camp=1789&creative=9325
Receiver: 3+ channel Rx: Used during testing: https://www.amazon.com/gp/product/B0165HKZO2?&_encoding=UTF8&tag=kmi09-20&linkCode=ur2&linkId=18166f36cdde5bbd8f59dc299906f833&camp=1789&creative=9325
Battery
3 or 4s 2200mah battery – The weight of the battery is used for CG. Smaller batteries may not allow you to balance without weight in the nose. Used during testing:
3s: https://www.amazon.com/gp/product/B07Y67MPKW?&_encoding=UTF8&tag=kmi09-20&linkCode=ur2&linkId=c9caf6e849f16a214c689937528700f6&camp=1789&creative=9325
4s: https://www.amazon.com/gp/product/B07Y1Q2629?&_encoding=UTF8&tag=kmi09-20&linkCode=ur2&linkId=6d96a3aed15414cbeae99def3292d3f9&camp=1789&creative=9325
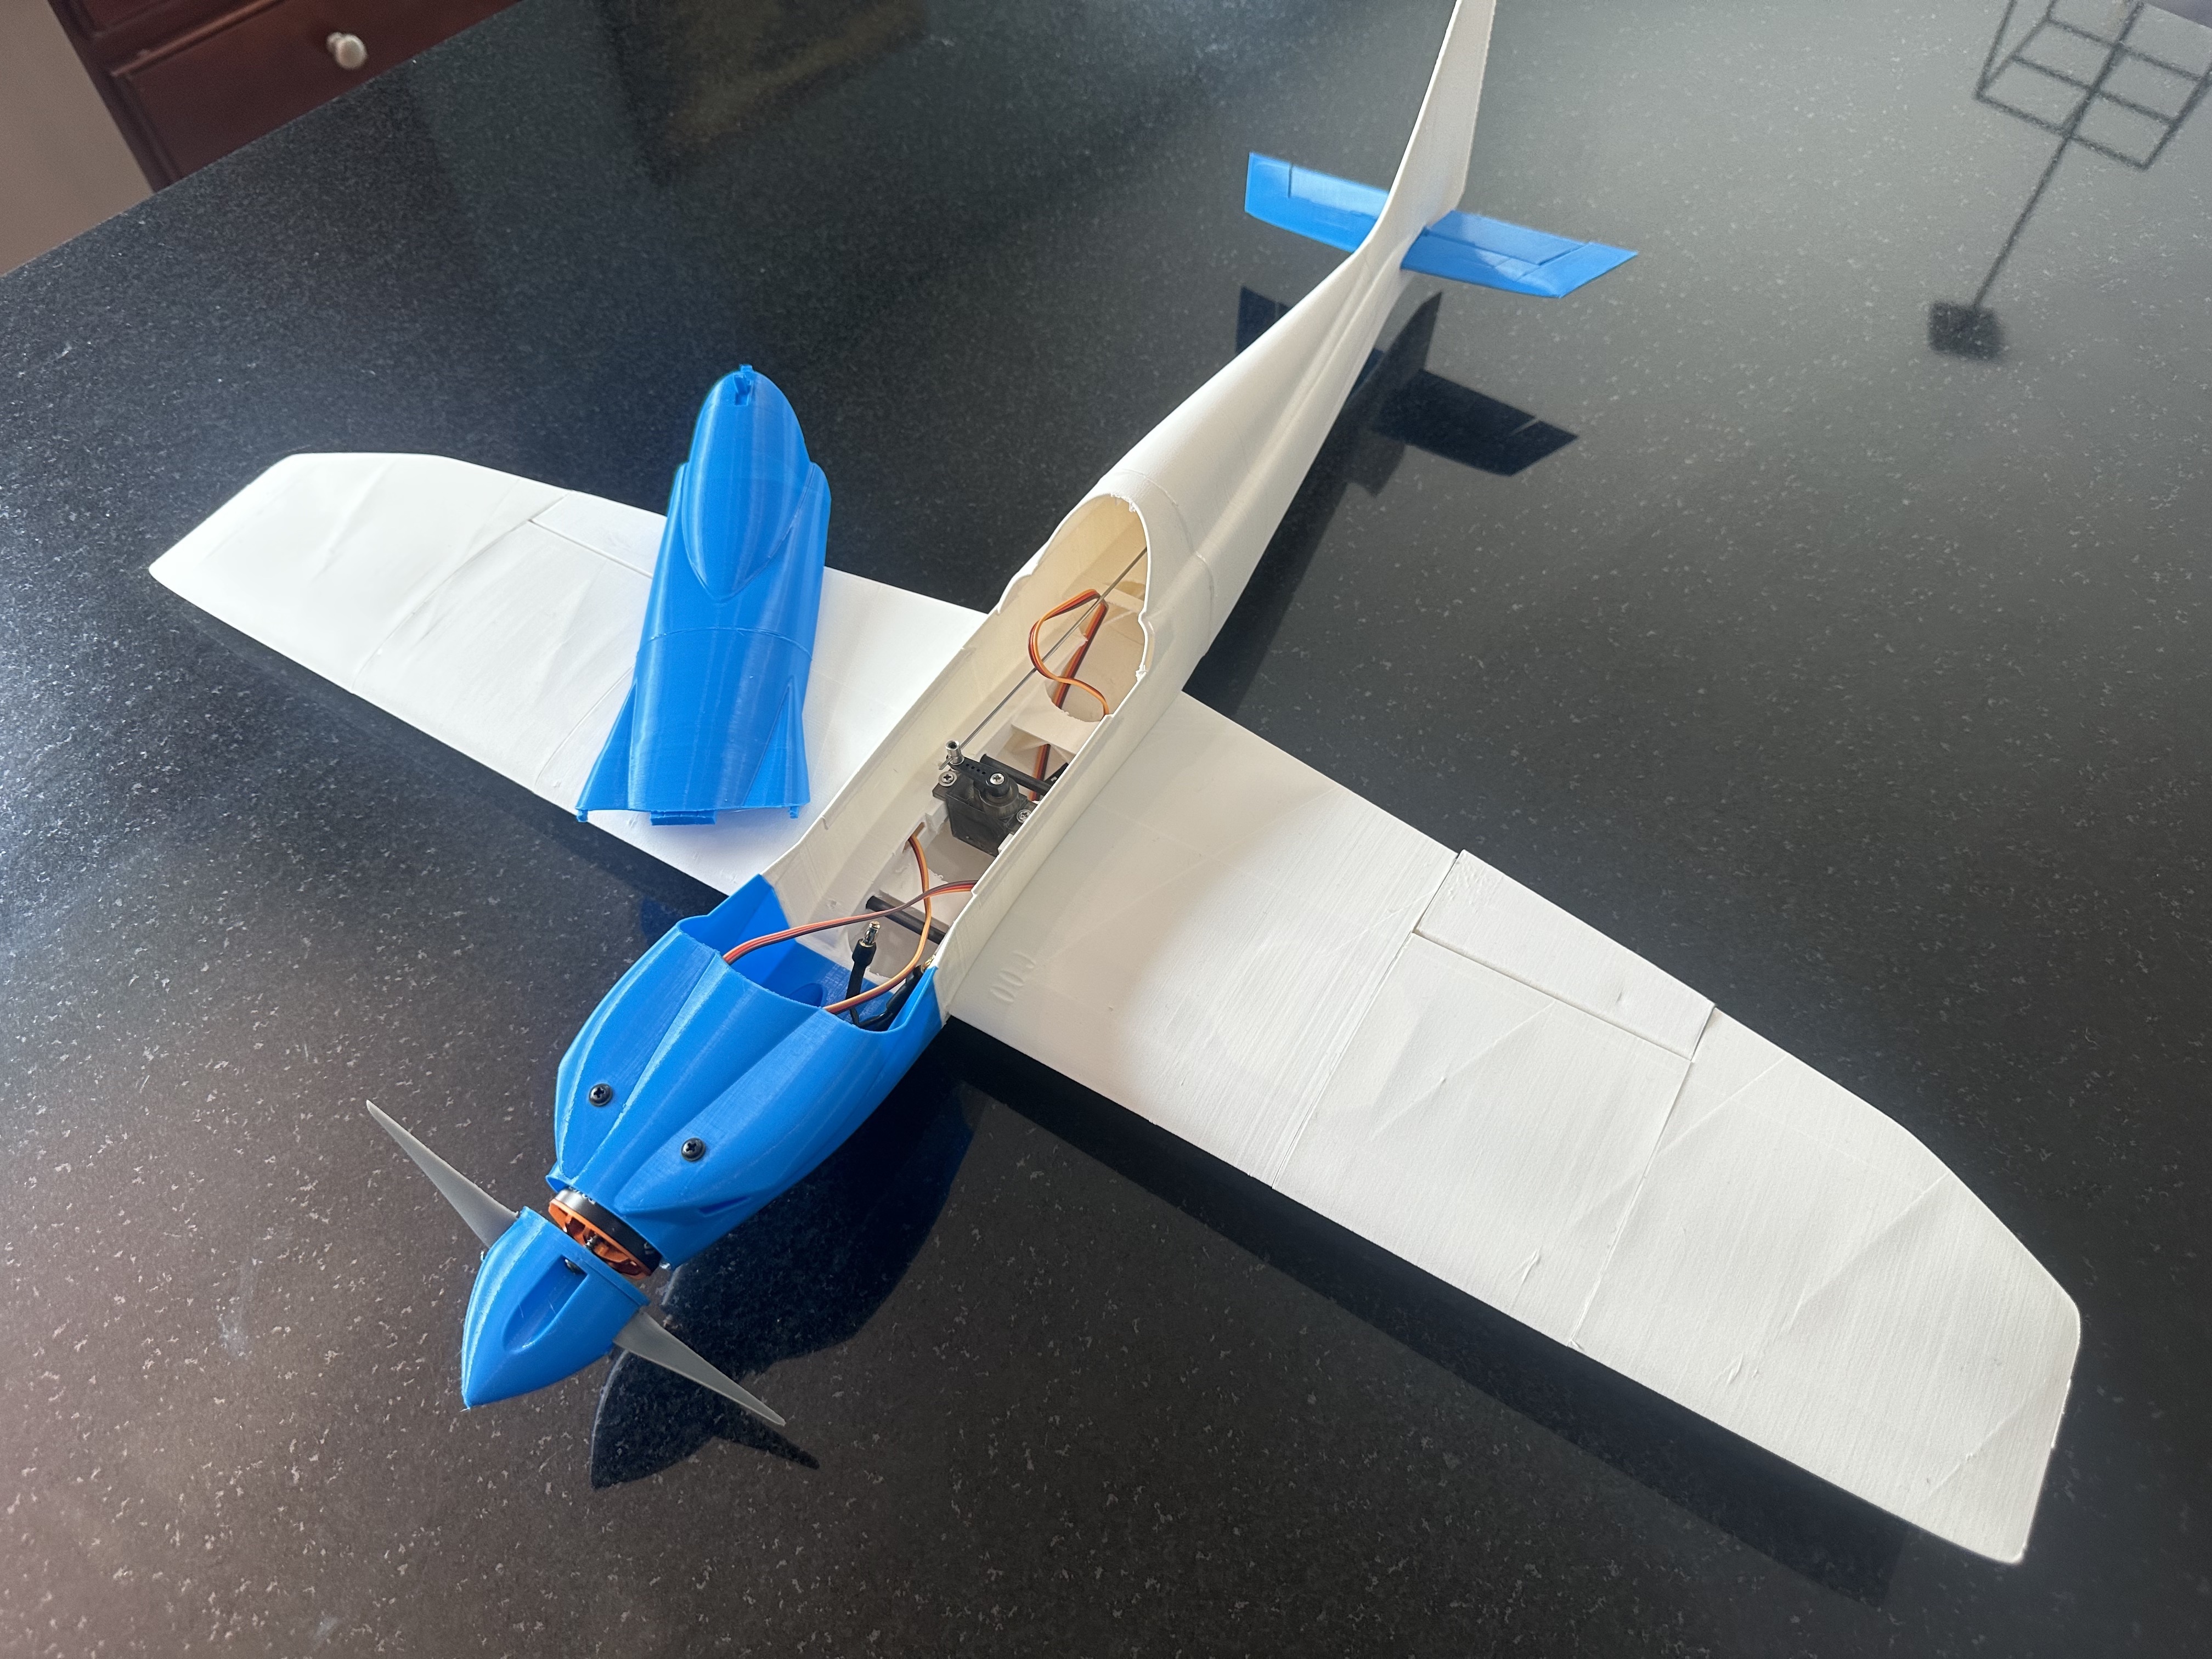
Servos
9g servos - x4 - Used during testing: https://www.amazon.com/gp/product/B01JY3H4MA?&_encoding=UTF8&tag=kmi09-20&linkCode=ur2&linkId=8c6973cad4684ffd909ade753bb8418a&camp=1789&creative=9325
Filament:
Filaments tested: PLA+, ePLA-ST, PETG, LW-PLA, LW-PLA-HT
eSun PLA Pro (PLA+): https://www.amazon.com/dp/B01EKEMFQS?th=1&_encoding=UTF8&tag=kmi09-20&linkCode=ur2&linkId=36e484e9a4e2659a8f661353d30dec5f&camp=1789&creative=9325
eSun PLA ST: https://www.esun3d.com/epla-st-product/
Polymaker PETG: https://www.amazon.com/dp/B09DKP4TLW?&_encoding=UTF8&tag=kmi09-20&linkCode=ur2&linkId=7504f610bf445051efba1a8f40535eea&camp=1789&creative=9325
ColorFabb LW-PLA: https://colorfabb.com/filaments/materials/pla-filaments/lw-pla
ColorFabb LW-PLA-HT: https://colorfabb.com/lw-pla-ht-white
Material by search results
Motor: 2205 2300kv - Search motors: https://www.amazon.com/gp/search?ie=UTF8&tag=kmi09-20&linkCode=ur2&linkId=955f5d618973739539b38f20f9800c89&camp=1789&creative=9325&index=toys-and-games&keywords=2205 2300kv brushless motor
Props: See above links
ESC: 30amp recommended for motor, can take 35 as well – Search 30amp esc: https://www.amazon.com/gp/search?ie=UTF8&tag=kmi09-20&linkCode=ur2&linkId=40161e2a17f091987b1b3aaf01f1fa2d&camp=1789&creative=9325&index=toys-and-games&keywords=30amp esc
BEC: https://www.amazon.com/gp/search?ie=UTF8&tag=kmi09-20&linkCode=ur2&linkId=22fa7564a30418f9f697b9278045f33c&camp=1789&creative=9325&index=toys-and-games&keywords=BEC
Push rods: 1.2mm push rod - 450mm - x2 - Search pushrods: https://www.amazon.com/gp/search?ie=UTF8&tag=kmi09-20&linkCode=ur2&linkId=2dbb628cd382bd911c8f36c701f17ca5&camp=1789&creative=9325&index=toys-and-games&keywords=450mm pushrod
Screws: 2.6x8x6 self tap screws - Search screws: https://www.amazon.com/gp/product/B07Q367Q3Y/ref=ppx_yo_dt_b_search_asin_title?ie=UTF8&th=1&_encoding=UTF8&tag=kmi09-20&linkCode=ur2&linkId=b37b4d9d6f314dd2609ea4d9e3944db4&camp=1789&creative=9325
CF Tube:
430mm x1 - search carbon fiber tubes: https://www.amazon.com/gp/search?ie=UTF8&tag=kmi09-20&linkCode=ur2&linkId=244ab8158d2bca8b55de52182a4de2dc&camp=1789&creative=9325&index=toys-and-games&keywords=4x2 430mm carbon fiber tube
215mm x1 (or get two 430 and split in half)
Rods hinges
If your prints are on point you may elect to use filament instead of rod. I like the piece of mind of the stability in the rod. I also have had to warm the steel rod a few times to get it through the hole with certain filaments
2mm steel rod: This is more than a steel rod. It is a simple landscaping flag. But the cost is cheap and just as strong. See link above
CF flat bar/Pultrude
3x1 - search flat bar carbon fiber: https://www.amazon.com/gp/search?ie=UTF8&tag=kmi09-20&linkCode=ur2&linkId=4da5cb89b68686a181f3d8b7e647dfdd&camp=1789&creative=9325&index=toys-and-games&keywords=3x1 carbon fiber strip bars
Your Choice or product
Velcro strap (16mmx 200mm): search for Velcro straps: https://www.amazon.com/gp/search?ie=UTF8&tag=kmi09-20&linkCode=ur2&linkId=50a55814c55aaf4b53a09faab2838347&camp=1789&creative=9325&index=toys-and-games&keywords=16mm x 200mm Straps for Lipo Battery
Glue
CA Glue - Search medium CA glue : https://www.amazon.com/gp/search?ie=UTF8&tag=kmi09-20&linkCode=ur2&linkId=1bac3ee1729912c0e927aac0296ae356&camp=1789&creative=9325&index=toys-and-games&keywords=Medium CA glue
https://www.amazon.com/gp/search?ie=UTF8&tag=kmi09-20&linkCode=ur2&linkId=9a8be1d8aa8438d029823efe6fc93165&camp=1789&creative=9325&index=toys-and-games&keywords=Bob Smith Medium CA glue
Battery: 3 or 4s 2200mah battery - 3s 50c Goldbat and 4s 120c Zeee used during testing:
3s: https://www.amazon.com/gp/search?ie=UTF8&tag=kmi09-20&linkCode=ur2&linkId=033be2c78bc62fff1dd5960021b546f9&camp=1789&creative=9325&index=toys-and-games&keywords=3s 2200mah lipo
4s: https://www.amazon.com/gp/search?ie=UTF8&tag=kmi09-20&linkCode=ur2&linkId=4ce882a7353f9cb5be6c3349b75e1fa0&camp=1789&creative=9325&index=toys-and-games&keywords=4s 2200mah lipo
Servos
9g servos - x4 - Search for 9g metal gear servos: https://www.amazon.com/gp/search?ie=UTF8&tag=kmi09-20&linkCode=ur2&linkId=e62406438ec67b2ab1630495ce99bd88&camp=1789&creative=9325&index=toys-and-games&keywords=9g metal gear servo