Skip to content

Makerbot Digitizer Calibration Tool / Scan Backdrop

Advertising
Advertising
?
Creation quality: 5.0/5 (1 vote)
Evaluation of members on the printability, utility, level of detail, etc.

  • 496 views
  • 11 downloads

License
3D design format
Folder details Close
  • Digitizer_Cal_Front_Pnl_V1.6.stl
  • Digitizer_Cal_Left_Arm_V1.6.stl
  • Digitizer_Cal_Lower_Back_pnl_V1.6.stl
  • Digitizer_Cal_Right_Arm_V1.6.stl
  • Digitizer_Cal_Top_Back_pnl_V1.6.stl
  • Digitizer_Matrix.pdf
  • L_Digitizer_back_support.stl
  • L_Digitizer_backdrop.stl
  • R_Digitizer_back_support.stl
  • R_Digitizer_backdrop.stl

Learn more about the formats

Publication date 2023-05-03 at 00:29
?
Published to Thingiverse on: 2019-12-10 at 07:02
Design number 1199971

3D printer file info

3D model description

02/12/2021 - Last update
Replaced all Digitizer Calibration parts with latest designs - Better fit and beefier build.
I think this is done now.

5/23/20 Update - BIG THANKS TO J40YKE!
It looks like we are finally to a good point on this calibration tool. Example scans have been uploaded. LOOKS GOOD - no more oval scans that look terrible.
Make sure the digitizer grids are well centered on each panel.
ALL FILES HAVE BEEN UPDATED with dimension changes, over angle projection of the tool & optimum placement of the pins.
Enjoy!
Jarrett

1/18/20 Update
The calibration tool has been updated to support proper laser alignment. Please reprint both arms and the back pieces to be able to properly align your lasers. If you find that one of the lasers will not align vertically then you can fix this by removing the rubber grommet from the laser, hold the adjustment in place with the hex driver and gently turn the brass piece of the laser with some needle nose pliers until the laser projects vertical on the alignment tool. Gently place the grommet back on the laser.

Check out the scanning backdrop as well. Hopefully it will help with the stray light and block movement in the room. It worked surprisingly well for me.

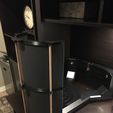
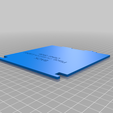
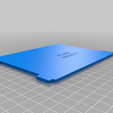
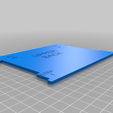
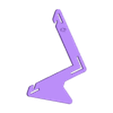
Scanning Backdrop - This works really well for a clean scan. It must be flat black. I am sure it can be painted if needed.
Tools:
2 each #10-31 x 1/2" screws and nuts
3 each 5/16" dowel rods cut to 42mm length
1 each flat black poster board cut to 42mm x 42mm
super glue to help hold it together.

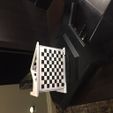
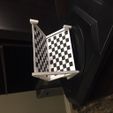
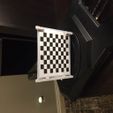
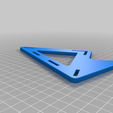
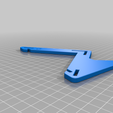
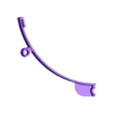
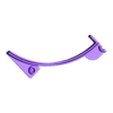
Digitizer Calibration Tool - I picked up a digitizer but could not find a calibration tool. Makerbot no longer has these available. I put this together by looking at pictures and making quite a few adjustments. Maybe it will work for you if you need one.

Advertising


Issue with this design? Report a problem.

Would you like to support Cults?

You like Cults and you want to help us continue the adventure independently? Please note that we are a small team of 3 people, therefore it is very simple to support us to maintain the activity and create future developments. Here are 4 solutions accessible to all:

  • ADVERTISING: Disable your banner blocker (AdBlock, …) and click on our banner ads.

  • AFFILIATION: Make your purchases online by clicking on our affiliate links here Amazon.

  • DONATE: If you want, you can make a donation via Ko-Fi πŸ’œ.

  • WORD OF MOUTH: Invite your friends to come, discover the platform and the magnificent 3D files shared by the community!


Sharing and downloading on Cults3D guarantees that designs remain in makers community hands! And not in the hands of the 3D printing or software giants who own the competing platforms and exploit the designs for their own commercial interests.

Cults3D is an independent, self-financed site that is not accountable to any investor or brand. Almost all of the site's revenues are paid back to the platform's makers. The content published on the site serves only the interests of its authors and not those of 3D printer brands who also wish to control the 3D modeling market.

100% secure payment by credit card, PayPal, Apple Pay, Google Pay, etc.
View all payment options.