Skip to content

Tea Crane - Perfect Companion For Tea Lovers

Advertising
?
Creation quality: 5.0/5 (1 vote)
Evaluation of members on the printability, utility, level of detail, etc.

  • 3.6k views
  • 17 likes
  • 59 downloads

License
3D design format
Folder details Close
  • Arm.stl
  • Arm_Pin.stl
  • Housing.stl
  • Housing_Base.stl
  • Housing_Roof.stl
  • Main_Pulley.stl
  • Main_Pulley_Base.stl
  • Main_Pulley_Pin.stl
  • Operator_Cabin.stl
  • Operator_Cabin_Glass.stl
  • Operator_Seat.stl
  • Platform.stl
  • Platform_Bearing.stl
  • Support_Pulley.stl
  • Support_Pulley_Pin.stl

Learn more about the formats

Publication date 2023-05-03 at 00:22
?
Published to Thingiverse on: 2021-10-27 at 12:33
Design number 1199698

3D printer file info

3D model description

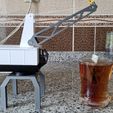
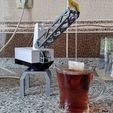
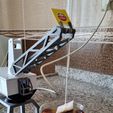
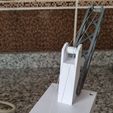
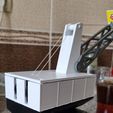
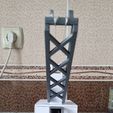
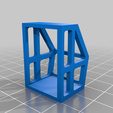
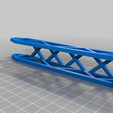
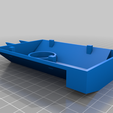
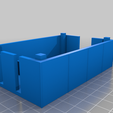
While I love tea with all my life, I really don't like when the thread falls inside of the cup while I pouring down the water. I saw several teabag holders on Thingiverse, the crane from mattbenai (https://www.thingiverse.com/thing:1174861) picked my interest, but I didn't want my holder has attached to the cup and looked a little bit fancier. So I've designed my own, inspired from an actual dock crane. The teabag tag simply held in the slot on tip of the arm, while you can adjust the arm in desired height. While some parts needs to be glued, others can be slotted into each other. As tools you need only glue and some thread for assembly.

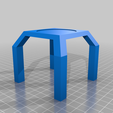
Parts like the arm, operator cabin, housing base and platform will require supports.

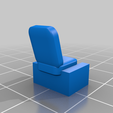
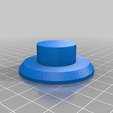
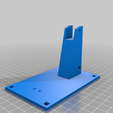
Platform, arm , the cabin and pins are printed with silver; housing base, platform bearing, main pulley and its base, and the seat with black; housing, housing roof and support pulley with cold white; and the (optional)cabin glass with clear filament.

P.S.: If you don't want print the pins for both pulleys or they break, you can replace them with q-tips.

ASSEMBLY INSTRUCTIONS:

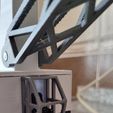
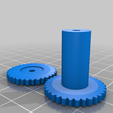
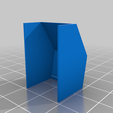
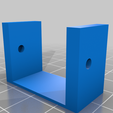
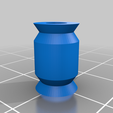
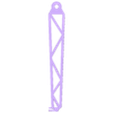
Place the housing on the housing base by designated slots. Assemble the main pulley then place in its base via its pin (or a q-tip, as I mentioned before). Insert the assembled main pulley on the slot back of the housing, You should be able to turn the pulley behind the housing, like a dial. Glue the cabin glass and seat on the operator cabin then glue in front of the housing. The cabin should be aligned with the supports under it. Assemble the arm and support pulley on the housing roof with their designated pins. The arm has tight tolerances, so if it cause you trouble you can slightly sand it. For next part, you're gonna need two pieces of threads around 40cm(15 inches) long. Glue one end of both threads on the main pulley.then insert the threads under the holes of housing roof, then place the roof on housing. Lower the arm, then tie the threads on the end of the arm over support pulley and cut the excess. Set the arm at the height you desire and tighten the threads with main pulley via the dials behind the housing. And last, glue the bearing on top of the platform then place the housing on top.

Advertising


Issue with this design? Report a problem.

Would you like to support Cults?

You like Cults and you want to help us continue the adventure independently? Please note that we are a small team of 3 people, therefore it is very simple to support us to maintain the activity and create future developments. Here are 4 solutions accessible to all:

  • ADVERTISING: Disable your banner blocker (AdBlock, …) and click on our banner ads.

  • AFFILIATION: Make your purchases online by clicking on our affiliate links here Amazon.

  • DONATE: If you want, you can make a donation via Ko-Fi πŸ’œ.

  • WORD OF MOUTH: Invite your friends to come, discover the platform and the magnificent 3D files shared by the community!


Sharing and downloading on Cults3D guarantees that designs remain in makers community hands! And not in the hands of the 3D printing or software giants who own the competing platforms and exploit the designs for their own commercial interests.

Cults3D is an independent, self-financed site that is not accountable to any investor or brand. Almost all of the site's revenues are paid back to the platform's makers. The content published on the site serves only the interests of its authors and not those of 3D printer brands who also wish to control the 3D modeling market.

100% secure payment by credit card, PayPal, Apple Pay, Google Pay, etc.
View all payment options.