Skip to content

Anet A8 Shelf Frame Support

Advertising
Advertising
?
Creation quality: 0.0/5 (0 votes)
Evaluation of members on the printability, utility, level of detail, etc.

  • 432 views
  • 4 downloads

License
3D design format
Folder details Close
  • Rod_Support.stl
  • Spanner.stl
  • Top_Support_Bracket.stl
  • Top_Support_Bracket.stl
  • Top_Support_Machine_LH.stl
  • Top_Support_Machine_RH.stl
  • Top_Support_Screw_LH.stl
  • Top_Support_Screw_RH.stl

Learn more about the formats

Publication date 2023-05-03 at 00:22
?
Published to Thingiverse on: 2018-03-18 at 23:21
Design number 1199696

3D printer file info

3D model description

My 3D printer is on a shelf with another shelf above it, anyone with an A8 knows that the lack of rigidity is a major issue which reduces the print quality... There are lots of large frame braces but why go to that extent when you have a shelf above that you can use as support...

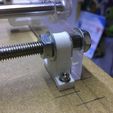
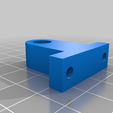
Print 4 x Rod supports, use these along with 8 x M3x30mm, 8 x M3 washers and 8 x M3 Nyloc nuts to get your printer bolted down solid and square on the shelf it is sitting on...

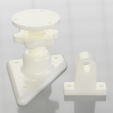
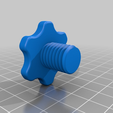
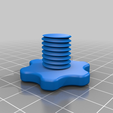
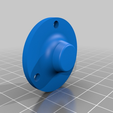
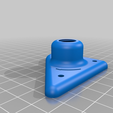
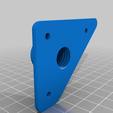
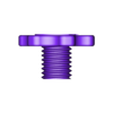
Then you need to print 2 x Top Support Brackets, 1 x Top Support Screw LH, 1 x Top Support Screw RH, 1 x Top Support Machine LH & 1 x Top Support Machine RH.

Use a 3MM Drill Bit to drill holes in the top plate of your printer to attach the part 'Top Support Machine' then bolt through with 3 x M3x16mm screws and secure with washers and M3 nyloc nuts...

Screw the 'Top Support Screws' in to the 'Top Support Machine' Plates and then place the 'Top Support Brackets' on top.

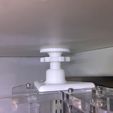
Unscrew the 'Top Support Screws' untill the 'Top Support Brackets' form a good contact with the bottom of the shelf above, mark the screw holes through the 'Top Support Brackets' on the bottom of the upper shelf to mark it's location, the screw in the 'Top Support Screws' again to give clearance to be able to affix the 'Top Support Brackets' to the underside of the upper shelf using self tapping screws.

Once the 'Top Support Brackets' are affixed in place, unscrew the 'Top Support Screws' so that pressure is applied between the screws and the 'Top Support Brackets' to apply tension.

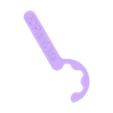
Optional Spanner design included if you need to tighten in a tight area...

Enjoy your new found frame rigidity and increased print quality as a result...

Please leave any comments/suggestions below...

Watch these and other items being printed live on my new YouTube channel: Please Like & Subscribe... http://bit.ly/2FNOORr

Check out my new Facebook Page: http://fb.me/3DPrintChannel

Advertising


Issue with this design? Report a problem.

Would you like to support Cults?

You like Cults and you want to help us continue the adventure independently? Please note that we are a small team of 3 people, therefore it is very simple to support us to maintain the activity and create future developments. Here are 4 solutions accessible to all:

  • ADVERTISING: Disable your banner blocker (AdBlock, …) and click on our banner ads.

  • AFFILIATION: Make your purchases online by clicking on our affiliate links here Amazon.

  • DONATE: If you want, you can make a donation via Ko-Fi πŸ’œ.

  • WORD OF MOUTH: Invite your friends to come, discover the platform and the magnificent 3D files shared by the community!


Sharing and downloading on Cults3D guarantees that designs remain in makers community hands! And not in the hands of the 3D printing or software giants who own the competing platforms and exploit the designs for their own commercial interests.

Cults3D is an independent, self-financed site that is not accountable to any investor or brand. Almost all of the site's revenues are paid back to the platform's makers. The content published on the site serves only the interests of its authors and not those of 3D printer brands who also wish to control the 3D modeling market.

100% secure payment by credit card, PayPal, Apple Pay, Google Pay, etc.
View all payment options.