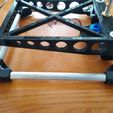
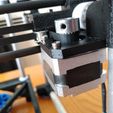
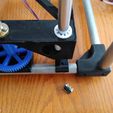
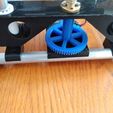
UPDATE 2/23/2019
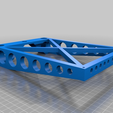
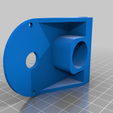
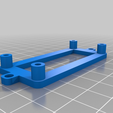
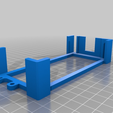
I added a couple of STL files, if someone wants to build this with 8mm linear rods. THESE FILES ARE UNTESTED.
On another note, I would recommend using T16 pulleys all the way around. I ordered some because they will give you 20% more torque and even finer resolution.
UPDATE 2/18/2019
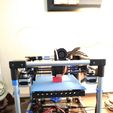
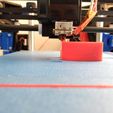
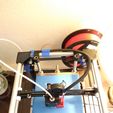
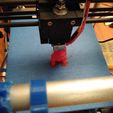
I really like this new printer. The prints are amazing for a rat parts printer. Don't get me wrong, I still love my two HEVO's, but his thing can print probably most of the parts that I print on a regular basis (but I used my 300x300 HEVO to print the bed carriage for the Tube Cube). Long story short, if I build another one, I would make it easily reproducible with standard parts, such as 8mm linear rails, NEMA14 for Z-axis, a standard control board, standard power supply, etc. I think this thing can be built fairly cheap even if built with standard parts. If you have some time to burn, I would love to see a more reproducible remix!
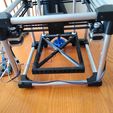
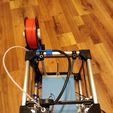
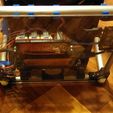
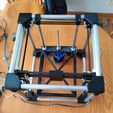
This is a true build of leftover parts! NO linear rails, NO NEMA 17 steppers, NO bearings, NO Ramps 1.4, NO Mega 2560, NO, NO, NO, NO, NO.....
https://youtu.be/Fd4omaQ4yoY
Print Volume: 130mm x 170mm * 100mm
Size: 295mm x 295mm x 260mm
VERY IMPORTANT:
The NEMA 14 steppers that I used are VERY sensitive to over voltage and I turned mine into hotend accidentally. So make sure you turn your stepper driver down. I ended up setting the voltage for my 0.4A stepper around 0.16V.
Notes:
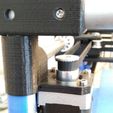
- The NEMA14 steppers are not as powerful as NEMA17 steppers. Therefore you need to run the print slower and make sure that all the axis are running smooth or you could end up with missed steps. Other option is buy stronger NEMA14 steppers. I paid $15 for two steppers, so it was on the cheaper side.
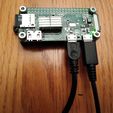
- The RPI Zero is fine with this configuration especially if you are not running a webcam.
- Since it is my plan to have this portable and not always connected to a Wifi network, you should enable Bluetooth PAN (Personal Area Network). I have two Cura configurations, one for WiFi and one for Bluetooth.
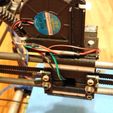
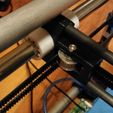
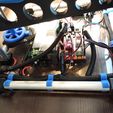
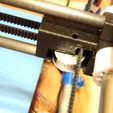
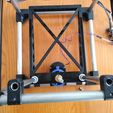
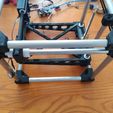
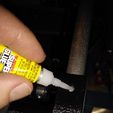
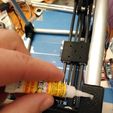
- You don't need to use screws to keep it all together, as you can see I used superglue, just make sure it's all aligned and smooth prior to gluing.
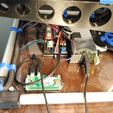
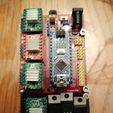
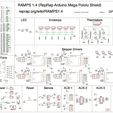
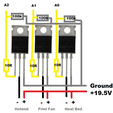
- The CNC shield v4 really is poorly designed, so I never used it in a project. Pins are incorrect (Dir/Stepper reversed), the Micro-stepping does not work until you pull the jumpers off and solder a new jumper to 5V+. The thermistors need a capacitor and resistor to get it working, and then you need to add another stepper and 2 or 3 Mosfets (hotend, print fan, poss heated bed). Anyway, you get my drift. If you want to keep it simple, or don't already have one of these around....get a Mega and RAMPS.
BOM:
- 12 x 260mm x 16mm Aluminium tube
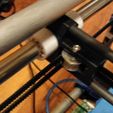
- 4 x 255mm x 12.75mm Aluminum tube for linear rails
- Lots of PLA
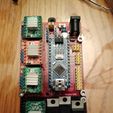
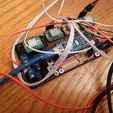
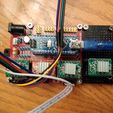
- Arduino Nano & CNC shield v4
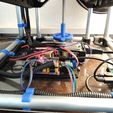
- PCB board and some electronic components for an expansion board (extruder driver and hotend and print fan mosfet)
- NEMA 14 stepper
- stepper from HP laser jet printer
- some wire
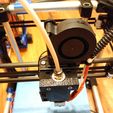
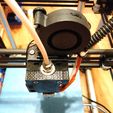
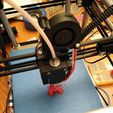
- J-style hotend (24V)
- 3mm Aluminum plate for print bed (not heated)
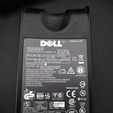
- Dell 100W laptop power supply (19.5V, 4.8A)
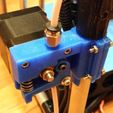
- 1 x NEMA 17 Stepper for extruder (didn't really want to use it, but didn't have another NEMA 14 on hand)
- 2 x 295mm carbon fiber arrows for x axis
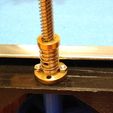
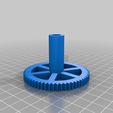
- short piece of ball screw (left over from HEVO build) and anti-backlash nut
Printing Notes:
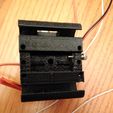
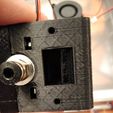
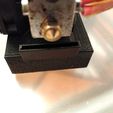
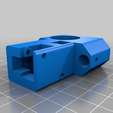
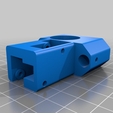
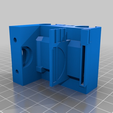
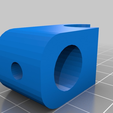
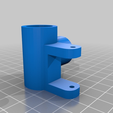
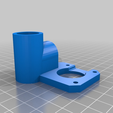
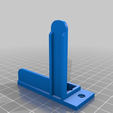
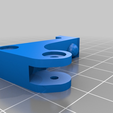
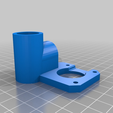
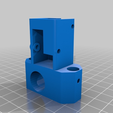
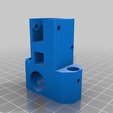
- X Carriage: All printing supports are part of the design. After printing you just cut them out (gently). Note: you need to flip it, since the supports are pointing up the way it is uploaded.
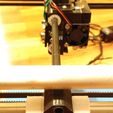
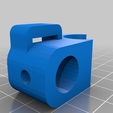
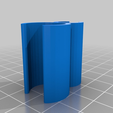
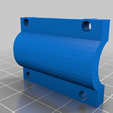
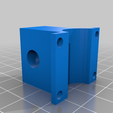
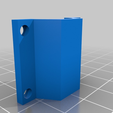
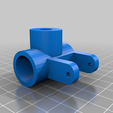
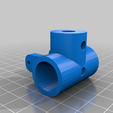
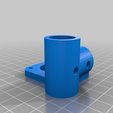
- Y Carriages: Printed standing up, no supports.
Firmware:
I started with Teacup, but had issues and decided to move on. Now I'm using a RPI Zero W with Octopi and Klipper. Not the best combo, but not bad for a $10 RPI and a $6 Nano with shield. Note, the RPI is overclocked and has two stepper driver heat sinks attached. All non essential Octopi plugins (even default ones) have been deactivated.
Adding Bluetooth PAN
Run:
sudo apt-get install bluez-tools
Create the following files:
/etc/systemd/network/pan0.netdev
[NetDev]
Name=pan0
Kind=bridge
/etc/systemd/network/pan0.network
[Match]
Name=pan0
[Network]
Address=172.20.1.1/24
DHCPServer=yes
/etc/systemd/system/bt-agent.service
[Unit]
Description=Bluetooth Auth Agent
[Service]
ExecStart=/usr/bin/bt-agent -c NoInputNoOutput
Type=simple
[Install]
WantedBy=multi-user.target
/etc/systemd/system/bt-network.service
[Unit]
Description=Bluetooth NEP PAN
After=pan0.network
[Service]
ExecStart=/usr/bin/bt-network -s nap pan0
Type=simple
[Install]
WantedBy=multi-user.target
Then run
sudo systemctl enable systemd-networkd
sudo systemctl enable bt-agent
sudo systemctl enable bt-network
sudo systemctl start systemd-networkd
sudo systemctl start bt-agent
sudo systemctl start bt-network
Finally to pair, run:
sudo bt-adapter --set Discoverable 1
Klipper Printer Config
DO NOT COPY THIS FILE WITHOUT CAREFULLY READING AND UPDATING IT FIRST. Incorrectly configured parameters may cause damage.
[stepper_x]
step_pin: ar5
dir_pin: ar2
enable_pin: !ar8
step_distance: .00625
endstop_pin: ^ar9
position_endstop: 0
position_max: 130
homing_retract_dist: 5.0
[stepper_y]
step_pin: ar6
dir_pin: ar3
enable_pin: !ar8
step_distance: .00625
endstop_pin: ^ar10
position_endstop: 0
position_max: 170
homing_retract_dist: 5.0
[stepper_z]
step_pin: ar7
dir_pin: !ar4
enable_pin: !ar8
step_distance: .001736
endstop_pin: ^ar11
position_endstop: 100.2
position_max: 100.2
homing_retract_dist: 5.0
[extruder]
step_pin: ar13
dir_pin: ar12
enable_pin: !ar8
step_distance: .010526
nozzle_diameter: 0.400
filament_diameter: 1.750
heater_pin: analog2
sensor_type: NTC 100K beta 3950
sensor_pin: analog6
control: pid
pid_Kp: 26.322
pid_Ki: 1.300
pid_Kd: 133.253
min_temp: 0
max_temp: 250
[fan]
pin: analog1
[mcu]
serial: /dev/ttyUSB0
pin_map: arduino
[printer]
kinematics: corexy
max_velocity: 150
max_accel: 200
max_accel_to_decel: 50
max_z_velocity: 25
max_z_accel: 30

/https://fbi.cults3d.com/uploaders/28376834/illustration-file/37c28f25-d959-46f4-b739-f3dab511df59/IMG_20190212_141717875.jpg)
