3D model description
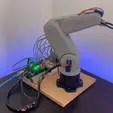
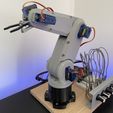
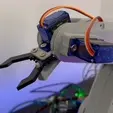
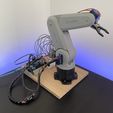
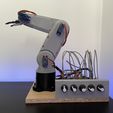
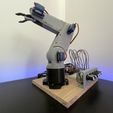
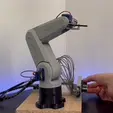
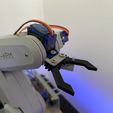
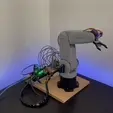
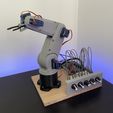
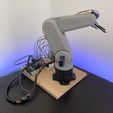
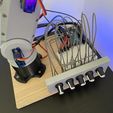
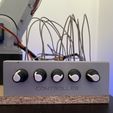
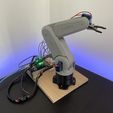
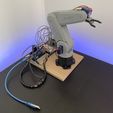
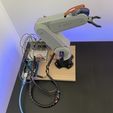
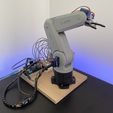
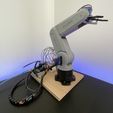
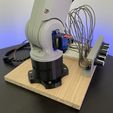
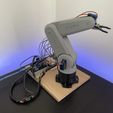
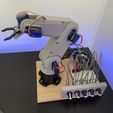
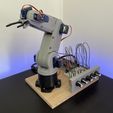
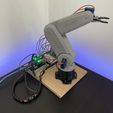
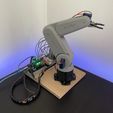
Introducing the Arduino 5-Axis Robotic Arm project! This exciting venture combines Arduino, microcontrollers, SolidWorks software, and 3D printing to create a fully functional robotic arm. The arm features six servo motors and a custom controller with five potentiometers. Using SolidWorks, the arm's components are designed and simulated, then 3D printed. The Arduino controller allows real-time control of the arm's movements using the potentiometers. This project provides an engaging introduction to robotics, automation, and control systems, offering hands-on learning opportunities in programming, mechanical design, and more. Get ready to explore the possibilities of this dynamic and customizable robotic arm!
All assembly instructions can be found in the comprehensive PDF technical document provided, which includes a complete list of materials required for the assembly of this remarkable robotic arm. The document also presents the schematic of the electrical circuit employed, ensuring an intuitive setup process.
To help you prepare for the assembly, here is a list of essential materials to acquire:
- A Philips screwdriver for convenient assembly.
- Wood screws with a diameter of 2.5mm, including 16x20mm, 4x16mm, and 13x12mm variations, ensuring a secure and sturdy construction.
- Six servo motors, essential for the arm's dynamic movements.
- Five potentiometers with a resistance of 10K ohms, facilitating precise control and customization.
- An Arduino Uno board, serving as the control center for the arm's functionality and interactivity.
- Connecting wires specifically designed for Arduino, ensuring reliable connections and seamless communication.
- A breadboard for prototyping and quick experimentation during the assembly process.
- Finally, you will need a sturdy base for the arm, which can be made from wood or metal, providing a stable foundation for its operation.
In addition to these materials, all the required STL files for the individual parts are also included, allowing you to 3D print or procure the necessary components easily. With these resources at your disposal, you'll have everything you need to embark on an exciting journey of building your very own robotic arm. Let your imagination soar as you unlock endless possibilities with this innovative creation!
3D printing settings
When printing the parts for the robotic arm, the following parameters and materials were utilized:
Material: PLA (Polylactic Acid) - PLA is a commonly used filament known for its ease of use, durability, and environmental friendliness.
Temperature: The optimal printing temperature for PLA was set at 210 degrees Celsius. This temperature ensures proper melting and smooth extrusion of the filament.
Printing Speed: A speed of 40mm/s was chosen for the printing process. This speed allows for a balance between print quality and efficiency.
Layer Height: Each layer of the printed parts had a height of 0.2mm. This layer height strikes a good balance between print resolution and printing time.
Filling Percentage: A filling percentage of 20% was applied to the parts. This means that the interior of the parts contains a lattice-like structure that provides strength while conserving material.
Support Structures: Some parts required support structures during the printing process. These structures are temporary and are designed to provide stability and prevent sagging or collapsing of overhangs and complex geometries.
By adhering to these printing parameters and utilizing PLA as the chosen material, the printed parts of the robotic arm achieved optimal quality, strength, and functionality. The precise control over temperature, speed, layer height, filling percentage, and support structures ensures that each component is accurately reproduced, contributing to a successful assembly process and reliable performance of the robotic arm.

/https://fbi.cults3d.com/uploaders/25231697/illustration-file/252c7344-a5c6-4eb4-96f4-a9f414141310/ezgif.com-video-to-gif-2.gif)
