Skip to content

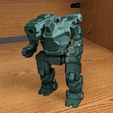
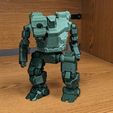
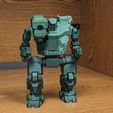
Articulated MWO Hunchback (Remix)

Advertising
Advertising
?
Creation quality: 5.0/5 (3 votes)
Evaluation of members on the printability, utility, level of detail, etc.

  • 1.8k views
  • 15 likes
  • 116 downloads
  • 1 make

License
3D design format
Folder details Close
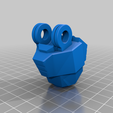
  • Hunchback_Arm_Pin.stl
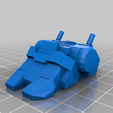
  • Hunchback_Foot.stl
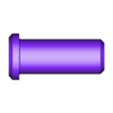
  • Hunchback_Knee_Pin.stl
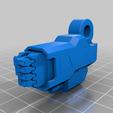
  • Hunchback_Lower_Arm.stl
  • Hunchback_Lower_Leg.stl
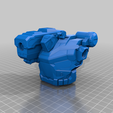
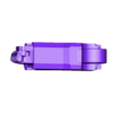
  • Hunchback_Torso.stl
  • Hunchback_Upper_Arm.stl
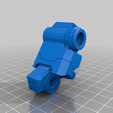
  • Hunchback_Upper_Leg.stl
  • Hunchback_Waist.stl
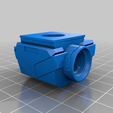
  • Split_Joint.stl
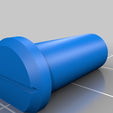
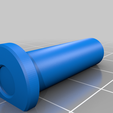
  • Split_Pin_Removal_Tool.stl

Learn more about the formats

Publication date 2023-06-05 at 16:38
?
Published to Thingiverse on: 2023-05-06 at 15:57
Design number 1255583

3D printer file info

3D model description

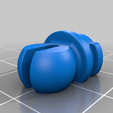
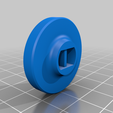
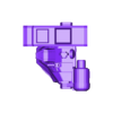
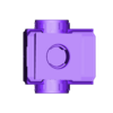
This is a Re-Mioxed Hunchback, Leaning on parts of the base from Wolfking. It's poseable, articulates, and needs no glue to hold together. I've changed over the connection scheme to using pins, and a ball socket design, along with a few other tweaks to get the parts to be a bit more printable.

Print List:

1 Foot, 1 Foot Mirrored
1 Lower Leg, 1 Lower Leg Mirrored
1 Upper Leg, 1 Upper Leg Mirrored
2 Knee Pins
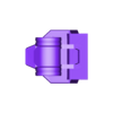
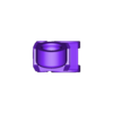
1 Waist
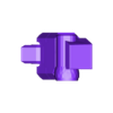
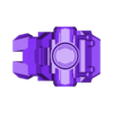
1 Torso (Recommend rotating so the nose points up at about 45, or 60 degrees)
1 Upper Arm, 1 Upper Arm Mirrored
1 Lower Arm, 1 Lower Arm Mirrored
2 Arm Pins
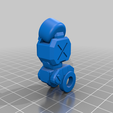
7 Split Joints
Optional - 1 Split Joint Installation Tool. This makes putting in the little split joints much easier, but a 7mm wrench can be subsituted if desired.

Printing Instructions -
The joints probably should be PETG as they are designed to flex a little when installed, but the rest of the thing should work fine with PLA. The joints may work in PLA too, but i haven't tested them using it. Use supports, and be careful about orientation when placing the parts on the bed. Also, Note: When printing the split joints, and pins, place the flat face on the side on the bed, as this helps with strength. I also recommend printing at a 0.16mm layer height, to help with a few of the overhangs on the back of the mech, but that can be seasoned to taste.

Assembly Instructions:
To install the split joints, first put each into a hole with the little lugs inside. Then twist about 90 degrees to lock it in place. The expectation is that it fits in fairly tightly, but If the fit is too tight, or too loose, re-print the split joint, changing the scale by 1 or 2 percent.

Other notes:
I've tested the joints between about 70% and 120%, so scaling the mech a bit up or down shouldn't be a problem.

Advertising


Issue with this design? Report a problem.

Would you like to support Cults?

You like Cults and you want to help us continue the adventure independently? Please note that we are a small team of 3 people, therefore it is very simple to support us to maintain the activity and create future developments. Here are 4 solutions accessible to all:

  • ADVERTISING: Disable your banner blocker (AdBlock, …) and click on our banner ads.

  • AFFILIATION: Make your purchases online by clicking on our affiliate links here Amazon.

  • DONATE: If you want, you can make a donation via Ko-Fi πŸ’œ.

  • WORD OF MOUTH: Invite your friends to come, discover the platform and the magnificent 3D files shared by the community!


Sharing and downloading on Cults3D guarantees that designs remain in makers community hands! And not in the hands of the 3D printing or software giants who own the competing platforms and exploit the designs for their own commercial interests.

Cults3D is an independent, self-financed site that is not accountable to any investor or brand. Almost all of the site's revenues are paid back to the platform's makers. The content published on the site serves only the interests of its authors and not those of 3D printer brands who also wish to control the 3D modeling market.

100% secure payment by credit card, PayPal, Apple Pay, Google Pay, etc.
View all payment options.