Skip to content

Harley Davidson - pencil holder

Advertising
Advertising
?
Creation quality: 5.0/5 (1 vote)
Evaluation of members on the printability, utility, level of detail, etc.

  • 4.4k views
  • 92 likes
  • 15 downloads
  • 2 collections

License
3D design format
STL Folder details Close
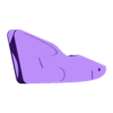
  • Boîte de vitesse.stl
  • Corps.stl
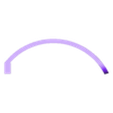
  • Garde boue.stl
  • Guidon 1.stl
  • Guidon 2.stl
  • Guidon 3.stl
  • Harley Davidson - cache 1.stl
  • Jante.stl
  • Pin 1.stl
  • Pin 2.stl
  • Pot d'échappement.stl
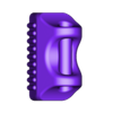
  • Radiateur.stl
  • Roue.stl
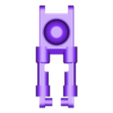
  • Support.stl
  • guidon.STL
  • spacer.STL

Learn more about the formats

Publication date 2023-06-08 at 15:06
Design number 1261016

3D printer file info

3D model description

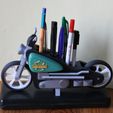
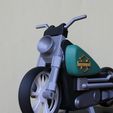
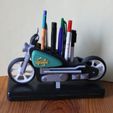
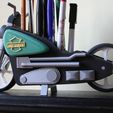
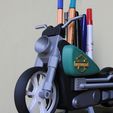
Here is a pencil holder for Harley Davidson fans! Store up to 9 pens and pencils at once! Feel free to play with it too, as the wheels spin ;)

All the pieces can be printed on a mono-color 3D printer.

Motorcycle assembly instructions :

Parts :

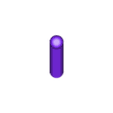
Roues x2

Jantes x4

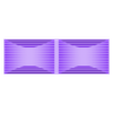
Radiateurs x2

Boîte de vitesse x2

Pot d'échappeme,t x2

Harley Davidson - cache 1 x2

Pin 1 x1

Pin 2 x1

Guidon x1

Guidon 2 x1

Guidon 3 x2

Garde boue x1

Corps x1

Support x2

Spacers x2

Assembly rules :

The parts "Radiateurs", "Boîte de vitesse", "Pot d'échappement" and "Harley Davidson -
cache 1" can be fitted to the "Corps" part in slots of specific sizes.

The use of glue is mandatory.

The "Guidon", "Guidon 2" and "Guidon 3" parts fit together. It is preferable
to use strong glue to secure the connection. Make sure the two "Guidon 3" parts are correctly oriented.

Assemble the wheels:
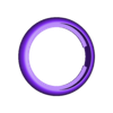
o Front wheel: Position the wheel at 90° to the handlebar assembly lugs and pass through the notch on the inside of the wheel. Then put the wheel back on as it should be, clip the rims in place of the both sides and insert the "Pin 1" piece through the assembly.

o Rear wheel: Clip the rims in place in the wheel, position the wheel, align the holes of the "Body" and "Wheel", add the two spacers and insert the "Pin 2".

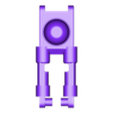
The handlebar assembly attaches to the body in the notch. To get the right
positioning, place the "Guidon 2" part on the top of the "Guidon 1" part and secure with strong glue.

Insert the mudguard into the notch at the rear of the bike, adding glue.

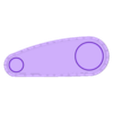
Place the brackets on the underside of the bike.

Colors :
I recommend the use of matte black filament for the body, wheels, mudguard and handlebar 2.
For the rims, use very light white/grey filament.
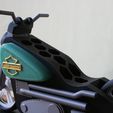
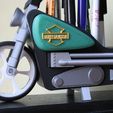
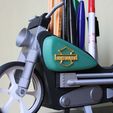
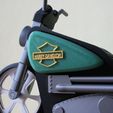
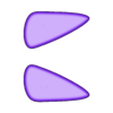
For the covers, a two-tone print, with the base in a particular color (green, blue,
red,...) and the logo in a contrasting color.

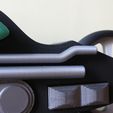
For other parts, a metallic gray is ideal.

The purchase of these parts does not include commercial use. Please mention me in any sharing of this model (either by my username "@impression_ant" or by my name "Ehret Colin"). Feel free to contact me if you wish to use it commercially ;)"

3D printing settings

Only the "Mudguard" and "Wheels" parts need to be printed with brackets.

Otherwise, the other parts can do without.

Use normal print settings and you should be fine ;)

Advertising


Issue with this design? Report a problem.

Would you like to support Cults?

You like Cults and you want to help us continue the adventure independently? Please note that we are a small team of 3 people, therefore it is very simple to support us to maintain the activity and create future developments. Here are 4 solutions accessible to all:

  • ADVERTISING: Disable your banner blocker (AdBlock, …) and click on our banner ads.

  • AFFILIATION: Make your purchases online by clicking on our affiliate links here Amazon.

  • DONATE: If you want, you can make a donation via Ko-Fi 💜.

  • WORD OF MOUTH: Invite your friends to come, discover the platform and the magnificent 3D files shared by the community!


Sharing and downloading on Cults3D guarantees that designs remain in makers community hands! And not in the hands of the 3D printing or software giants who own the competing platforms and exploit the designs for their own commercial interests.

Cults3D is an independent, self-financed site that is not accountable to any investor or brand. Almost all of the site's revenues are paid back to the platform's makers. The content published on the site serves only the interests of its authors and not those of 3D printer brands who also wish to control the 3D modeling market.

100% secure payment by credit card, PayPal, Apple Pay, Google Pay, etc.
View all payment options.