Skip to content

Sprinkler (SOLDIER)

Advertising
Advertising
?
Creation quality: 5.0/5 (2 votes)
Evaluation of members on the printability, utility, level of detail, etc.

  • 3.6k views
  • 9 likes
  • 80 downloads
  • 1 collection

License
3D design format
ZIP Folder details Close
  • Sprinkler_SOLDIER.zip

Learn more about the formats

Publication date 2023-06-12 at 16:33
Design number 1267994

3D printer file info

3D model description

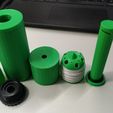
My crazy dog boy Houston killed all my normal sprinklers and PVC hoses, many times. I tired from constant repairing it and decided to make some one which hide under ground. All available on market can"t be lock OFF separately, they always work ON. I made one which possible to make OFF by single 1/2 turn CW, and open CCW. Thats how you can manage pressure and flow between them.

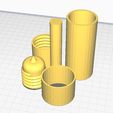
STL parts in ZIP (121 kb):
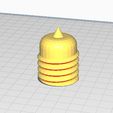
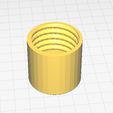
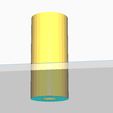
-Adapter1
-Adapter2
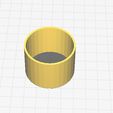
-Housing
-Ring
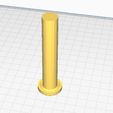
-Soldier

Sprinkler can be installed on any connection 26 mm (1 inch ID of adapter1 bottom) which need to be glue on (I recommend to use
epoxy adhesive for all model assembling).
Also all separate printed 5 parts assebmling with same glue: Adapter2 + Housing+ Ring.

For fully assembling required:
- Teflon tape - for thread on Adapter1
- Rubber Oring for Soldier 15.8-16 mm ID (1.5-2 mm thin)

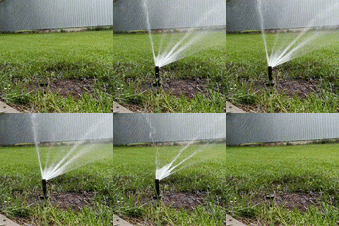
Hole size and shape on soldier making manually - try few options before instalation. I recommend 120 deg sector bent hole line with 45 deg to horizontal (see photo) but you can choose what ever you want.
Quantity and size of holes on Adapter1 also should be done manualy. I used drill 4-4.5 mm.
Use sandpaper to fit all components - different filament have different print compression expansion.

Use good amount of teplon tape on thread adapter1 to make sure minimaze leakage during pump on.

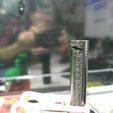
When all installed and water pump ON, soldier come up from housing above the ground 85 mm and start sprink water around. When pump off soldier come in inside housing. All assebmly near 130 mm hight.

A little leakage possible on the thread between adapter 1 and adapter 2. Also Soldier can leak as well on rubber oring between Housing - but not really significant.

Weak point on Adapter1 lower side. Because PLA affect by water. Try to print it with more fillin % (80), and glue properly with your connection. Or even try to use PTEG instead of PLA for Adapter1. Rest is fine.

3D printing settings

  • All 5 parts required about 71 gramms of PLA (20% fill in) - 1x Sprinkler.
  • 70 mm/sec printing speed -0.2 mm layer
  • Printing time 8 + hours.
  • 200 deg C extruder / 64 deg C plate.
  • No supports required.

My boy is Anycudic X 300 mm^3 more enough.

Advertising


Issue with this design? Report a problem.

Would you like to support Cults?

You like Cults and you want to help us continue the adventure independently? Please note that we are a small team of 3 people, therefore it is very simple to support us to maintain the activity and create future developments. Here are 4 solutions accessible to all:

  • ADVERTISING: Disable your banner blocker (AdBlock, …) and click on our banner ads.

  • AFFILIATION: Make your purchases online by clicking on our affiliate links here Amazon.

  • DONATE: If you want, you can make a donation via Ko-Fi πŸ’œ.

  • WORD OF MOUTH: Invite your friends to come, discover the platform and the magnificent 3D files shared by the community!


Sharing and downloading on Cults3D guarantees that designs remain in makers community hands! And not in the hands of the 3D printing or software giants who own the competing platforms and exploit the designs for their own commercial interests.

Cults3D is an independent, self-financed site that is not accountable to any investor or brand. Almost all of the site's revenues are paid back to the platform's makers. The content published on the site serves only the interests of its authors and not those of 3D printer brands who also wish to control the 3D modeling market.
100% secure payment by credit card, PayPal, Apple Pay, Google Pay, etc.
View all payment options.