Skip to content

Tevo Tornado glass plate tensioner

Advertising
Advertising
?
Creation quality: 0.0/5 (0 votes)
Evaluation of members on the printability, utility, level of detail, etc.

  • 257 views
  • 3 downloads

License
3D design format
Folder details Close
  • Front_left_end_stop_12x12_inches.stl
  • Front_left_end_stop_300x300mm.stl
  • Front_right_end_stop_12x12_inches.stl
  • Front_right_end_stop_300x300mm.stl
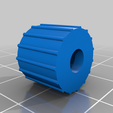
  • Knob_for_hex_head_bolt.stl
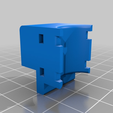
  • Rear_left_slider_mount.stl
  • Rear_right_slider_mount.stl
  • Slider.stl
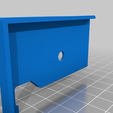
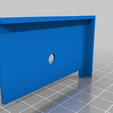
  • Strain_relief.stl

Learn more about the formats

Publication date 2023-09-24 at 13:45
?
Published to Thingiverse on: 2018-09-15 at 19:18
Design number 1471096

baard

3D printer file info

3D model description

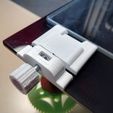
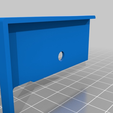
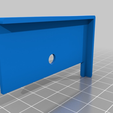
The glass tensioner can be used with a 300x300mm or a 12x12 inches glass plate.

If you have a 310x310mm glass plate, then you can use this link: https://www.thingiverse.com/thing:3434223

Because of the tensioners low design, you will not lose any printing area when printing.

This glass tensioner uses a M4 nut as a thread.

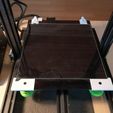
This is a complete solution for printing on a glass plate with glass tensioners.

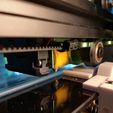
Previously there has been a problem with the bottom x-axis wheel colliding with the tensioner. That is not an issue anymore since I have changed the design.

This solution makes it very easy to mount and remove the glass plate (Please see the video below).

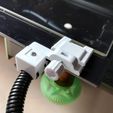
The tensioners have to be placed at the rear part of the bed, to prevent them from colliding with the print head. I have also added a strain relief to this solution.

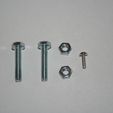
You need: (Please see the picture in post printing)

  • 2 pcs of M4 20-30mm hexagon head bolt (DIN 933).

  • 2 pcs of M4 nuts (DIN 934).

  • A tiny screw for the strain relief.

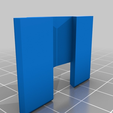
The strain relief shall be printed in a vertical position with the flat side down.

The other parts shall be printed with the long flat side down.

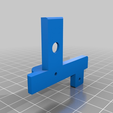
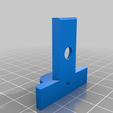
When you place the nut into the slider mount, it is important that one corner of the nut is pointing upwards. (Please see the picture in post printing below.)

Then you have to apply a little force to press it in place.

Do not tighten the tensioners too much, as they create tension in the corner holes on the heat bed glass plate.

08.12.2018 Picture update.

15.02.2019 New upgraded tensioner released. The tensioner is much lower to avoid collision with the x-axis wheel.

09.03.2019 Tensioner modified. Height decreased by 1mm lower. The position of the nut is changed.

Advertising


Page translated by automatic translation. See the original version.
Issue with this design? Report a problem.

Would you like to support Cults?

You like Cults and you want to help us continue the adventure independently? Please note that we are a small team of 3 people, therefore it is very simple to support us to maintain the activity and create future developments. Here are 4 solutions accessible to all:

  • ADVERTISING: Disable your banner blocker (AdBlock, …) and click on our banner ads.

  • AFFILIATION: Make your purchases online by clicking on our affiliate links here Amazon.

  • DONATE: If you want, you can make a donation via Ko-Fi πŸ’œ.

  • WORD OF MOUTH: Invite your friends to come, discover the platform and the magnificent 3D files shared by the community!


Sharing and downloading on Cults3D guarantees that designs remain in makers community hands! And not in the hands of the 3D printing or software giants who own the competing platforms and exploit the designs for their own commercial interests.

Cults3D is an independent, self-financed site that is not accountable to any investor or brand. Almost all of the site's revenues are paid back to the platform's makers. The content published on the site serves only the interests of its authors and not those of 3D printer brands who also wish to control the 3D modeling market.

100% secure payment by credit card, PayPal, Apple Pay, Google Pay, etc.
View all payment options.