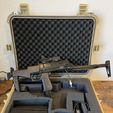
DISCLAIMER, PLEASE READ: This gearbox was designed specifically to fit and function with my NPO SR-2M, serial no. 005BM20. NPO has made small changes to their replicas over the years, in addition to variance piece-to-piece given their hand-built nature. Welds may be in different spots, nuts may be in different orientations, etc., which could cause the design to not work to its full extent. If you have any trouble and do not have the capability to modify the design yourself, feel free to reach out to me and I will do my best to help. I am currently in a rigorous program of study, so if it takes me a while to get back to you I apologize.
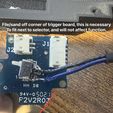
This is a gearbox I designed to replace the arguably garbage AEP, non-select fire gearbox in the NPO SR-2M to make it a much more skirmishable replica. You will need to be comfortable with soldering a few small contacts for this to work.
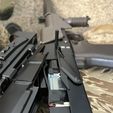
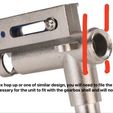
Currently, it is tested to fit a Polarstar F1 or Jack engined - v1.0 or v1.1 (download the appropriate model for your engine - “sr2m gearbox shell” is for the Jack, “sr2m gearbox shell (F1, 1.0) “ is for the F1), Polarstar V2 trigger board, and a Rev2 FCU. There should be adequate space for a Gorilla, Wolverine, or Redline FCU, but it is not designed for them. The F1 model may be compatible with Wolverine engines, but it is not tested, and you will have to use a Polarstar trigger board to utilize the select fire. The Polarstar F2 will not work in this model due to the double solenoids impeding on the space where the FCU has to sit. It is designed to fit a Combat Union early gen AK hop up unit (later gen will work, but the early gen is quicker to adjust with this design), but it will also fit a Lonex hopup with a slight modification to the hopup (pictured in guide). It will also fit the stock hopup unit, but if you're taking the time to do this conversion, I doubt you are using anything stock. It will NOT fit a Retro Arms hopup.
I have also included a file for the handguard rails in case your replica did not come with them, as mine did. I recommend having those printed professionally out of MJF PA12 nylon glass bead (I used Shapeways) given they are put under more stress/impact.
Parts list:
HPA engine of choice (see limitations above)
Polarstar Universal V2 trigger board
CYMA AK nozzle (#2 for both Jack and F1)
Polarstar 7.5" Rev2 FCU wire harness
Polarstar Rev2 FCU with solenoid wire
Hopup unit of choice (recommend Combat Union or Lonex)
8-10" HPA line
QD HPA fitting
Hardware (all pan head screws):
1x M3x12mm - hop up unit cross screw (if using combat union)
1x M3x16mm - gearbox
1x M3x20mm - gearbox
3x M4x4mm (should already be with SR-2M) - 1 for back plate, 2 for safety/selector arms
4x M4x8mm (should already be with SR-2M) - body/trigger contacts attachment
2x M3x8mm with washers - back plate sides to align gearbox
2x M4x6mm - hop up unit arms
1x 8mm od, 1mm thick Oring - selector
Tools:
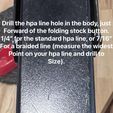
Drill or drill press with 1/4" bit
Soldering iron with a fine tip
Electronics solder
6-8" of 20awg, 2 conductor wire
Tools to disassemble your replica
Dremel tool with a fluted cutter for any adjustments
M3x0.5 tap - you can force the screws to cut their own threads, but I tapping beforehand is MUCH easier with machine threads.
I am in no way, shape, or form responsible for any damage to your replica from improper installation.
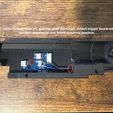
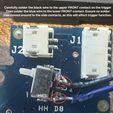
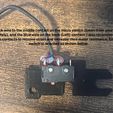
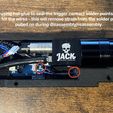
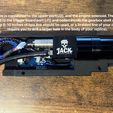
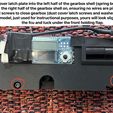
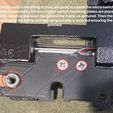
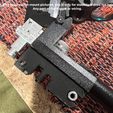
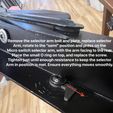
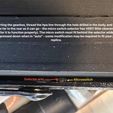
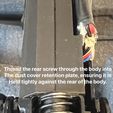
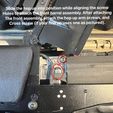
Assembly and installation instructions are in order in the images. If you have trouble, feel free to reach out to me for clarification.

/https://fbi.cults3d.com/uploaders/20255963/illustration-file/181cbabc-ea22-4cd2-bdf0-1978337a1839/IMG_2285.jpg)
