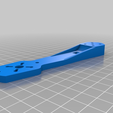
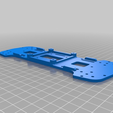
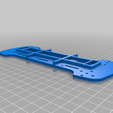
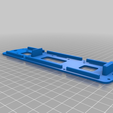
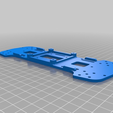
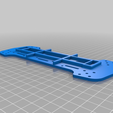
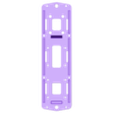
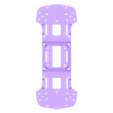
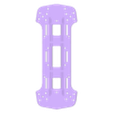
This is a remix of the Hammer Mini H Quad Platform.
Key Difference - Room for 6in props.
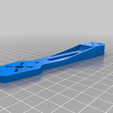
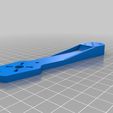
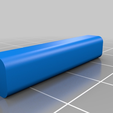
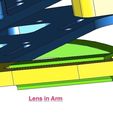
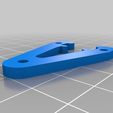
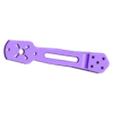
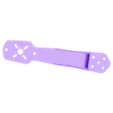
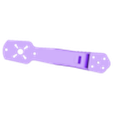
3/31/2015 - Added an arm that allows the LED to be directly installed in it. Why? Well I wanted to print my arms in Bridge Nylon to help deal with vibration into the controller. Nylon is naturally translucent so why not install the LED directly in the arm. The Nylon can be dyed with fabric dye if you want different front and rear colored arms. The nylon is also very flexible yet stiff enough to maintain form. I'm still tuning the PIDs so to early to tell, but it looks promising. The other benefit, very crash resistant.
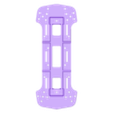
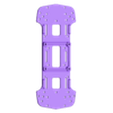
11/28/2014 - Uploaded two new body frames with 26deg swept back rear arms. This helps shift the CG aft for heavier non-centered batteries and seams to smooth out any interactions between 6in props.
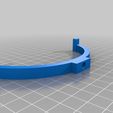
11/27/2014 - If you have been following the posts below, I have been on a mission to improve the design for 6in props (true 300 size). It has been accomplished and the parts are now posted. All parts have been stiffened and de-tuned so they don't vibrate naturally with the 6in prop rotation. The grey glass filled props are horribly balanced out of the package; steer clear or absolutely balance before use. (The black nylon where the best.) I also included a new center hole in the arms so a single M3 20-25mm screw can be used to bolt the arms to the decks and allow the arms to fold for travel; use tie-wraps when extended to hold in position. Happy Thanksgiving, enjoy.
11/16/2014 - After much testing and monitoring the board through bluetooth in MultiConf it's completely clear that the wobble I have been experiencing is vibration related. It get's more excited with the 6x3 props. Lesson for the day is balance your props. I will be looking to continue updating the design to minimize prop vibration (and foam tape or a foam bed is not a bad option. Enjoy flying :-)
11/15/2014 - Currently flying with 5x4 props for the best all around performance with the HK MWC. The flat printed standoffs are holding up, tap with a 3mm or #4 tap before winding in the screw.
11/11/2014 - All is well :-) Problems mostly solved. After much research and some double sided foam tape the issue came down to vibration feeding into the Flight Controller! The frame does exhibit a resonance when you tap it which could be at the frequency produced by the rotating 6x3 props. Flying it is great. Loving it as much as my tri-copter. I say mostly solved as now I am on a quest to design a better deck for the FC. Using 6x3" props are a go on the current design, just watch the vibrations if you get a wobble in your hover.
10/24/2014 - 5x3 3 Blade props work, are stable, but not punchy. May need more PID adjusting.
10/19/2014 - Using the GenFan 6x3 props (the only brand out there right now) on my sunny sky motors I get plenty of thrust with hover below half throttle. Maneuverability is great with the current PID settings, but I'm getting a wobble in hover which makes it not ideal for camera work or FPV. I've locked down the motors with screws to insure the tie wraps are not causing the oscillation. The only thing I can figure is the props are oscillating. GenFan makes a Gray Glass filled nylon prop which should be stiffer, but those are overseas and I am not ready to spend $ on those. I will be trying 5x3 3blade props instead. These produce power between the 5x3 and 6x3 2 bladed prop, so we will see how that goes.
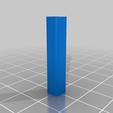
I also uploaded a standoff that lies on it's side which gives it more strength from snapping along a print layer in a crash.
10/16/2014 - Playing with my final PID values for the 6 inch props; yes they are different. Ideal battery setup is a 3s 1300mA for weight to capacity. (560g with the Mobius Camera) So far it looks like I can expect a minimum of an 8min flight and up to 10 minutes.
10/12/2014 - Night Light photo added. I'm pleased with the lenses as is. Will be able to fly no problem at dusk or at midnight if I want to.
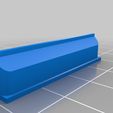
10/11/2014 - Added LED lens for the new V2 arm. As soon as I have everything printed and wired on the latest uploads I'll post a night flight picture.
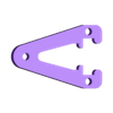
10/10/2014 - Added a Version 2 (V2) arm to the uploads for a liter arm; adds a slot in the center. I also plan to upload a "lens" that you can print with clear to slip in the slot for lighting with a 3mm LED.
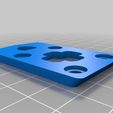
Original Post - I changed a few things up to accommodate additional and different features. I fly the MultiWii Platform and added board mounting options for that. The Standoffs are printed instead of bought. The rear and front standoffs where opened up to allow the immersion 250mW FPV transmitter to fit between the standoffs. Also provided stops for the battery so it does not slide out of the velcro straps (up to a 3S 2200mA). I also stretched the frame and arms to insure clearance for 6x3 props on SunnySky x2204s 2300KV motors. I left the original mounting pattern for the blackout motors and included mounts for the common x mnt on the SunnySkys. M3x10 screws are used in the standoffs. I don't tap ahead of time and just use the screw to tap the plastic. Zip Ties for everything else. The camera mount is designed for isolation dampeners. I printed the arms @ 40% fill for strength and 20% for the body plates to reduce weight. 4 parameters to strengthen the holes. Select either the gear which attach to the main body or the feet that zip tie to the end of the arms. 4 ESCs tuck on the bottom plate with all the wiring. The Radio plate holds your controller, receiver, and FPV video transmitter. Battery on top and the mobius camera mount with isolation dampeners. The arms are 11.5mm high and provides enough height for most 12A ESCs. I am using VeloTech ESCs; very nice units.
Overall design strength is amazing. I went to flip it backwards, stalled out and drop it from 100ft with little to no damage. So little that I pulled out the freshly mowed grass, inspected, put it on it's belly again and finishing the flight. Enjoy.

/https://fbi.cults3d.com/uploaders/15517291/illustration-file/943a712e-4d93-4272-a021-dfaef140f8e3/IMG_0088.jpg)

