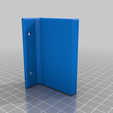
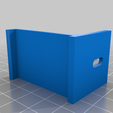
Wall mount
for the Prusa Multiple Materials Unit 2/S filament buffer.
History
The MMU 2.0 offering by Prusa is a promising new approach to multiple materials. With the release of MK3S they also announced (https://www.prusaprinters.org/original-prusa-i3-mk3s-and-mmu2s-release-sl1-and-powder-coated-sheets-update/#2) an update to their MMU2S. They sent all of their MMU 2.0 owners a free update which included the Filament Buffer.
I got an early start thanks to Prusa posting files on their MMU2 GitHub.
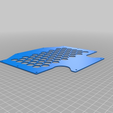
S-buffer-plate.dxf
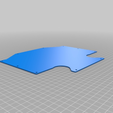
This file is the outline of a buffer plate which is too big to print on the MK3. I created a slightly smaller dividers that can be printed on the MK3 which has extra fingering room to make filament loading easier.
If you find fingering the filament from the filament buffer to the MMU difficult print a set of the barriers. The extra fingering room and rounded opening makes a big difference and the slightly smaller size doesn't seem to make any difference.
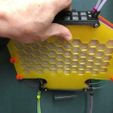
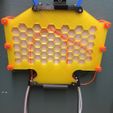
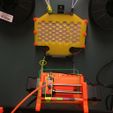
I played around with a honeycomb pattern but could see that the filament has a tendency to go through the holes so it is only usable on the top layer. On the top layer it is nice because you can see how the filament coils.
Final results
The filament buffer addresses one of the major issues I was having with the MMU, dealing with all the retracted filament.
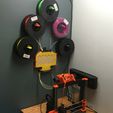
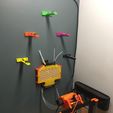
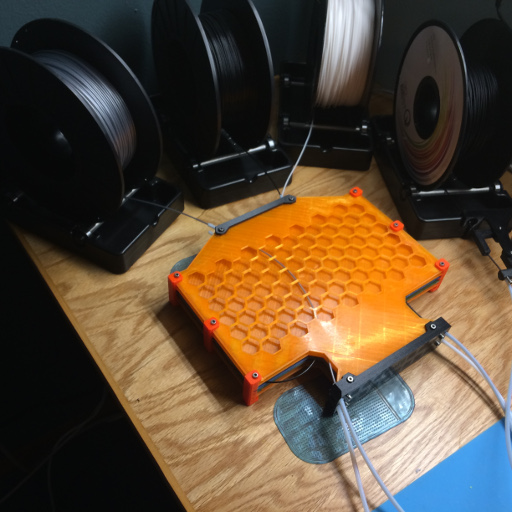
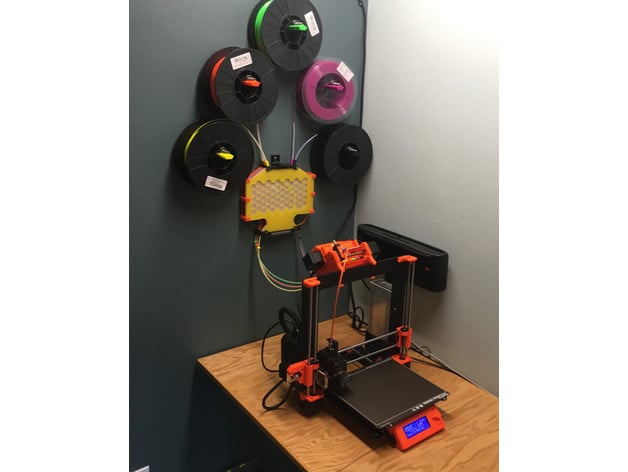
Hanging the Filament Buffer on the wall moved the 5 rolls of filament off of the desk which only had room for four and allowed the the printer to sit much closer to the wall.
Before
After
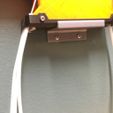
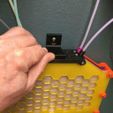
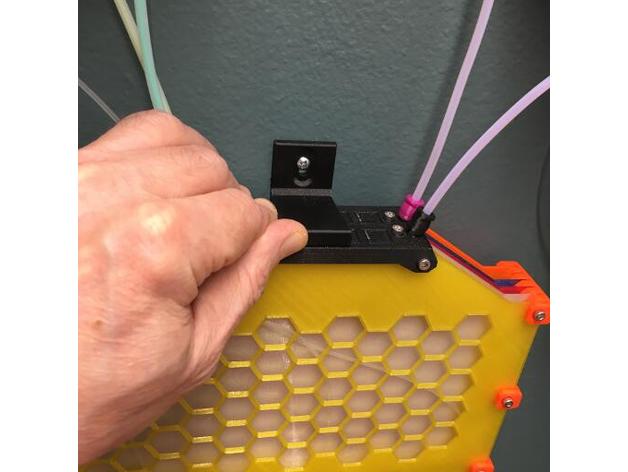
I wanted the the mount to allow full access to the filament buffer and there isn't any real forces being applied to the buffer so I just latch it lightly in place. It holds the buffer to the wall and it is super easy to remove.
Managing Filaments
Advantages
* Reclaims desk space
* Allows printer to sit much closer to the wall
* Makes filament management much easier
* Looks nice
Filament Management
Dealing with filaments in trays I had to reach over and around all of the tubes and other filaments. Loading four filaments at once (I couldn't fit five trays behind the printer on my desk) was never as simple you might think.
In contrast, with the spools wall mounted I have all five spools readily available and I can easily change all but the active filament even during the print. Loading and unloading filaments is as simple as you might think.
UPDATE: 5/28/2019
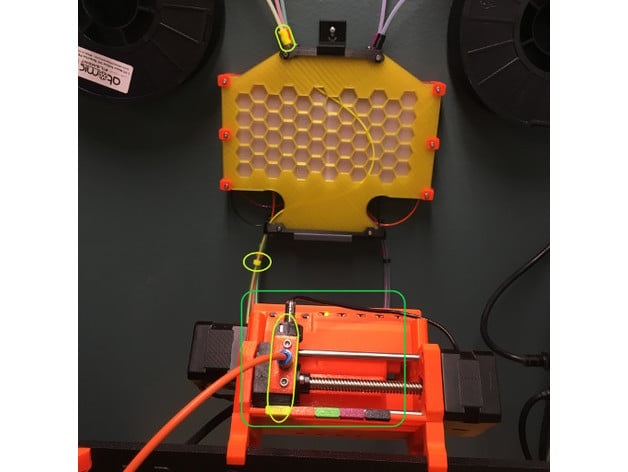
As a final touch add the
MMU - Color Coded Filament Path (https://www.thingiverse.com/thing:3649992)
to visualize the filament paths.
Spool Holders
UPDATE: 5/23/2019
I designed a Wall Mounted Spool Holder with bearings (https://www.thingiverse.com/thing:3647071) using parts from the Prusa MMU filament tray it replaced.
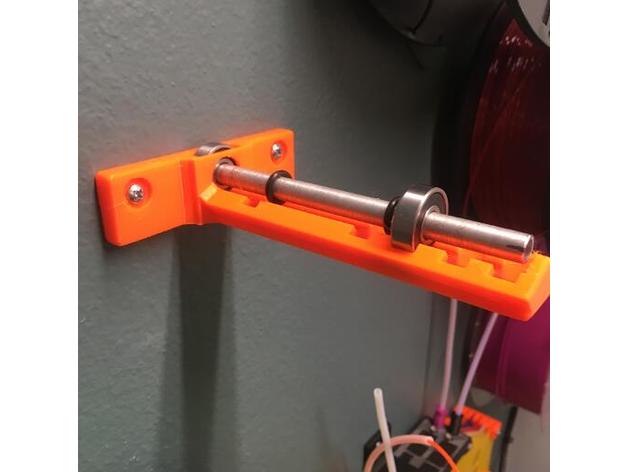
OR you can print pegs like the ones started with.
Simple Wall Mount Spool Holder (https://www.thingiverse.com/thing:2739976)
I printed 3 x 75mm, 1 x 85mm,
and the remixed version Simple Wall Mount Spool Holder for Stupid 30mm Filament Reel Holes (https://www.thingiverse.com/thing:3398038) with the smaller peg because I do have some odd sized reels. NOTE: I had to let Slic3R PE 'fix' the re-mix before printing.
All of the mounts work with the standard spools and having the 85 and small peg should cover the instances I use one of them.
See the filament buffer in action in this short video
Updates
May 28, 2019: I added link to the Color Coded Filament Path (https://www.thingiverse.com/thing:3649992).
May 23, 2019: I added link to the wall mounts with bearings (https://www.thingiverse.com/thing:3647071) created to replace the pegs. This reduces the drag created by the filament spool.
April 27, 2019: I replaced the dividers with a version that the MK3 can print and changed to a rounded edge adding a little room for fingering the filaments into the MMU. The extra fingering room is great!

/https://fbi.cults3d.com/uploaders/21372930/illustration-file/6df201fc-4fd9-49b6-b69c-a3d595696c4a/sm_WallMountLoaded.jpg)
