Prints (0)
-
No Prints Yet
Be the first to upload a Print for this Design!
Description
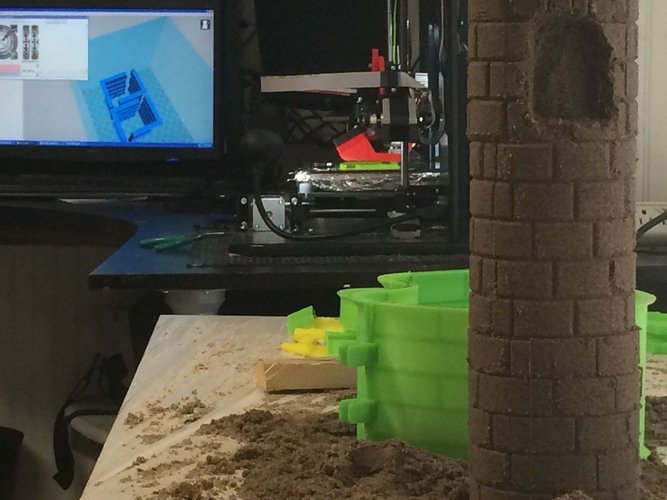
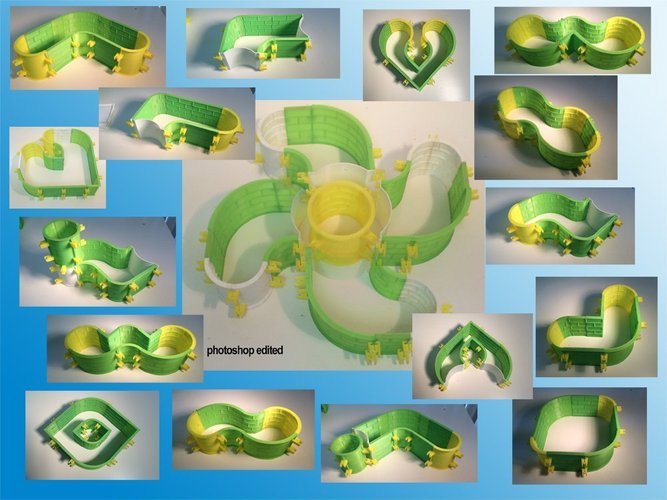
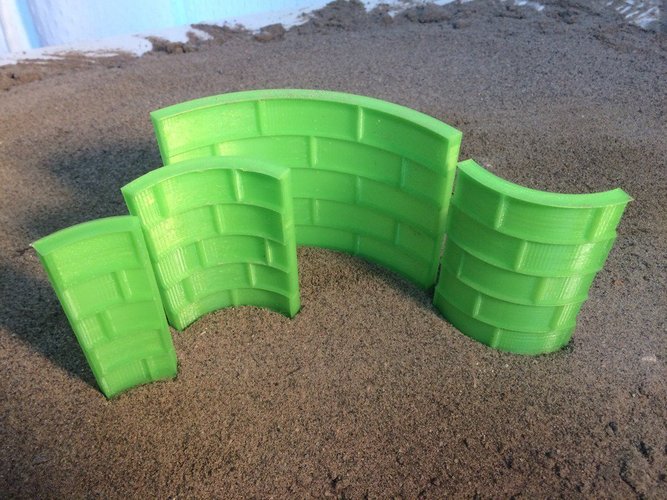
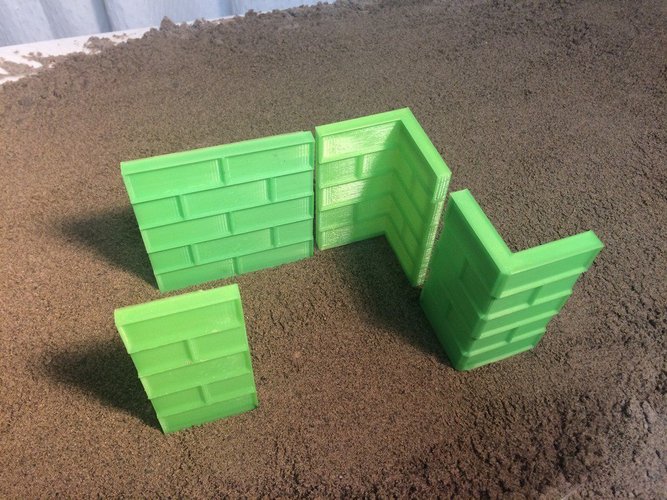
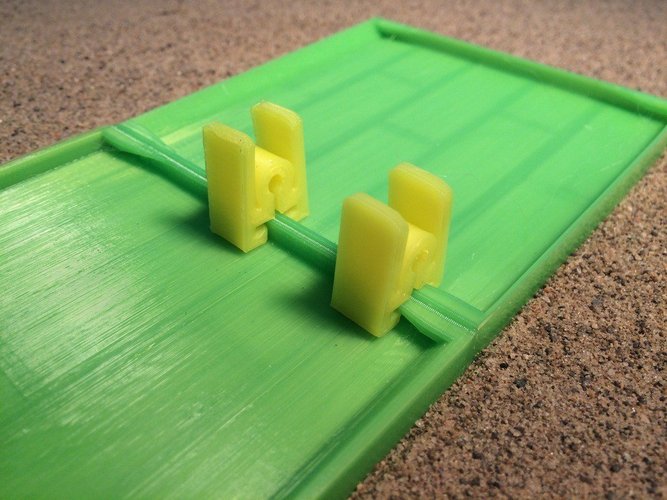
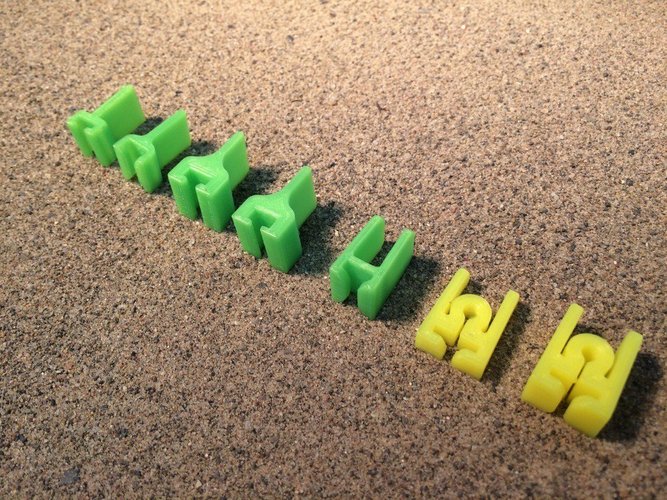
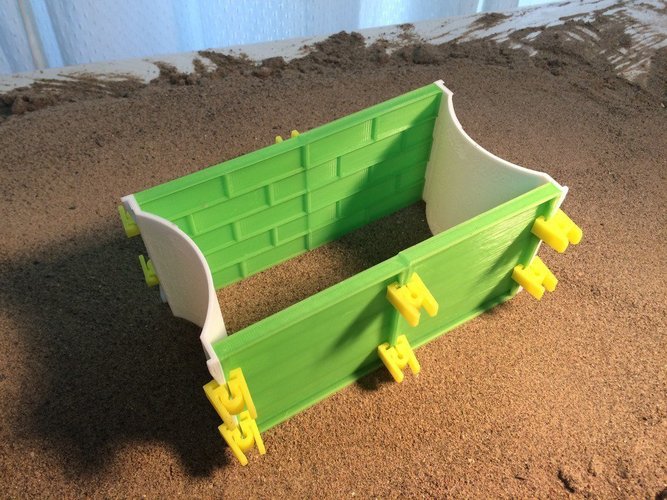
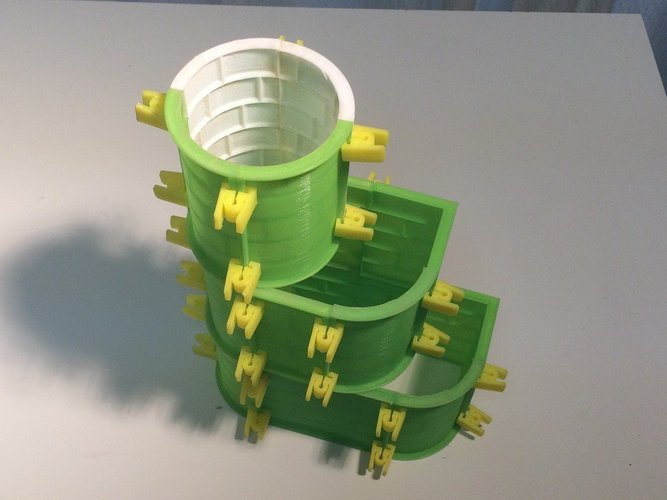
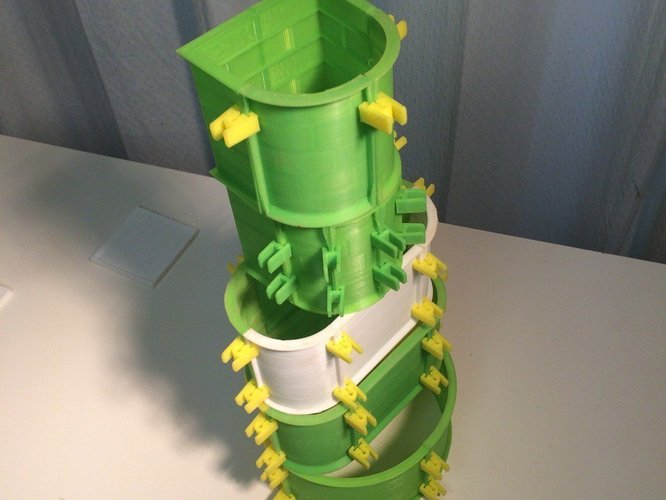
Summary BuildACastle Build your Sand Castle with this textured modular molds. A mold design that works. Anyone can do it. Print one tray and start building You will be able to: Build Rocky walls and tall towers. Create thousands of castle shapes and wall combinations. Form details parts like parapet walk, tunnel and roofs. Make a big size sand castle, break the 200x200x200mm barrier. Have Fun and play, building and calculating 3D models created in 123D; This Project has an educational Purpose. See instructions for: Math facts Working with sand tips Printing Settings Short Presentation Video https://youtu.be/HynJygsRE3g Presentation Video https://youtu.be/u4G8F85yoco Instructions Use the outside angle rules for regular polygons: A=360/N (degrees) A= outside angle form between two side lines of a polygon. N= Number of sides on perimeter wall ( square N=4) How to use it: For a Hexagon N=6 Draw a line on the floor Build your section wall on top of the line Starting on the center of one tower Draw a second line 60 degrees of the first one (360%6=60) Build another section and repeat the angles until you make it all around. OR Formula to build a regular polygon (works with any scale) R=S/2sin(180/N) Where: R= radius of outside wall (center of it) S= Side length of 01 wall section N= number of sides on the perimeter wall. Example square N=4, octagon N=8, ETC How to use it? Build a small wall section + two tower Measure the distance between the center of the towers. (S) Decide how many sides you want the perimeter wall to have. (N) crunch the numbers and find the radius. Draw a circle with the calculated measurement. Go around this line marking the distance S, You will get N number of tower marks, matching the spacing perfectly. OR Use one of the pre-calculated Radius/Side proportions. 4 sides 1 S = 0.707 R 5 sides 1 S = 0.85 R 6 sides 1 S = 1.00 R 7 sides 1 S = 1.152 R 8 sides 1 S = 1.307 R Working with sand: Plan your build, do the math, check the weather. Make a strong foundation, pack the sand down Build piles of wet sand to set different elevations Work always from top to bottom Layer by layer pack sand tight inside the mold Always carve from outside to inside Printing Settings and Tips: 0.3 mm layer high on PLA 03 outside layers and 03 top/bottom layers Do not over extrude, specially the clamp! You can print walls with 0% infill, no support. Print it fast, small defects do not transfer to sand
Comments