3D model description
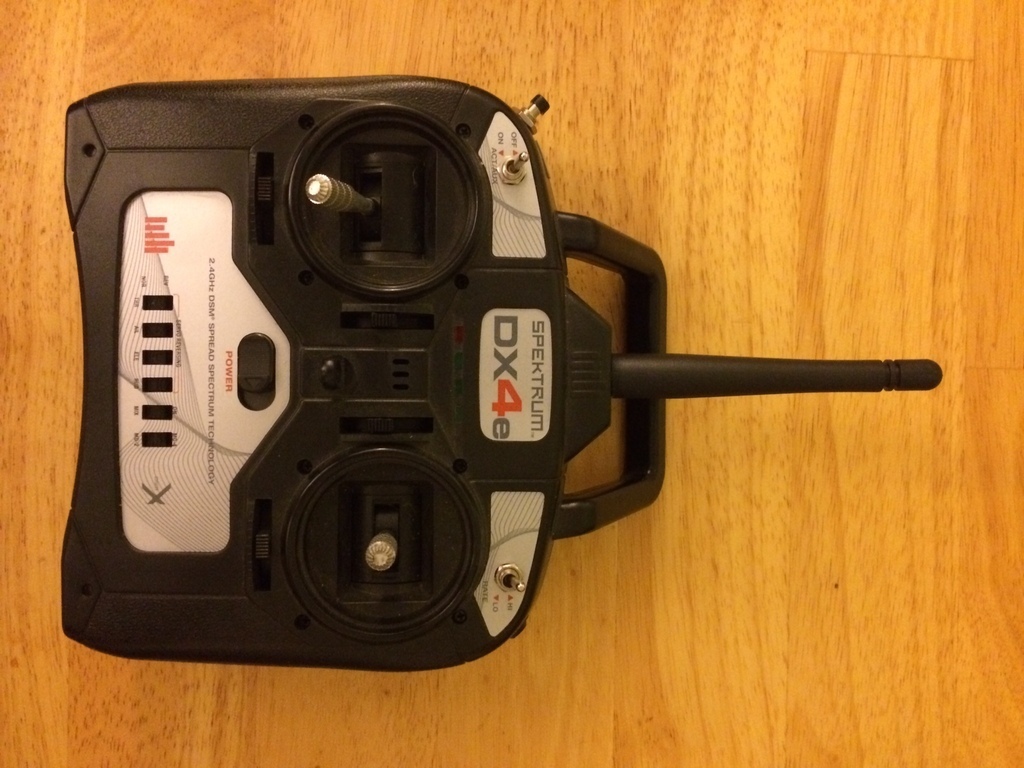
I started with using an OrangeRX module to fly my Horizon and DSM2/DSMX equipped RC aircraft. With it not being FCC certified, only operating at 100mW (as opposed to 200mW) and not able to offer full integration into my Taranis radio for features like model match, binding and range test from the radios menus, I wanted more. So I bought a DX4e from Ebay to harvest the true Spek radio module.
After testing tonight, I get quicker resyncing after drop outs (simulated during range testing), greater range than the Orange module (no dropouts even at 50 paces), model match to prevent accidental use of the wrong aircraft profile, and fully integrated bind and range testing from the software menus (no manual button presses). DSM2 and DSMX worked flawless and require no manual mode switching to achieve. (6-29-2014 You can run all aircraft in DSMX mode from the Taranis and the module will automatically drop back to DSM2 for those receivers that require it. This is what I do now).
After test flying today, I found that there was next to no latency since there is no middle step of decoding a PPM stream (as in a traditional plug-in module) just to re-encode to DSM2 or DSMX since the Taranis is talking directly DSM2 or DSMX to the transmitter module; this is a big Plus +++. I'm loving on this mod.
After some time and 20-30 flights later, the latency difference is definitely noticeable, in a good way (i.e. shorter to instant). It is noticeable mainly when performing 3D flight, but definitely noticeable. If you are flying patterns and light aerobatics a straight PPM type module would most likely be just fine, but if throttle punching and full stick precision aerobatic flight is your thing, this mod is for you. (You are not always chasing the movement of your model and stopping the maneuver too late because of the lag in stick to servo). Enjoy :-)
3D printing settings
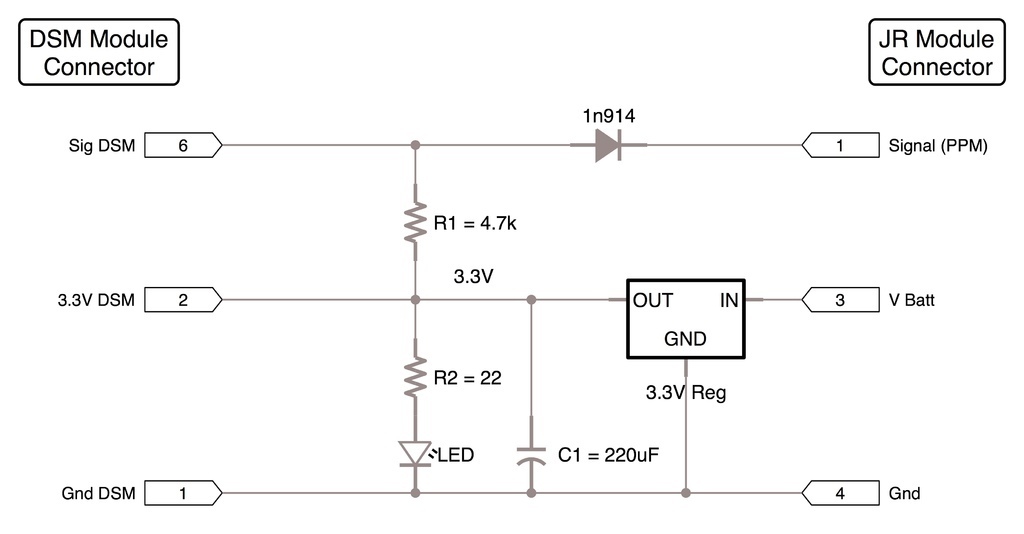
My apologies, my friend who is building one noticed that I had the ground pin connection to the Tx module illustrated wrong on the schematic. Image updated. The ground wire belongs on pin one (which is the pin that has a square box as the solder pad).
As with everything experimental, proceed at your own risk and accept all responsibility for moving forward with these instructions. I can't promise this will work. I am enjoying the benefits at my own risk.
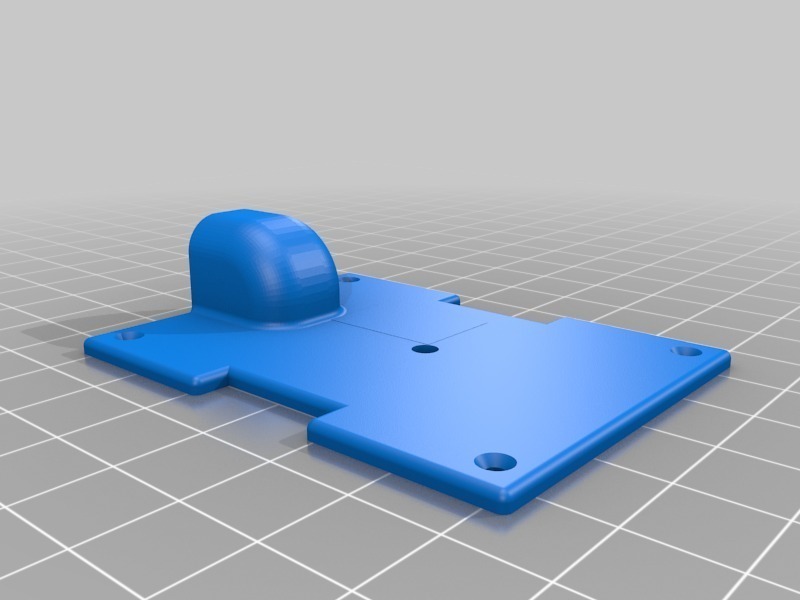
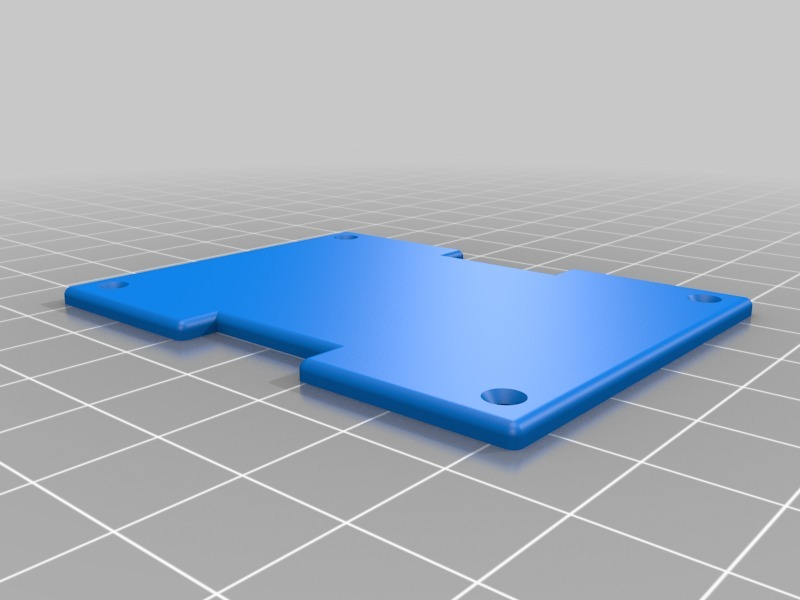
The printed parts have support designed in, do not turn support on.
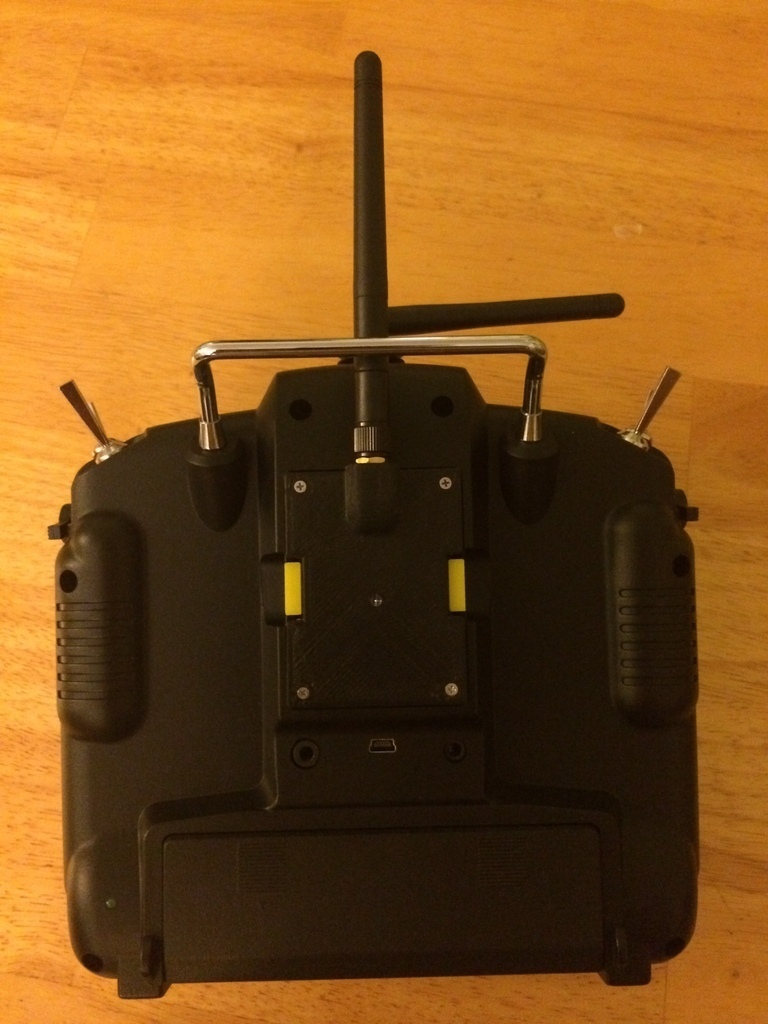
Harvest the DX5e module from the DX4e unit. This has been verified to be a guaranteed 6 channel transmitter unit. Some have said that it will transmit up to 8 channels depending on the internal firmware (I can't verify as all my receivers are 6 channel max). (I will be using FrSky equipment for all things greater than 6 channels.)
I also harvested the 220uF cap from the DX4e
Do not use the 3.3V regulator from the DX4e as some websites suggest, it will brown out. I fully tested it on the bench and it failed miserably for how I planned to use it (I will be installing a 3S LiFe Tx pack which would kill the 3.3V linear regulator). Use a HK 3.3V ubec (Part # UBEC3-3v3a); you will be very happy with the results.
For the leads to connect the module to the connector in the bay I used circuit jumpers for project boards I purchased from Amazon (http://amzn.com/B00BQA5BWU). The antenna and antenna coax lead can be purchased from Aloft Hobbies (2db antenna & 70mm coax lead). I harvested mine from my orange module for now.
1-26-2016 Added two files to the .stl list for a friend looking to build an internal module for the Taranis Tray style transmitter X9E which requires a reduced profile unit and a blank lid. The antenna wire exits the side wall and gets mounted directly in the transmitter case wall. For the normal Taranis build do not bother to print the short case and blank lid. Also be aware that these two files are still a work in progress until this note is updated. Fully expecting this to also be required for the Taranis Horus transmitter X12S.
4-25-2014 - Before starting, line the bottom pocket (below the shelf where the Tx Module will sit) with tin foil and tack in place with some welders, foam tac or similar glue; the hot glue may be too thick so I would not use that. I coated the tinfoil with kapton tape to strengthen it and electrically insulate it. The tin foil acts as an RF shield to keep the electronic noise from the 3.3V HK regulator from getting into the audio circuit. MAKE SURE the tin foil is secured so it does not move and short your circuit and that any exposed solder joints do not come in contact with the tin foil. It works amazingly well, enjoy.
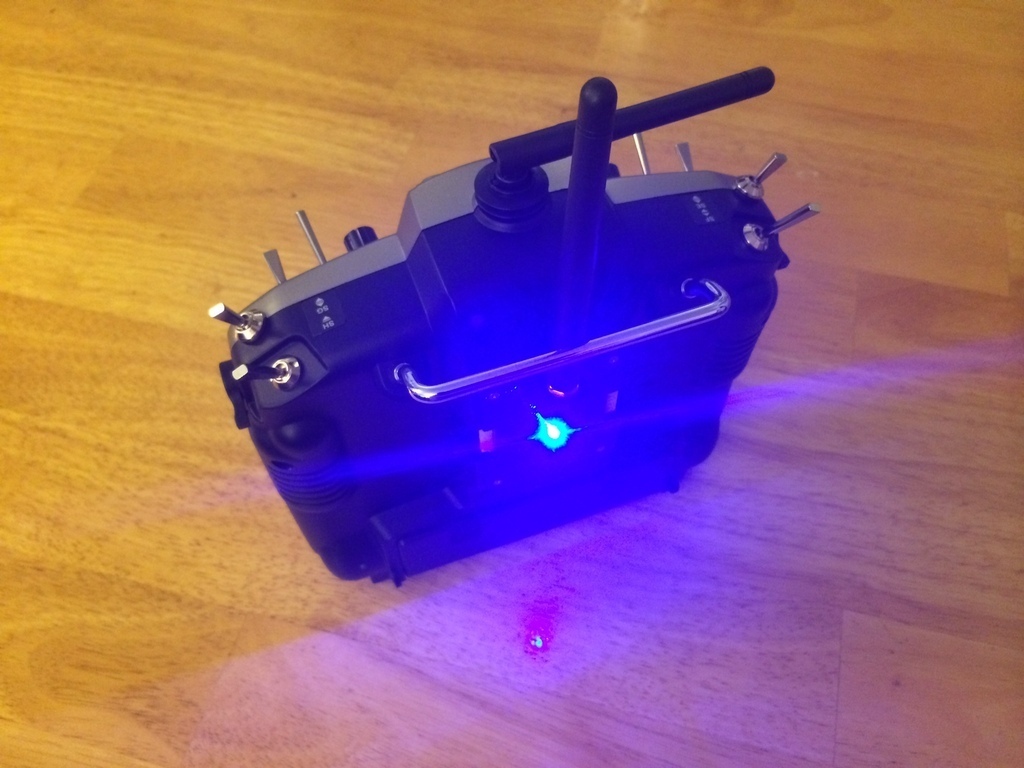
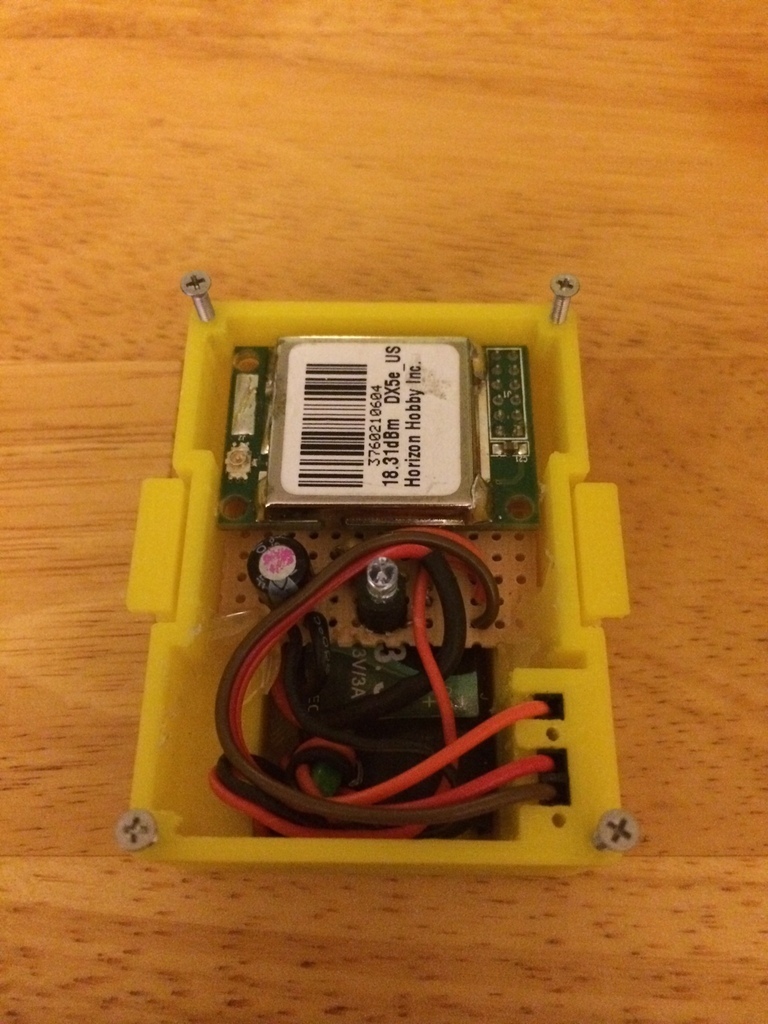
All parts fit into the printed module with no issues. I hot glued the 3.3V module and ferrite core down and then placed my PCB containing the components shown in the schematic onto the shelf and hot glued that down to prevent movement and abrasion of wires. You can see my setup in the photos. Ask questions if needed. These instructions assume you have some knowledge and experience building circuits like this.
Some websites would suggest you can use any diode for the 1n914 shown. I would suggest you keep to the 1n914 as this is the appropriate part for this application. It is a high speed small signal device where other diodes are built for different uses. They may work, but I would hate for you to find out that they don't always work. The 1n914 can be purchased in packs from Radio Shack for next to nothing.
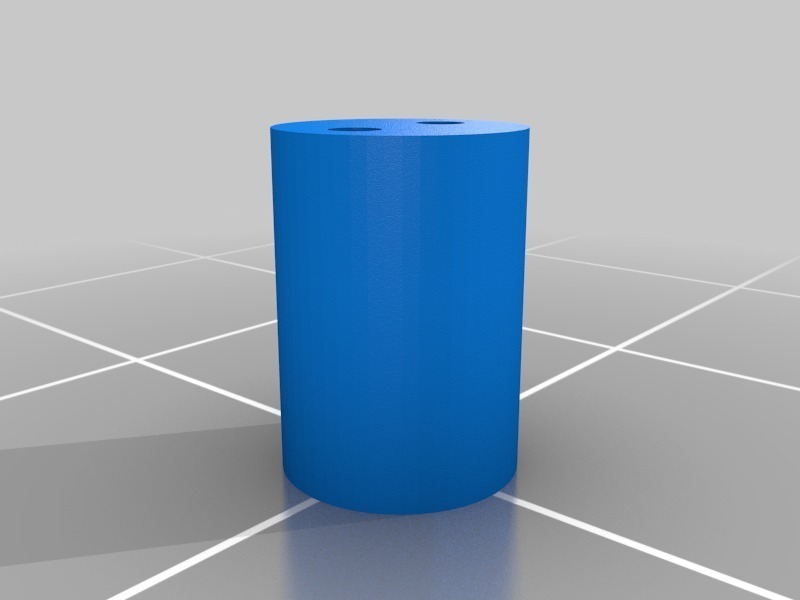
Resistors are also from Radio Shack. I show a 22ohm resistor for the LED. I am using a Blue LED that runs at 3.1V. Other colors run at different (and lower) voltages and require you to adjust the resistor value so you do not burn it out. You can also see how bright mine is (and that is half brightness) so again adjust to your liking. I like to light my feet at dusk :-) My wife bought me a bunch of LED christmas strains after christmas for next to nothing. Now I have oodles of LEDs of all colors. I chose blue for this. Radio Shack obviously has these also. The hole is for a 3mm LED. Use the printed LED spacer and center it so it lines up with the hole in the lid (test fit).
4-27-2014 - When routing the antenna wire from the transmitter module to the lid, make sure your wire "flows" in graceful curves as much as possible. DO NOT bend the wire in hard turns, crease, pinch, ball up the extra, ... Any sharp turn in this type of wire will reduce your range. (I promise this information is accurate. I knew this as an Engineer, and proved it by accident the second time I put my module together. I did a range test, and then rebuilt it a third time to great fan faire.) The basic reason is that the wire is a micro coax and any sharp turns or pinching changes the characteristics of the wire causing the power to the antenna to be reduced. I route my antenna wire down the left side, around the LED standoff, across the face of the Tx module and into the lid. (Which also brings up, be gentle when you install the antenna connector into the lid; do not crease the wire coming out of the antenna and it should not have to bend at a sharp angle.)
The last item is to insure you have a drill index with multiple sizes to choose from. As you should know, the printed holes are great, but for real precision you need drill bits. I have the 115 piece set from HF. I used #1 x 3/8 SS machine screws for the corner screws and purchased them from my local Ace Hardware. This required a very accurate hole to insure the screws tapped in and did not split or strip the hole. Also clear the holes for the transmitter pins that slide into the module and test fit.
Enjoy.
:format(webp)/https://fbi.cults3d.com/uploaders/15517291/illustration-file/91697ba3-19a5-4ad9-b5d6-454861e61c00/IMG_0052.jpg)


/https://preview3d-images.cults3d.com/b2ob2nvwvgohuj3qw4348e3o6z5n)
/https://preview3d-images.cults3d.com/w1c72kynryrgcphb3h4a322syka0)
/https://preview3d-images.cults3d.com/2xqulr2pecqod5kz8ekw77ck3zs0)
/https://preview3d-images.cults3d.com/avmo8njzvnz6vxszfi21hrtnuxcp)
/https://preview3d-images.cults3d.com/dsuybpya9qrzmuyzqlnq28w9af86)
/https://preview3d-images.cults3d.com/f9d9q0t1x9z4vfghni2c2sn2ln8u)


